There is a specific moment in late August when the air turns heavy with the scent of sun-warmed earth and the garden reaches its peak. This Summer Garden Pasta is the culinary embodiment of that “golden hour” light, capturing the fleeting brilliance of peak-season produce in a dish that requires almost no time over a hot stove.
The magic of this recipe lies in the contrast between steaming, al dente spaghetti and a vibrant, “raw” sauce made from hundreds of halved cherry tomatoes. As the hot pasta hits the bowl, it coaxes out clear juices from the tomatoes and gently softens slivers of fresh garlic, creating a glossy, emulsified sheen that coats every strand perfectly.
Forget the heavy, simmered sauces of winter; this is about brightness, texture, and the aromatic punch of hand-torn basil. Finished with delicate curls of lemon zest and creamy chunks of buffalo mozzarella that just begin to melt, it is quite simply the ultimate summer meal for those who value both flavor and ease.
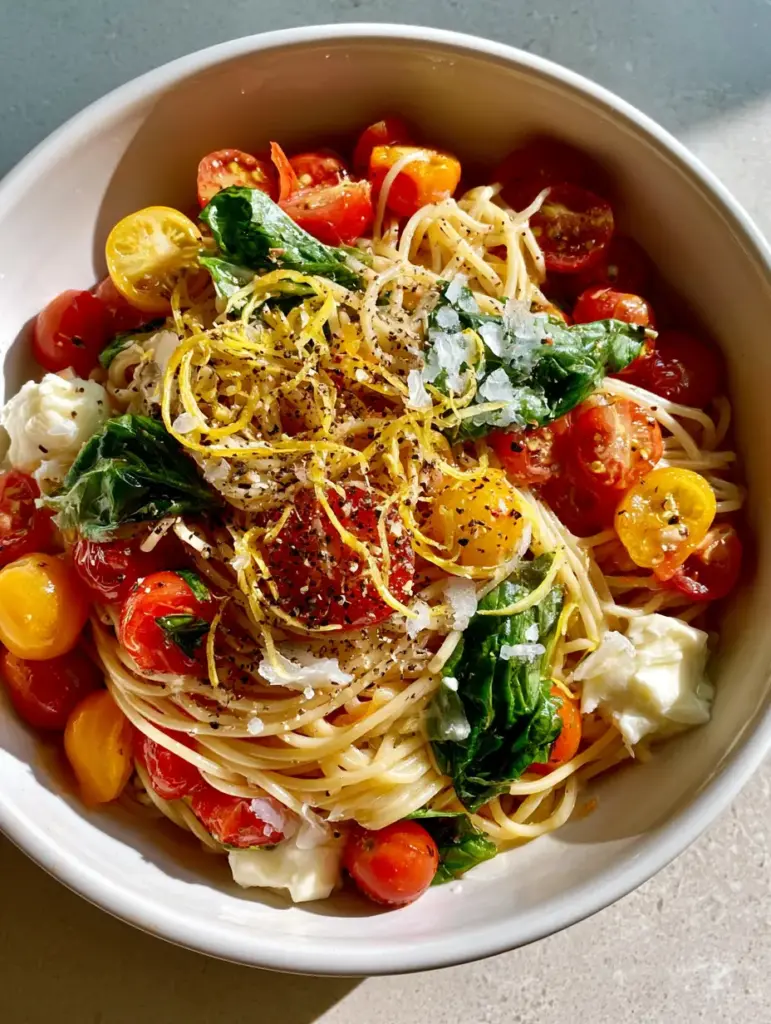
Why This Fresh Tomato Pasta is the Ultimate Seasonal Staple
- The “No-Cook” Sauce Advantage: By macerating raw cherry tomatoes in high-quality olive oil, you preserve their explosive, sweet acidity that is often lost in traditional simmering.
- Textural Contrast: The combination of firm spaghetti, juicy tomatoes, and the creamy, yielding texture of fresh mozzarella creates a complex mouthfeel in every bite.
- Visual Brilliance: With a mix of red and yellow heirloom tomatoes, bright emerald basil, and pale lemon curls, this dish looks like a professional food photograph come to life.
- Time-Efficient Prep: While your pasta water boils, your sauce is essentially making itself in a bowl, making this a 20-minute miracle.
The Vibrant Harvest: Essential Ingredients for Your Summer Garden Pasta
To achieve the specific, glossy result seen in our visual blueprint, every ingredient must be selected for its quality and freshness. Since we aren’t cooking the sauce, there is nowhere for subpar ingredients to hide.
Long Strand Pasta: Use 1 lb (450g) of high-quality spaghetti or linguine. The long strands provide the perfect surface area for the thin, tomato-juice-based emulsion to cling to, ensuring a glossy finish.
Heirloom Cherry Tomatoes: You will need 2 pints (approx. 600g) of mixed red and yellow cherry tomatoes. Halving them releases their clear, sugary juices, which act as the primary liquid for our “sauce” when combined with olive oil.
Extra Virgin Olive Oil: Use 1/3 cup (80ml) of the best cold-pressed oil you have. This isn’t just for cooking; it’s a primary flavor component that provides the signature sheen and carries the aroma of the garlic.
Fresh Basil: A large bunch (about 1 cup or 30g) of fresh basil is required. Hand-tearing the leaves instead of chopping them prevents bruising and keeps the “emerald green” color vibrant against the red tomatoes.
Slivered Garlic: 3-4 cloves of fresh garlic, sliced into translucent, paper-thin slivers. Slicing rather than mincing allows the garlic to infuse the oil with a mellow flavor without becoming overwhelmingly pungent or bitter.
Fresh Mozzarella: 8 oz (225g) of buffalo mozzarella or high-quality fresh mozzarella pearls. Tearing them into small chunks allows the residual heat of the pasta to create that slightly melted, creamy texture throughout the bowl.
Lemon Zest Curls: The zest of 1 large organic lemon, removed in long, delicate curls. These curls provide a hit of essential oils and a bright citrus aroma that cuts through the richness of the cheese and oil.
Foundational Seasonings: You’ll need 1 tsp (5g) of flaky sea salt and 1/2 tsp (3g) of coarse cracked black pepper. These aren’t just for taste; the large flakes of salt and pepper provide the specific “heavy dusting” visual and a crunch that elevates the fresh tomatoes.
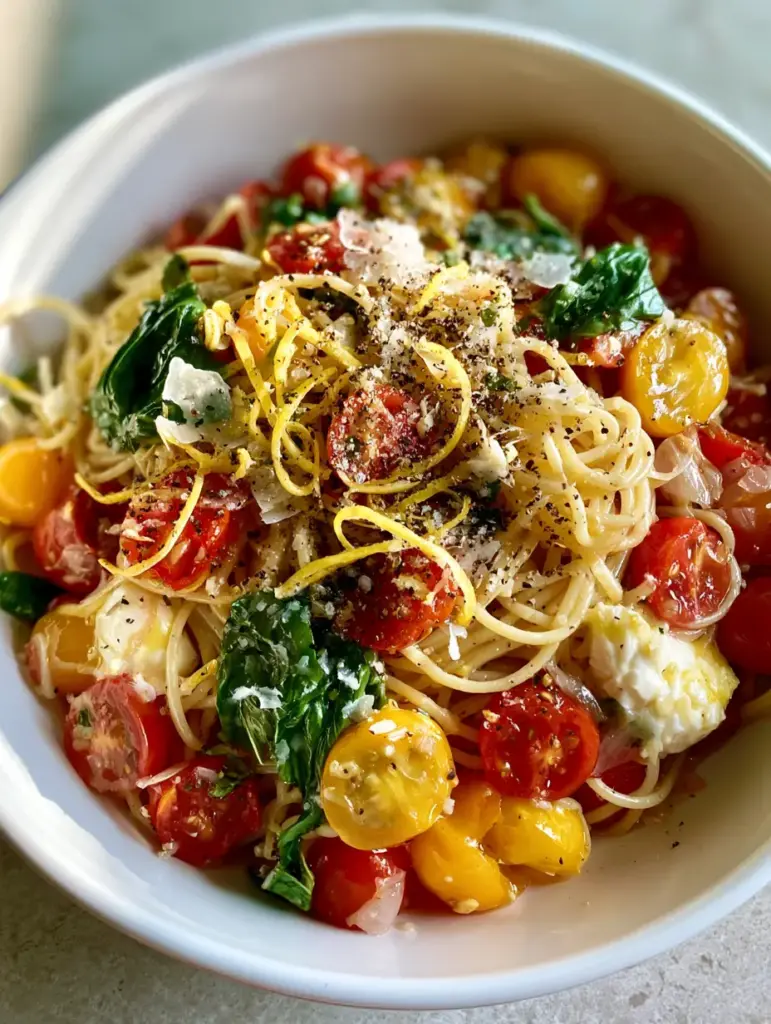
Professional Equipment for the Perfect Pasta
Achieving the perfect Summer Garden Pasta doesn’t require a high-tech kitchen, but a few specific tools ensure the textures remain distinct and the presentation stays elegant.
You will need a large, wide-bottomed ceramic bowl. The wide surface area is crucial for tossing the pasta thoroughly with the raw tomatoes and oil without crushing the delicate mozzarella chunks.
A high-quality microplane or a channel knife is essential for creating those long, delicate lemon zest curls. For the garlic, a sharp chef’s knife or a handheld mandoline will help you achieve the necessary translucent slivers.
Mastering the “Heat-Infused” Raw Sauce Technique
1. The Maceration Stage
In your large serving bowl, combine the halved red and yellow cherry tomatoes, the slivered garlic, and the extra virgin olive oil. Sprinkle with the flaky sea salt and a generous portion of the coarse black pepper.
Let this mixture sit at room temperature for at least 15–20 minutes while you prepare the pasta. This allows the salt to draw out the clear tomato juices, which mix with the olive oil to create a light, flavorful dressing.
2. Boiling to Perfection
Bring a large pot of heavily salted water to a rolling boil. Add your spaghetti and cook until it is strictly al dente—it should still have a firm “bite” in the center.
Before draining, reserve about 1/2 cup (120ml) of starchy pasta water. This is your “insurance policy” to help emulsify the sauce if it appears too dry when tossing.
3. The High-Heat Toss
Immediately transfer the steaming hot pasta directly from the pot into the bowl with the raw tomato mixture. Do not rinse the pasta; the surface starch is essential for the sauce to stick.
Toss vigorously using tongs. You will see the clear juices and olive oil begin to thicken slightly, creating a glossy sheen over the noodles. If needed, add a tablespoon or two of the reserved pasta water.
4. The Final Assembly
Once the pasta is coated, fold in the hand-torn basil and the mozzarella chunks. The heat from the noodles will cause the mozzarella to soften and “melt slightly,” creating creamy pockets of cheese.
Finish the dish by draping the long lemon zest curls over the top and adding one final heavy dusting of black pepper and sea salt for that unedited, artisanal aesthetic.
Expert Tips for Culinary Success
- Temperature Control: Never add the mozzarella to the tomatoes while they are macerating. Only add it at the very end so it softens from the residual heat without turning into a single rubbery clump.
- Garlic Prep: If you find raw garlic too sharp, let the slivers sit in the lemon juice or olive oil for 10 minutes before adding the tomatoes; this “mellows” the sulfur compounds.
- Tomato Variety: Use heirloom varieties if possible. The varying sugar-to-acid ratios in different colored cherry tomatoes add layers of complexity to the Summer Garden Pasta.
- The “Gloss” Factor: If your pasta looks matte rather than glossy, you likely need another drizzle of olive oil. The oil is what creates that beautiful, handheld-photo-ready shine.
Creative Pairings and Menu Inspiration
This pasta is a stand-alone star, but it also plays well with other seasonal favorites. For a full garden-themed spread, consider serving it alongside a crisp summer side dish like grilled asparagus or a light arugula salad.
If you are hosting a backyard gathering, this dish transitions beautifully into a broader menu featuring a caprese pasta salad for those who prefer cold options. For dessert, keep the oven off and try one of these no-bake desserts or a vibrant fruit pizza to round out the meal.
For protein lovers, a simple grilled chicken breast seasoned with lemon and oregano is the perfect accompaniment. Check out our summer chicken recipes for more inspiration on how to bulk up this light vegetarian fare.
Safe Storage and Refreshing Leftovers
Because this recipe relies on raw ingredients and fresh cheese, it is best enjoyed immediately. However, leftovers can be stored in an airtight container in the refrigerator for up to 2 days.
Note that the mozzarella will firm up and the basil will darken when chilled. To refresh, do not microwave on high. Instead, let it sit at room temperature for 20 minutes and add a splash of fresh olive oil to restore the gloss.
We do not recommend freezing this dish, as the fresh tomatoes and mozzarella will lose their structural integrity and become watery upon thawing.
Frequently Asked Questions
While you can use large heirloom tomatoes, cherry tomatoes are preferred because they have a higher skin-to-flesh ratio and release more clear juice without becoming too watery or pulpy.
No. By slicing the garlic into paper-thin, translucent slivers and tossing them with hot pasta, the residual heat takes away the raw bite while keeping the flavor fresh and aromatic.
Summer Garden Pasta is best served lukewarm. The pasta is hot when tossed, but the raw tomato sauce brings the temperature down to a perfect, refreshing summer level.
The mozzarella is meant to ‘soften’ rather than turn into a gooey liquid. Ensure your pasta is added to the bowl immediately after draining to maximize the residual heat for that creamy texture.
Hand-tearing prevents the basil cells from bruising, which keeps the leaves bright emerald green and prevents the herb from developing a metallic taste.
The Complete Summer Garden Pasta Recipe
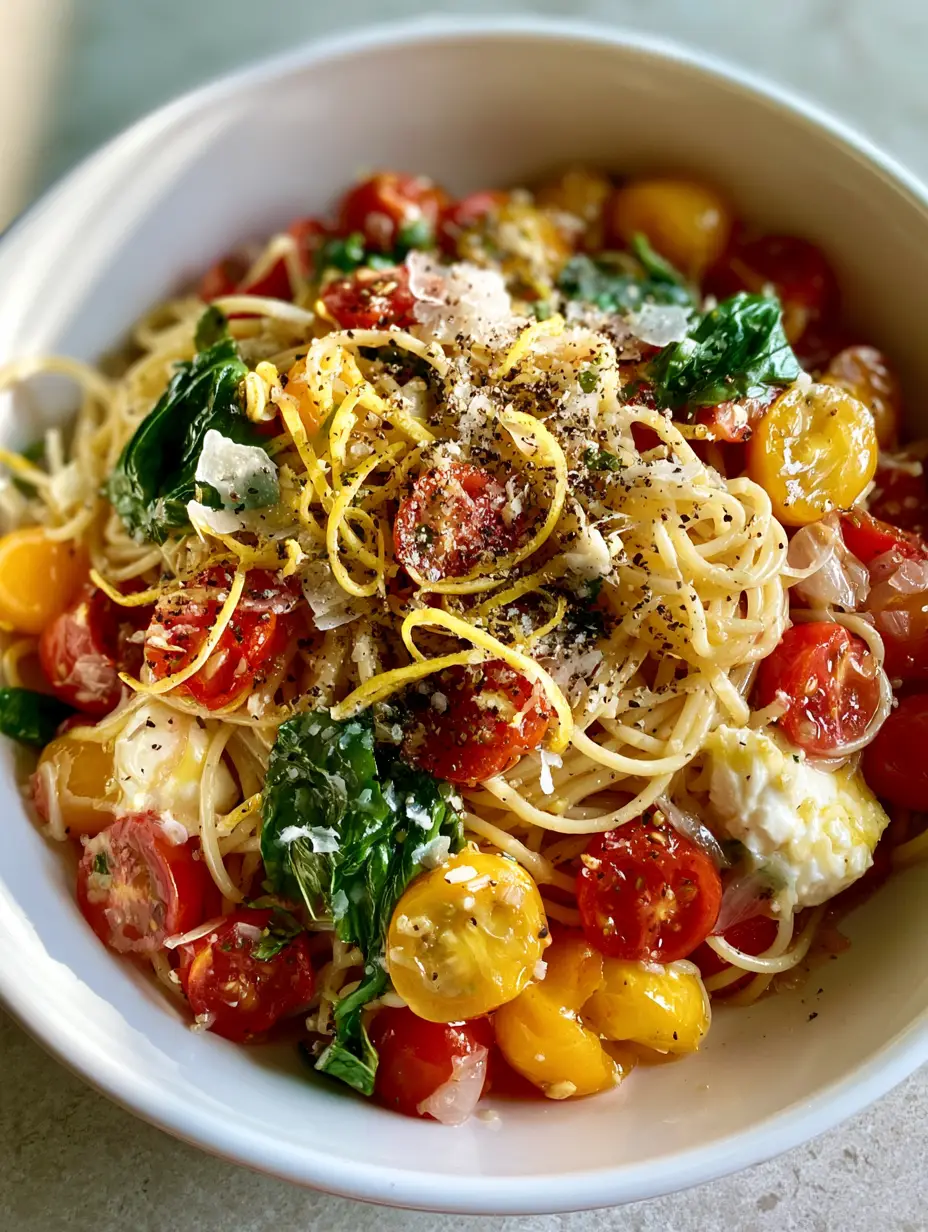
Summer Garden Pasta with Raw Heirloom Tomatoes and Fresh Mozzarella
Ingredients
Equipment
Method
- In a large, shallow ceramic bowl, combine halved cherry tomatoes, garlic slivers, olive oil, sea salt, and black pepper.
- Let the mixture sit for 15-20 minutes at room temperature to release clear tomato juices.
- Cook spaghetti in salted water until al dente. Reserve 1/2 cup of pasta water before draining.
- Add hot pasta directly to the tomato bowl. Toss vigorously until a glossy sheen forms, adding pasta water if needed.
- Fold in torn basil and mozzarella chunks. Garnish with lemon curls and extra pepper.
Notes
Use a mix of yellow and red tomatoes for the best visual appeal.
Final Thoughts on This Seasonal Masterpiece
The Summer Garden Pasta is more than just a quick dinner; it’s a celebration of ingredient-led cooking. By respecting the natural state of the heirloom tomatoes and using residual heat to marry the flavors, you create a dish that is light, sophisticated, and deeply satisfying.
Whether you’re dining alfresco or looking for a fast weeknight win, this recipe delivers professional results with minimal effort. We would love to see your recreations! Please leave a comment below and share your photos with us on Pinterest to inspire other home cooks.