When the summer heat peaks and the fireworks are ready to fly, the last thing any home cook wants is to turn on a 400-degree oven. These No-Bake Fourth of July Desserts offer the ultimate solution for patriotic entertaining without the kitchen meltdown.
Imagine a dessert that captures the very essence of a crisp July morning: vibrant berries, snow-white cream, and a golden, buttery crunch. This recipe isn’t just about convenience; it’s a high-end culinary experience designed for visual impact and decadent flavor.
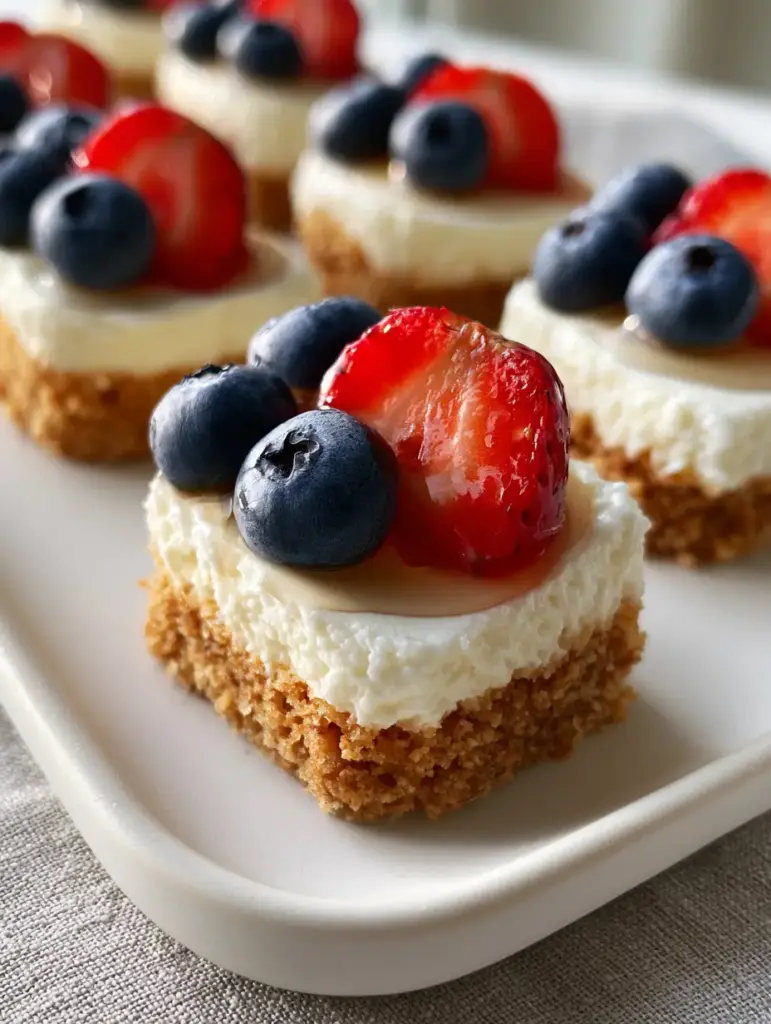
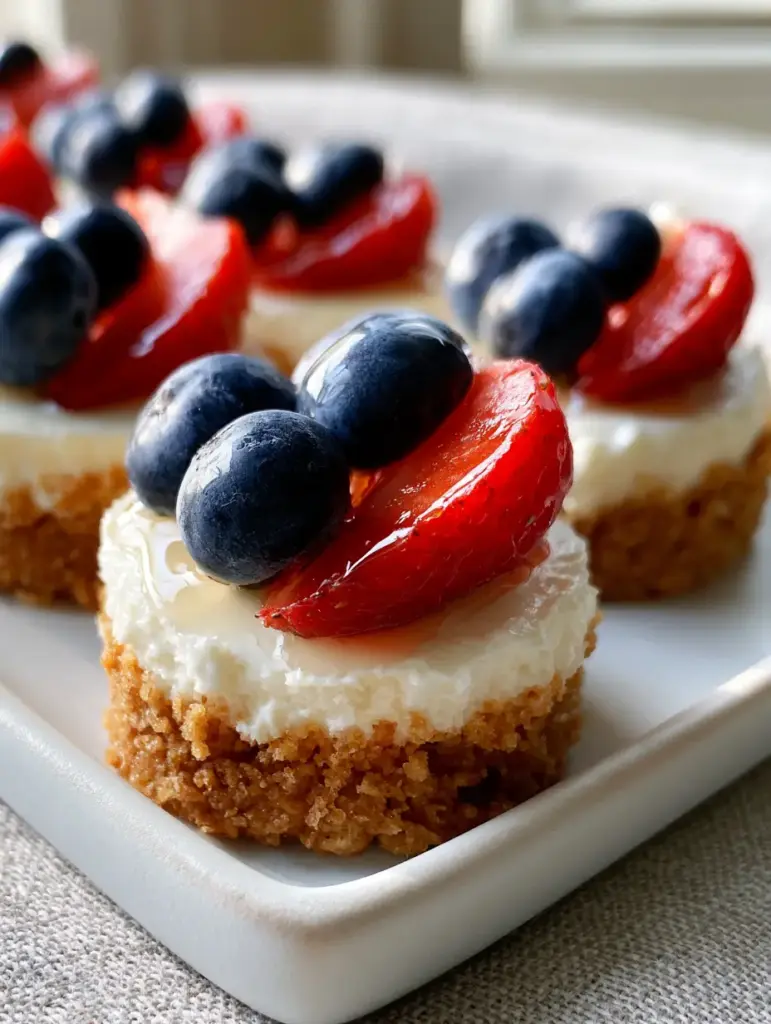
By combining the rustic charm of a thick graham cracker crust with the sophisticated elegance of vanilla bean-speckled cream cheese, we’ve created a bite-sized masterpiece. Every element, from the dusty-blue blueberries to the glossy honey glaze, is curated for professional-grade food photography results.
Why These Patriotic Bites Are the Ultimate Summer Showstopper
- No-Heat Preparation: Keep your kitchen cool while delivering a dessert that looks like it came from a high-end patisserie.
- Textural Contrast: Experience the perfect “snap” of a dense, buttery crust paired with the velvety, cloud-like whipped filling.
- Gourmet Visuals: Real vanilla bean specks and a clear honey glaze provide an artisanal finish that thrives under natural morning sunlight.
- Make-Ahead Friendly: These bites actually benefit from a long chill, making them the perfect stress-free option for your holiday weekend.
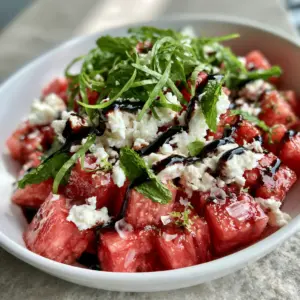
Whether you are hosting a sprawling backyard barbecue or an intimate sunset gathering, these bites stand out on any matte white ceramic platter. They are the perfect finger-food follow-up to a refreshing watermelon and feta salad or a savory summer meal.
Essential Ingredients for the Perfect No-Bake Foundation
Honey Graham Crackers: 2 cups (200g) of finely crushed crumbs provide the structural integrity and golden-brown hue necessary for a thick, crumbly base.
Unsalted Butter: 1/2 cup (113g) of melted butter acts as the “glue,” ensuring your crust is rich and holds its shape when sliced into sharp, clean squares.
Full-Fat Cream Cheese: 16 oz (450g) of brick-style cream cheese provides the dense, velvety body that distinguishes a premium cheesecake from a thin pudding.
Heavy Whipping Cream: 1 cup (240ml) of cold cream is folded in to create that signature snow-white, airy texture that feels light on the palate.
Vanilla Bean Paste: 1 tbsp (15ml) is used specifically to ensure those gorgeous, tiny black specks are visible throughout the filling, signaling high-quality ingredients.
Confectioners’ Sugar: 1 cup (120g) provides a smooth, grit-free sweetness that dissolves instantly into the whipped cream cheese.
Fresh Fruit Toppings: 1 pint (approx. 300g) of halved strawberries and 1/2 cup (75g) of whole, dusty-blue blueberries provide the iconic patriotic color palette.
Honey Glaze: 2 tbsp (30ml) of clear honey, slightly warmed, creates a professional-grade gloss on the fruit while adding a floral finish.
Professional Tools for a Polished Presentation
To achieve the “macro-photography” look seen in the visuals, you will need a 9×9 inch (23x23cm) square baking pan lined with parchment paper. This allows you to lift the entire block out for clean, precise slicing.
A high-speed hand mixer or a stand mixer fitted with the whisk attachment is essential for achieving the “stiff peaks” required for the whipped filling. Without this aeration, the dessert will be too soft to hold the weight of the berries.
Finally, ensure you have a sharp, thin-bladed knife. Dipping the knife in hot water and wiping it clean between every cut is the secret to those perfectly layered, professional edges.
The Step-by-Step Guide to Red, White, and Blue Perfection
Crafting the Golden-Brown Graham Crust
Begin by pulsing your graham crackers in a food processor until they resemble coarse sand. Combine the 2 cups (200g) of crumbs with 1/4 cup (50g) of granulated sugar and a pinch of fine sea salt.
Drizzle in the 1/2 cup (113g) of melted butter and toss with a fork until every crumb is moistened. It should feel like wet sand that holds its shape when squeezed in your palm.
Press this mixture firmly into the bottom of your lined pan. Use the flat bottom of a measuring cup to pack it down hard; this prevents the crust from crumbling excessively when you take your first bite.
Whipping the Snow-White Vanilla Filling
In a large chilled bowl, beat your cold heavy cream until it reaches stiff peaks. Set this aside—this is what gives your No-Bake Fourth of July Desserts their “snow-white” lightness.
In a separate bowl, cream together the softened cream cheese, confectioners’ sugar, and vanilla bean paste. Watch for the vanilla specks to distribute evenly throughout the dense, velvety mixture.
Gently fold the whipped cream into the cream cheese mixture using a silicone spatula. Use a “cut and fold” motion to keep the air intact until the filling is uniform and cloud-like.
Setting and Chilling for Success
Spread the filling over the prepared crust, using an offset spatula to smooth the top into a perfectly level surface. The filling should look dense and pristine.
Cover the pan loosely and refrigerate for at least 6 hours, though overnight is preferred. This chill time is non-negotiable; it allows the fats to solidify, creating a clean-cutting texture.
The Final Patriotic Flourish
Once chilled and set, lift the cheesecake out of the pan using the parchment paper “slings.” Cut into 16 or 25 square bites depending on your preferred serving size.
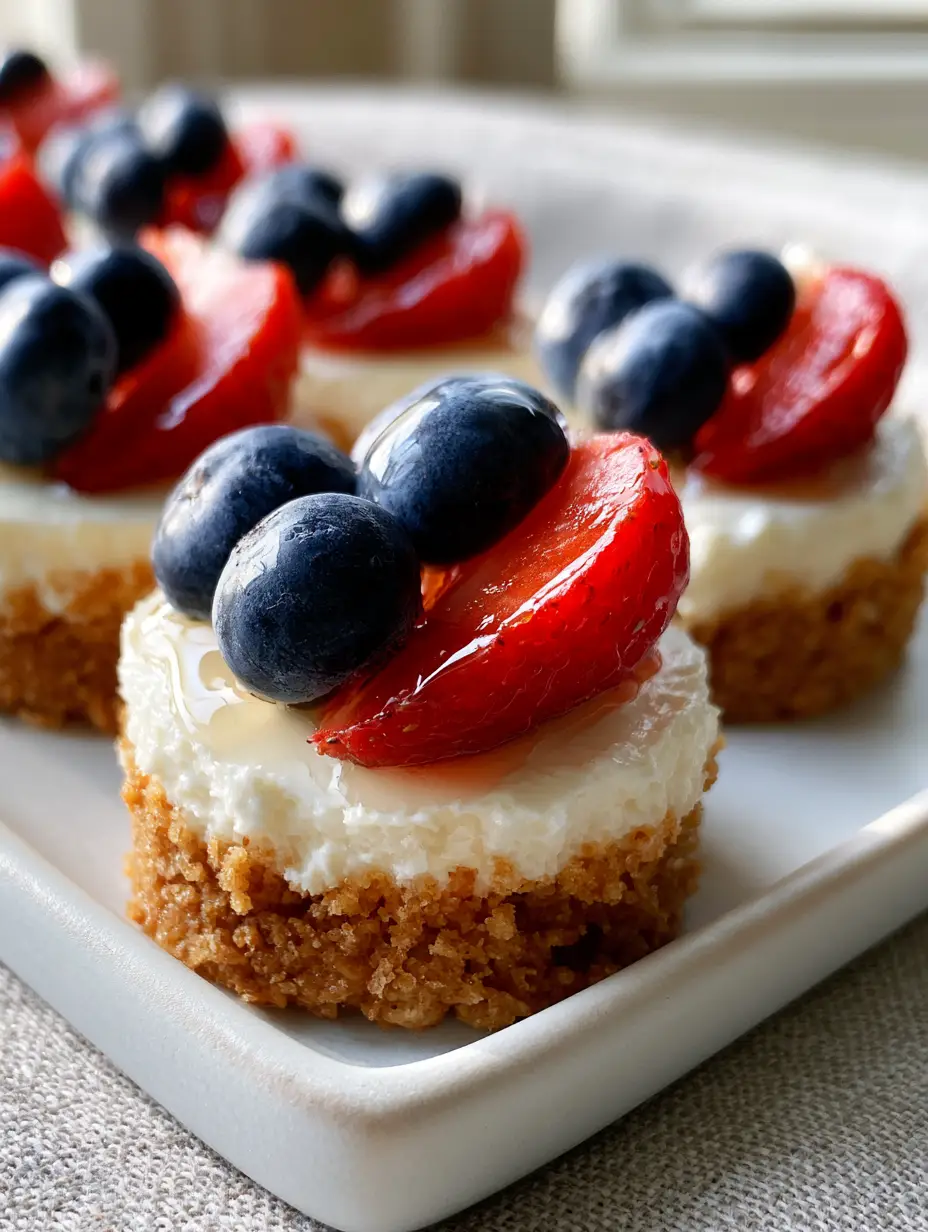
Top each square with one glossy halved strawberry, placed cut-side down, and three plump, dusty-blue blueberries. This specific arrangement mimics the “stars and stripes” aesthetic.
Warm your 2 tbsp (30ml) of honey for 10 seconds in the microwave. Using a small pastry brush or a teaspoon, drizzle a very fine layer over the berries until they catch the light with a brilliant shine.
Expert Tips for Bakery-Quality Results
- Temperature Control: Ensure your cream cheese is truly room temperature before mixing to avoid “lumps.” Conversely, your heavy cream must be ice-cold to whip properly.
- Clean Cuts: As mentioned, the “hot knife” method is the only way to get the snow-white filling to stay perfectly separated from the golden crust.
- Berry Selection: Choose strawberries that are similarly sized so your platter looks uniform. Look for blueberries with a heavy “bloom” (that dusty-blue coating) for the best visual contrast.
- Avoid Sogginess: Only add the honey glaze and the fruit up to 2 hours before serving. This prevents the moisture from the strawberries from bleeding into the vanilla cream.
The Best Ways to Store Your Holiday Treats
These cheesecake bites are best enjoyed within 24 hours of assembly to maintain the crispness of the crust. However, leftovers can be stored in an airtight container in the refrigerator for up to 3 days.
If you are prepping ahead, you can make the crust and the filling 2 days in advance. Simply wait until the morning of your event to slice, top with fruit, and apply the honey glaze.
We do not recommend freezing these specific bites. The fresh strawberries and blueberries will release too much water upon thawing, which will ruin the velvety texture of the vanilla bean cream.
Perfect Pairings for Your Summer Celebration
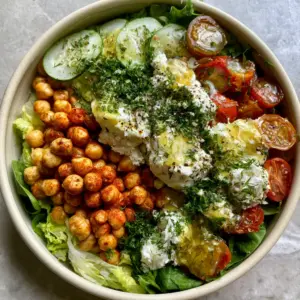
These decadent bites are rich and creamy, so they pair beautifully with light, acidic, or savory summer dishes. If you are looking to round out your holiday spread, consider serving these alongside a crunchy chickpea cucumber salad for a textural contrast.
For a full “red, white, and blue” dessert table, you might also include festive mini fruit pizzas or a large classic fruit pizza featuring similar berry motifs. If the kids are craving something chocolatey, these easy s'mores bars provide a great campfire-style alternative.
Finally, for those who love a “sweet and salty” combo at the buffet, try serving these bites after a helping of creamy crack corn salad or a zesty Mexican street corn pasta salad.
Frequently Asked Questions
We don’t recommend frozen berries for this specific no-bake dessert. Frozen fruit releases too much juice as it thaws, which will bleed into the snow-white filling and make the crust soggy.
The key is using full-fat brick cream cheese and whipping your heavy cream to very stiff peaks. Additionally, ensure the dessert chills for at least 6 hours to allow the fats to set firmly.
Once assembled with fruit and glaze, they are best eaten within 12-24 hours. The filling and crust can be made 2 days in advance and kept in the fridge before garnishing.
Dip a sharp, thin knife into hot water, wipe it completely dry, and make your cut. Repeat this process for every single slice to keep the layers distinct and professional.
Vanilla bean paste provides those characteristic tiny black specks seen in gourmet desserts. It offers a more intense vanilla flavor and a higher-end visual appeal that extract cannot replicate.
No-Bake Fourth of July Desserts: Recipe Card
No-Bake Fourth of July Desserts: Red, White, and Blue Cheesecake Bites
Ingredients
Equipment
Method
- Mix graham cracker crumbs, sugar, and melted butter until it resembles wet sand. Press firmly into a parchment-lined 9x9 pan and chill while making the filling.
- In a chilled bowl, beat heavy cream until stiff peaks form. Set aside.
- Beat softened cream cheese, confectioners' sugar, and vanilla bean paste until velvety and smooth. You should see distinct vanilla bean specks.
- Gently fold the whipped cream into the cream cheese mixture. Spread evenly over the crust and refrigerate for at least 6 hours until firm.
- Slice into squares. Top each with a strawberry half and three blueberries. Drizzle with warmed honey for a glossy finish.
Notes
Use vanilla bean paste instead of extract for the best visual 'speckled' look.
A Festive Finale for Your Holiday Weekend
There is nothing quite like the satisfaction of serving a dessert that looks like a work of art but requires zero time in a hot kitchen. These No-Bake Fourth of July Desserts provide the perfect balance of buttery, creamy, and tart flavors that define summer entertaining.
From the vanilla bean specks to the natural morning sunlight reflecting off the honey glaze, these bites are designed to impress. We hope they become a new tradition for your family gatherings!
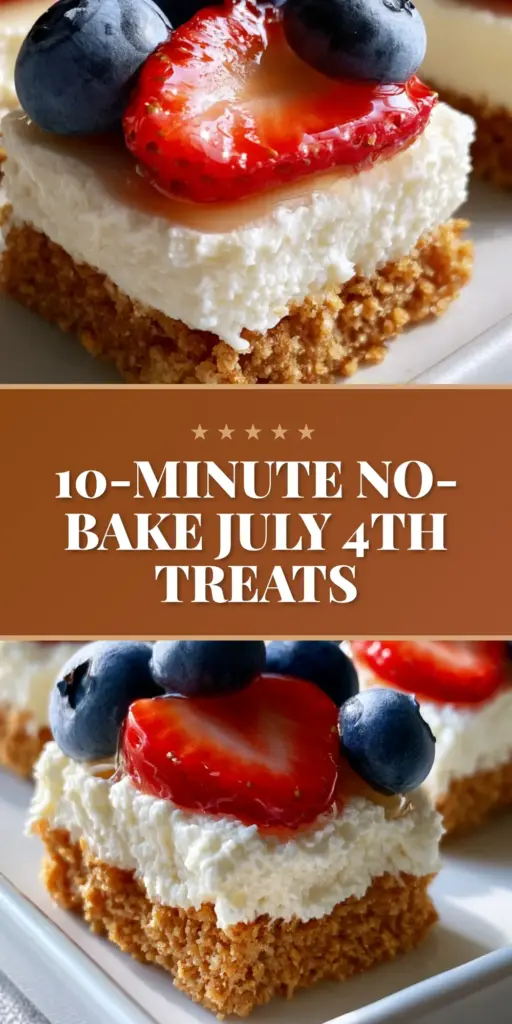
If you loved this recipe, please leave a comment below and tell us how yours turned out! Don’t forget to share your patriotic creations with us on Pinterest by pinning the image below.