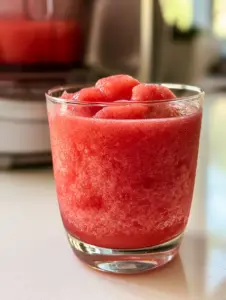
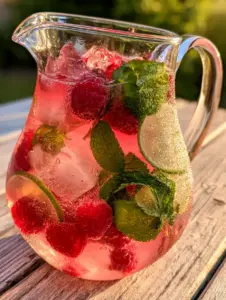
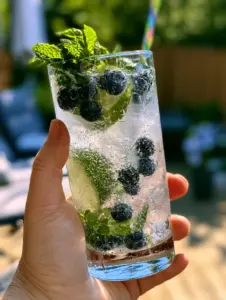
There is a specific, nostalgic magic found in the swirling canisters of a professional cooling unit, but mastering slushie machine recipes at home requires more than just pouring in juice. To achieve that elusive, micro-crystalline texture seen in high-end boardwalk treats, you need to understand the delicate balance of sugar-to-water ratios.
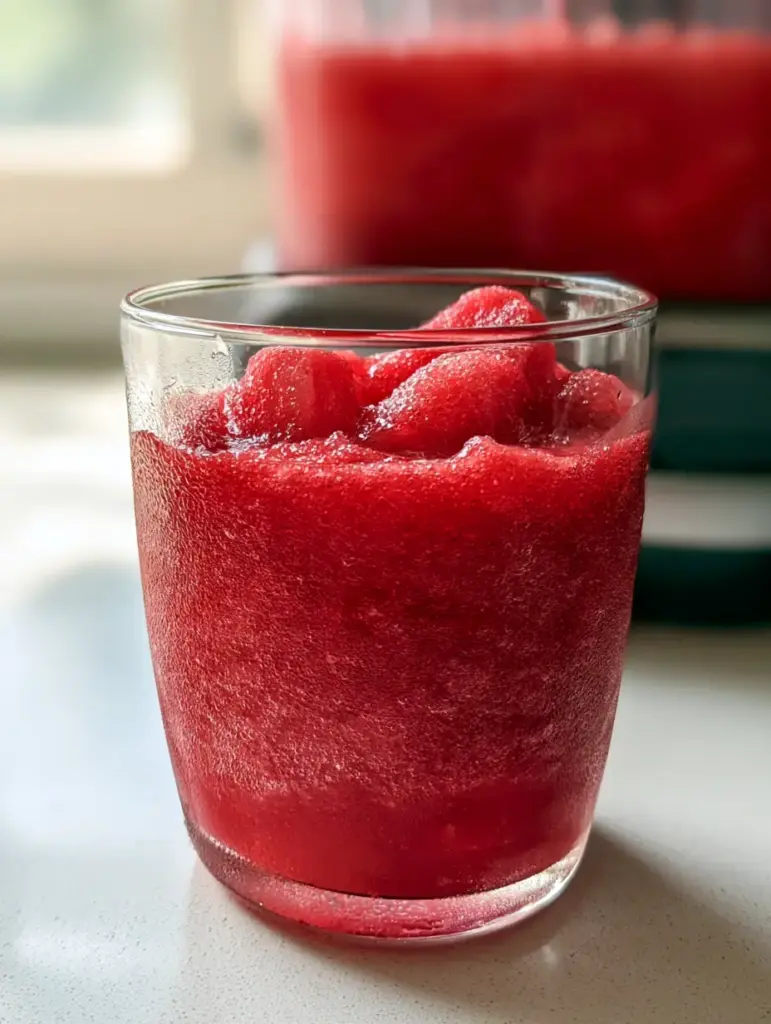
This recipe isn’t just about cold liquid; it’s about creating a velvet-smooth, spoonable masterpiece that holds its shape in a heavy crystal glass. We are diving deep into the science of freezing point depression to ensure your blue raspberry and cherry layers remain distinct, vibrant, and perfectly “scoopable.”
Whether you are hosting a backyard gathering or simply craving a professional-grade frozen refreshment, this guide will transform your machine into a culinary powerhouse. Let’s explore how to capture that electric glow and the crisp, refreshing bite of a perfectly calibrated slushie.
The Culinary Secrets Behind Micro-Crystalline Perfection
- The Velvet Texture: We focus on a specific Brix (sugar) level to ensure the ice forms tiny, micro-crystals rather than hard chunks.
- Saturated Electric Hues: By using concentrated syrups, we achieve the deep blue and ruby red layers that look as good as they taste.
- The “Spoonable” Peak: Our ratio ensures the slushie is dense enough to be lifted with a silver spoon, creating soft, stable peaks.
- Glistening Visuals: From the frosted glass rim to the tiny condensation droplets, every element is designed for maximum sensory impact.
Essential Components for Your Layered Masterpiece
Concentrated Blue Raspberry Syrup (1 cup / 240ml): This provides the base “electric” blue color and the tart, berry-forward flavor profile required for the bottom layer.
Deep Red Cherry Syrup (1 cup / 240ml): A heavy, dense syrup that offers a rich contrast in both flavor and color, sitting perfectly atop the blue base.
Filtered Water (6 cups / 1.4L): Using filtered water prevents mineral off-flavors from interfering with the purity of the fruit syrups.
Fine Granulated Sugar (1/4 cup / 50g): This is used primarily for the frosted rim, providing a sparkling, crystalline texture that mimics frost.
Fresh Mint Sprigs: A faint aromatic garnish that cuts through the intense sweetness with a breath of cool garden freshness.
Citric Acid (1/2 tsp / 2.5g): An “invisible” foundational ingredient that boosts the tanginess and prevents the colors from looking “flat.”
Professional Tools for Frozen Success
Naturally, the star of the show is your slushie machine. A high-quality home unit or a commercial-grade twin-tank system allows you to freeze two flavors simultaneously, which is vital for maintaining the temperature of both layers.
You will also need a heavy crystal glass to retain the cold and a silver spoon for that iconic “mound” of slushie. A small spray bottle of water can help create those specific condensation droplets on the outside of the glass for the perfect photograph.
The Master Technique for Layering Electric Colors
Phase 1: Calibrating the Slushie Base
In two separate pitchers, combine your syrups with the filtered water. For the blue raspberry layer, mix 1 cup (240ml) of syrup with 3 cups (710ml) of water and 1/4 tsp (1.25g) of citric acid.
Repeat this process for the cherry layer in a second pitcher. Use a whisk to ensure the syrup is fully integrated; any undissolved sugar can cause the machine to “clank” or freeze unevenly.
Phase 2: The Freezing Cycle
Pour the mixtures into your slushie machine tanks. Turn on the cooling and auger functions, setting the consistency to “medium-firm” if your machine has multiple settings.
Watch for the visual cues: the liquid will first turn opaque, then begin to thicken into a micro-crystalline slush. You are looking for a velvet-smooth finish that moves like slow lava against the sides of the tank.
Phase 3: Prepping the Frosted Crystal
While the machine works, take your heavy crystal glass and dip the rim into a shallow bowl of water, then into the fine granulated sugar crystals. This creates a “crust” of frost that looks like it’s been pulled from a deep freeze.
Place the glasses in the freezer for 10 minutes. This ensures that when the slushie hits the glass, the temperature differential creates those beautiful, tiny condensation droplets on the exterior.
Phase 4: The Perfect Layered Pour
Dispense the blue raspberry slushie first, filling the glass halfway. Use the back of a spoon to gently smooth the top surface into a flat plane.
Slowly dispense the cherry layer over the back of that same spoon to break the fall. This technique prevents the colors from bleeding, maintaining that sharp, vibrant line between the blue and the red.
Phase 5: The Final Flourish
Use a silver spoon to lift a perfect mound of the top layer, creating a soft peak that showcases the internal structure. Tuck a tiny mint sprig into the side of the slushie mound for a pop of green contrast.
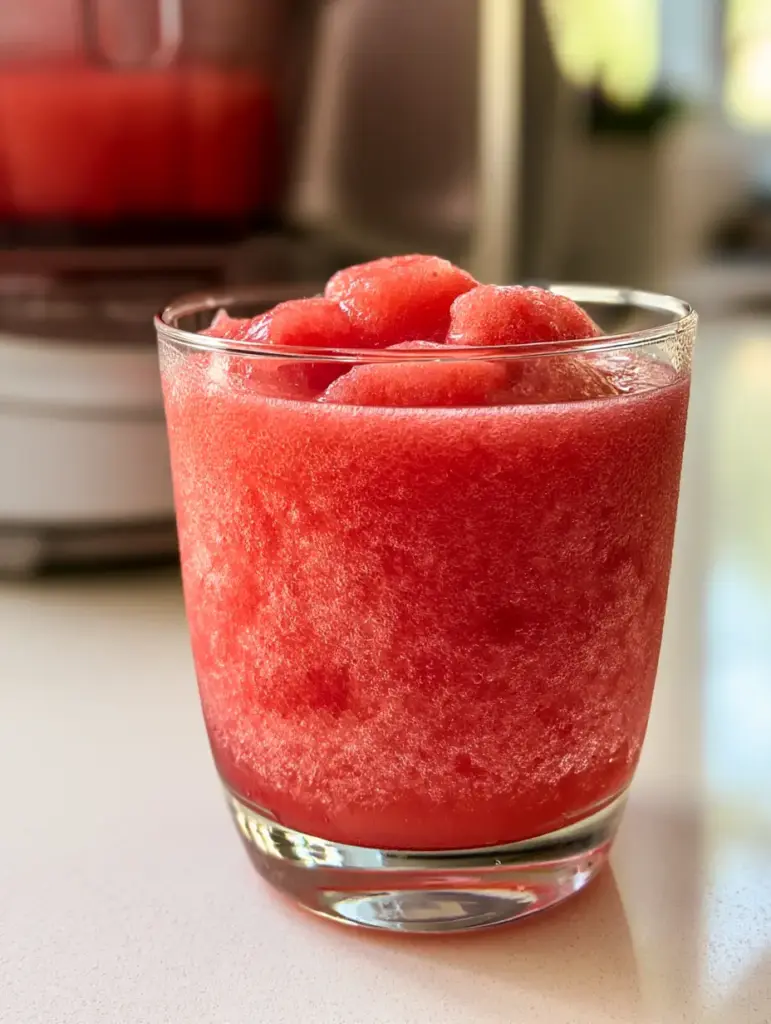
Expert Tips for Slushie Machine Recipes
- The Sugar Rule: If your slushie isn’t freezing, the sugar content is likely too high. If it’s a solid block of ice, the sugar is too low. Aim for a 13-15% sugar concentration.
- Pre-Chill Everything: Always start with chilled liquid. This reduces the strain on your slushie machine and results in smaller, smoother ice crystals.
- Maintenance Matters: Clean your seals regularly. Sugary syrups can become “gummy” and slow down the auger, ruining that velvet-smooth texture.
- Color Guard: Keep your machine out of direct sunlight while it’s running to prevent the vibrant blue and red dyes from fading during the freezing process.
Storing and Reviving Your Frozen Treats
Slushie machine recipes are best enjoyed immediately, but if you have leftovers, store them in an airtight container in the back of the freezer. The sugar content will prevent it from becoming a total brick, but it will harden over time.
To revive, simply pulse the frozen mixture in a high-powered blender for 5-10 seconds. This re-incorporates air and breaks down the larger crystals back into that spoonable, micro-crystalline consistency.
Perfect Pairings for Summer Refreshment
These vibrant slushies are the ultimate companion for a summer patio party. Serve them alongside a crisp chilled cucumber salad to balance the sweetness with something refreshing and savory.
If you are looking to build a full drink menu, consider offering a homemade strawberry lemonade for those who prefer non-frozen options, or a sophisticated layered wine slushie for the adults in the room. For a full tropical spread, these pair beautifully with a salty fresh pico de gallo and chips.
Frequently Asked Questions
Yes, provided the juice has enough sugar. Most natural juices need a little extra syrup or sugar added to reach the 13-15% threshold required for a micro-crystalline texture.
Ensure the first layer is firm and use the back of a spoon to gently ‘float’ the second layer on top. This disperses the weight and prevents the colors from bleeding.
Depending on the ambient temperature and starting temperature of the liquid, most home machines take between 45 and 60 minutes to reach a spoonable consistency.
The ideal sugar concentration, or Brix level, is between 13% and 15%. If the sugar is too low, the machine will freeze into a solid block; if it’s too high, it will remain liquid.
This usually indicates the ice has become too thick or the sugar content is too low. The motor is struggling to turn the auger. Add a splash of syrup or water to thin it out.
The Ultimate Blue Raspberry and Cherry Slushie
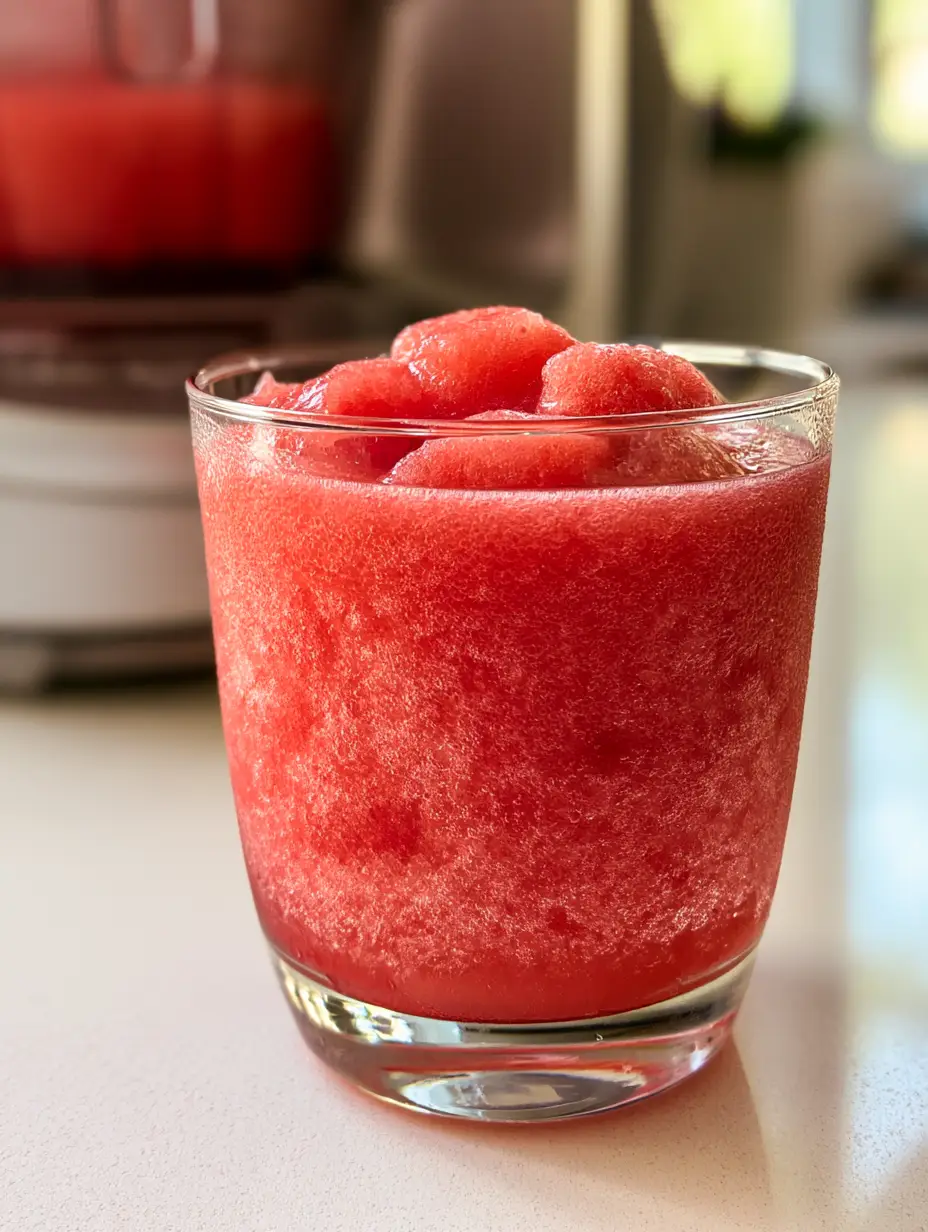
Slushie Machine Recipes for a Velvet-Smooth Blue Raspberry and Cherry Layered Treat
Ingredients
Equipment
Method
- Whisk blue raspberry syrup, 3 cups of water, and citric acid until fully integrated.
- In a separate pitcher, whisk cherry syrup, remaining water, and citric acid.
- Pour mixtures into separate tanks. Set to 'slush' mode and wait approximately 45 minutes until micro-crystalline structure forms.
- Dip crystal glass rims in water then into granulated sugar to create a frost effect.
- Pour blue layer halfway, then gently layer the cherry slushie on top. Garnish with mint and serve with a silver spoon.
Notes
If the slushie is too soft, increase the freezing time by 10 minutes.
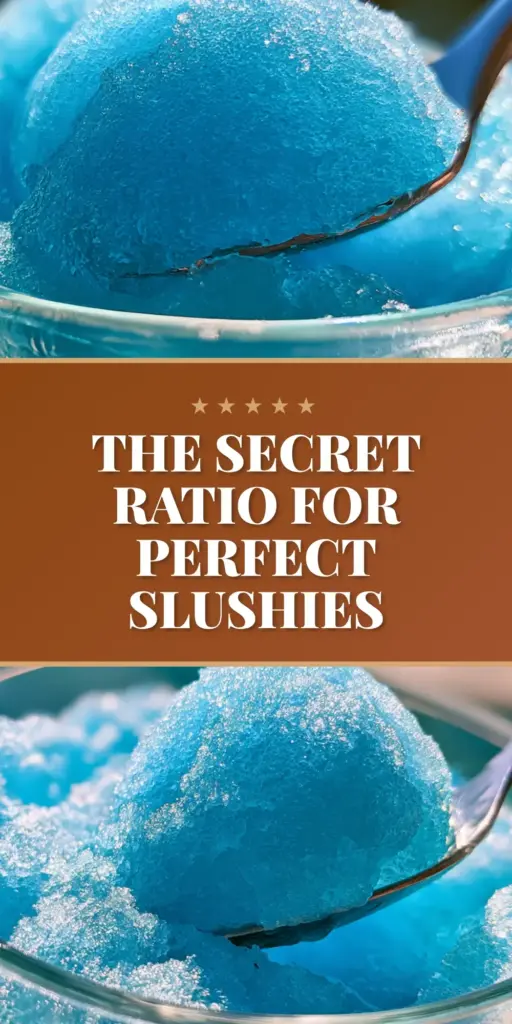
Join the Frozen Revolution
Mastering the art of the slushie machine is a gateway to endless summer creativity. From the perfect micro-crystalline texture to the saturated colors of blue raspberry and cherry, this recipe is a guaranteed crowd-pleaser that brings professional quality to your home kitchen.
Did you achieve the perfect spoonable peak? We want to hear about it! Leave a comment below, sign up for our newsletter for more slushie machine recipes, and be sure to share your vibrant creations to Pinterest!