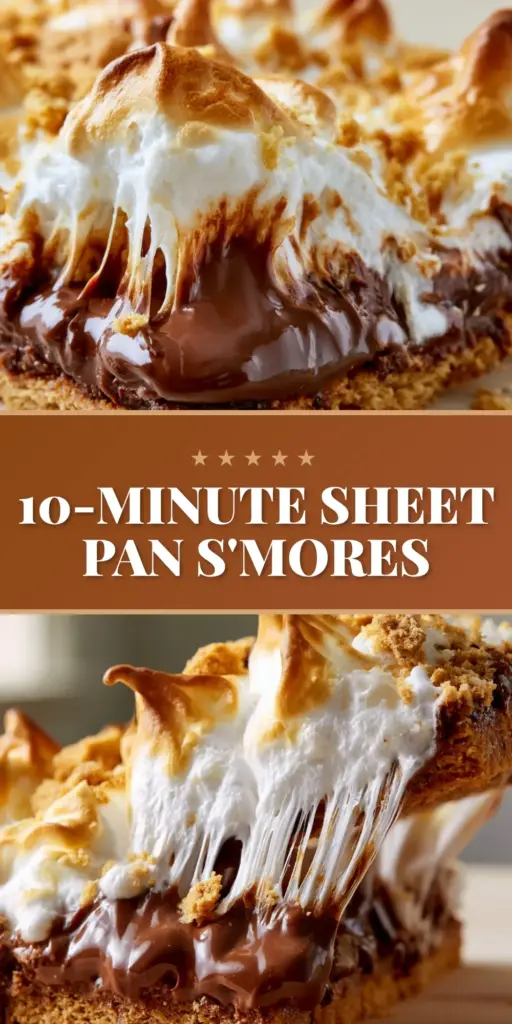
There is something undeniably nostalgic about the scent of toasted marshmallows and melting chocolate. These s’more bars capture every ounce of that campfire magic without the need for a smoky bonfire or a sharpened stick. Imagine a thick, golden-brown base that crumbles perfectly against a molten layer of glossy milk chocolate, all topped with pillowy marshmallows.
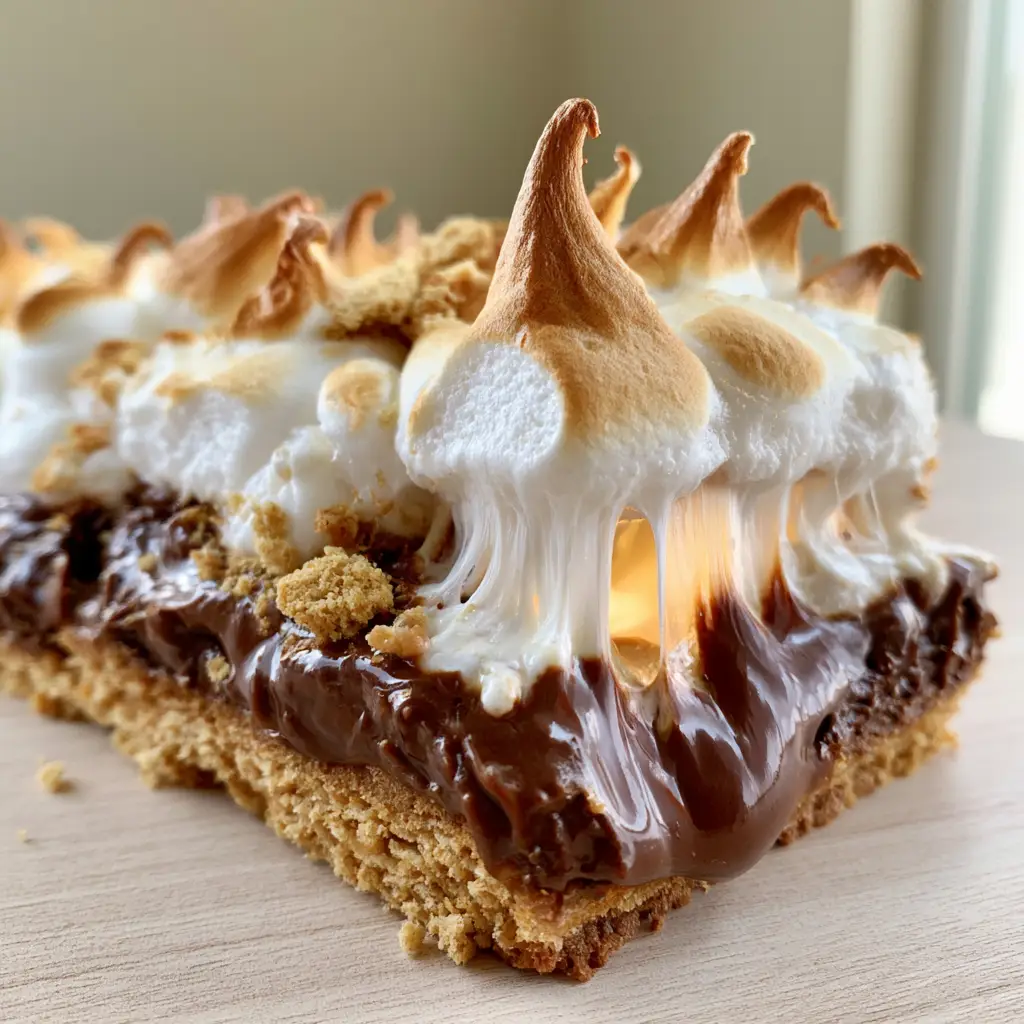
This recipe is designed for those who crave the perfect “marshmallow pull.” We are talking about long, stretchy, gooey strings of sugar that reach from the pan to your plate. If you have been searching for a dessert that looks exactly like a high-end bakery display, you have found it.
Every bite of these s’more bars delivers a symphony of textures. You get the crunch of the pressed graham cracker crust, the silkiness of the melted chocolate, and the airy, caramelized finish of the toasted marshmallow peaks. It is a handheld masterpiece that will disappear from your kitchen in minutes.
Why These Are the Best S’more Bars You Will Ever Bake
- The Signature Marshmallow Pull: Using jumbo marshmallows ensures a thick, molten top layer that creates those iconic, stretchy strings every time you lift a square.
- Scientifically Structured Crust: We use a high butter-to-crumb ratio to ensure the base is sturdy enough to hold the heavy toppings while remaining melt-in-your-mouth tender.
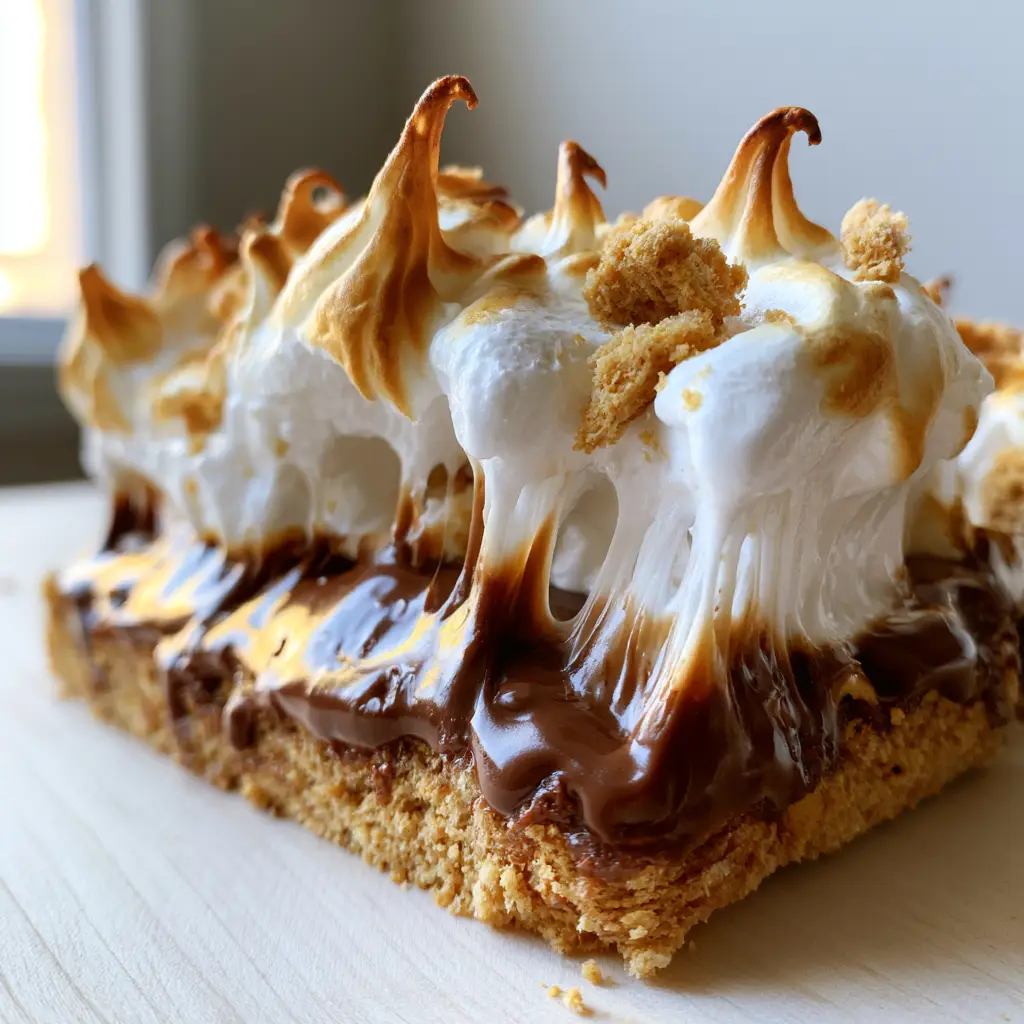
- Perfectly Caramelized Peaks: A quick blast under the broiler transforms soft white centers into golden-brown, toasted masterpieces with deep flavor.
- Glossy Molten Middle: We specify high-quality milk chocolate to achieve that glossy, flowing texture seen in professional food photography.
The Essential Ingredients for a Decadent Graham Cracker Base
Creating the perfect s’more bars starts with the foundation. You cannot just throw crumbs in a pan; you need the right structural binders to ensure the bars don’t fall apart when you lift them.
Graham Cracker Crumbs (3 cups / 375g): These provide the classic honey-wheat flavor and the essential “crunch” factor for the base. You can pulse whole crackers in a food processor or buy pre-crushed crumbs for convenience.
Unsalted Melted Butter (3/4 cup / 170g): This acts as the glue for your crust. The butter hydrates the dry crumbs, allowing them to be pressed into a solid, buttery sheet that holds up under the weight of the chocolate.
Granulated Sugar (1/4 cup / 50g): While graham crackers are sweet, this extra sugar helps the crust caramelize slightly in the oven, creating a crisper texture. It also helps bind the crumbs together as the sugar melts and cools.
Fine Sea Salt (1/2 tsp / 3g): Never skip the salt in a sweet recipe. It cuts through the richness of the milk chocolate and enhances the toasted notes of the graham crackers.
The Gooey Toppings That Define the S’more Experience
The visual appeal of s’more bars relies heavily on the quality and arrangement of the top layers. To get that “molten” look, we focus on specific chocolate and marshmallow types.
Milk Chocolate Chips or Bars (3 cups / 510g): Milk chocolate has a lower melting point and higher fat content than dark chocolate. This is what creates that glossy, flowing middle layer that stays soft even after the bars have cooled slightly.
Jumbo Marshmallows (10 oz / 285g): Using jumbo-sized marshmallows is the secret to getting those large, pillowy mounds. When they melt, they merge into a singular, stretchy blanket of sweetness.
Extra Graham Cracker Crumbs (2 tbsp / 15g): A light dusting of crumbs over the toasted marshmallows adds a professional “finished” look. It also provides a subtle hint of salt and texture to the very top of the bars.
Must-Have Equipment for Perfect Sheet Pan Desserts
To achieve the professional results shown in our photos, you need the right tools. A standard 9×13 inch (23×33 cm) metal baking pan is the gold standard here. Metal conducts heat more efficiently than glass, ensuring your crust browns evenly across the bottom.
You will also want parchment paper. Leaving an “overhang” or “sling” on the sides of the pan allows you to lift the entire block of s’more bars out at once. This is essential for getting those clean, sharp cuts and capturing the perfect “pull” photo for your social media.
How to Construct Your S’more Bars Step-by-Step
Step 1: Pressing the Foundation
Preheat your oven to 350°F (175°C). In a large mixing bowl, combine your graham cracker crumbs, melted butter, sugar, and salt. Stir until the mixture looks like wet sand and holds its shape when squeezed.
Dump the mixture into your lined 9×13 inch pan. Use the bottom of a flat measuring cup to press the crumbs down firmly. You want a very compact, even layer. Bake this base for 8-10 minutes until it smells nutty and looks slightly deepened in color.
Step 2: Creating the Molten Chocolate Layer
Remove the pan from the oven and immediately sprinkle the milk chocolate chips evenly over the hot crust. Let them sit for 2-3 minutes; the residual heat from the crust will begin to soften the chocolate. Use an offset spatula to gently spread the chocolate into a glossy, smooth, edge-to-edge layer.
If you prefer a thicker chocolate experience, you might also enjoy our chewy s’mores cookie bars which incorporate chocolate throughout the dough. For this specific sheet pan version, a solid layer of melted chocolate is key for that macro-shot shine.
Step 3: Achieving the Toasted Marshmallow Peaks
Switch your oven to the broiler setting (High). Arrange the jumbo marshmallows in tight rows on top of the melted chocolate. Ensure they are touching so they create a unified “stretchy” layer.
Place the pan under the broiler for 60-90 seconds. Do not walk away! Watch through the oven window as the marshmallows puff up and the tops turn from white to a beautiful caramelized golden-brown. Once you see those dark brown peaks and soft white centers, pull them out immediately.
Step 4: The Final Touch and Cooling
While the marshmallows are still sticky and hot, sprinkle your reserved graham cracker crumbs over the top. This adds the final visual element seen in our blueprint. Let the bars rest for at least 20 minutes before cutting. This allows the chocolate to set just enough so it doesn’t run everywhere, but stays gooey enough for the ultimate pull.
Expert Tips for the Perfect Marshmallow Pull
- The Broiler Rule: Every broiler is different. Rotate your pan halfway through the browning process to ensure the marshmallows in the corners get as much color as those in the center.
- Clean Cutting: To get perfect squares, grease your knife with a little bit of butter or non-stick spray before slicing through the sticky marshmallows.
- Avoid Overbaking the Crust: If the crust gets too dark during the first bake, it will become crumbly and hard. Aim for “golden-brown,” not “dark brown.”
- Freshness Matters: Use a brand-new bag of marshmallows. Older marshmallows can become “crusty” and won’t melt into those beautiful, stretchy strings.
Planning Your Menu: What to Serve with S’more Bars
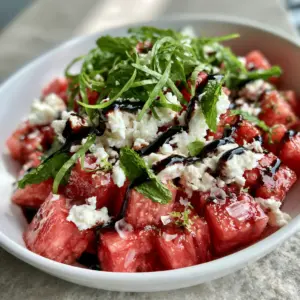
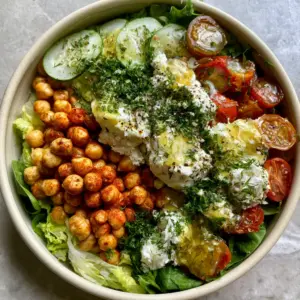
Since these bars are incredibly rich and sweet, they pair beautifully with fresh, acidic, or savory dishes to cleanse the palate. If you are serving these at a summer BBQ, consider a vibrant refreshing watermelon and feta salad or a crisp peach and arugula salad.
For a full dessert spread, these s’more bars sit perfectly next to a loaded peanut butter cookie pizza. If you’re looking for something lighter and fruit-forward for the kids, try these individual mini fruit pizzas alongside the decadent chocolate bars.
Storage and Reheating Advice
These s’more bars are best enjoyed the day they are made, especially if you want that gooey texture. However, they can be stored in an airtight container at room temperature for up to 3 days. Avoid refrigerating them, as this can make the marshmallows turn rubbery and the crust too hard.
If you want to recapture that molten magic the next day, pop a single bar in the microwave for 10-15 seconds. This will re-melt the chocolate and soften the marshmallow, giving you back that iconic stretchy pull.
Frequently Asked Questions
Yes, but you won’t get the same large, pillowy ‘peaks.’ Mini marshmallows melt faster and create a thinner, more uniform layer rather than the chunky, stretchy texture provided by jumbo marshmallows.
Use the broiler on the high setting and stay right next to the oven. Marshmallows turn from golden to burnt in seconds. Remove them as soon as the peaks are dark brown but the sides are still white.
Always line your baking pan with parchment paper, leaving an overhang on the sides. This allows you to lift the entire block out once cooled, preventing the sticky marshmallows from bonding to the metal edges.
Milk chocolate is traditional for s’mores because it melts into a smoother, glossier layer. Dark chocolate has a higher melting point and will be firmer and less ‘gooey’ once cooled.
This usually happens if the crust wasn’t pressed down firmly enough before baking or if there wasn’t enough melted butter. Use the bottom of a heavy cup to pack the crumbs into a solid layer.
The Complete S’more Bars Recipe
S'more Bars: The Ultimate Gooey Sheet Pan Dessert with a Buttery Graham Crust
Ingredients
Equipment
Method
- Combine 3 cups (375g) graham cracker crumbs, 3/4 cup (170g) melted butter, 1/4 cup (50g) sugar, and 1/2 tsp (3g) salt. Stir until it reaches a wet sand consistency.
- Press firmly into a lined 9x13 inch pan. Bake at 350°F (175°C) for 8-10 minutes until golden-brown and fragrant.
- Sprinkle 3 cups (510g) milk chocolate chips over the hot crust. Let melt for 2 minutes, then spread into a glossy, molten layer.
- Top with jumbo marshmallows. Place under the broiler for 60-90 seconds until peaks are caramelized and centers are soft white. Sprinkle with extra crumbs.
Notes
Wait 20 minutes before slicing to let the molten chocolate stabilize.
Conclusion: Bring the Campfire Home
Making s’more bars is more than just baking; it is about creating a sensory experience. From the sound of the graham crackers crunching to the visual of the toasted marshmallow peaks, this recipe is a guaranteed crowd-pleaser. Whether you’re making them for a holiday celebration or just a Tuesday night treat, they never disappoint.
We would love to see your “marshmallow pull” photos! Tag us on social media and be sure to pin this recipe to your favorite boards on Pinterest so you never lose it. Happy baking!