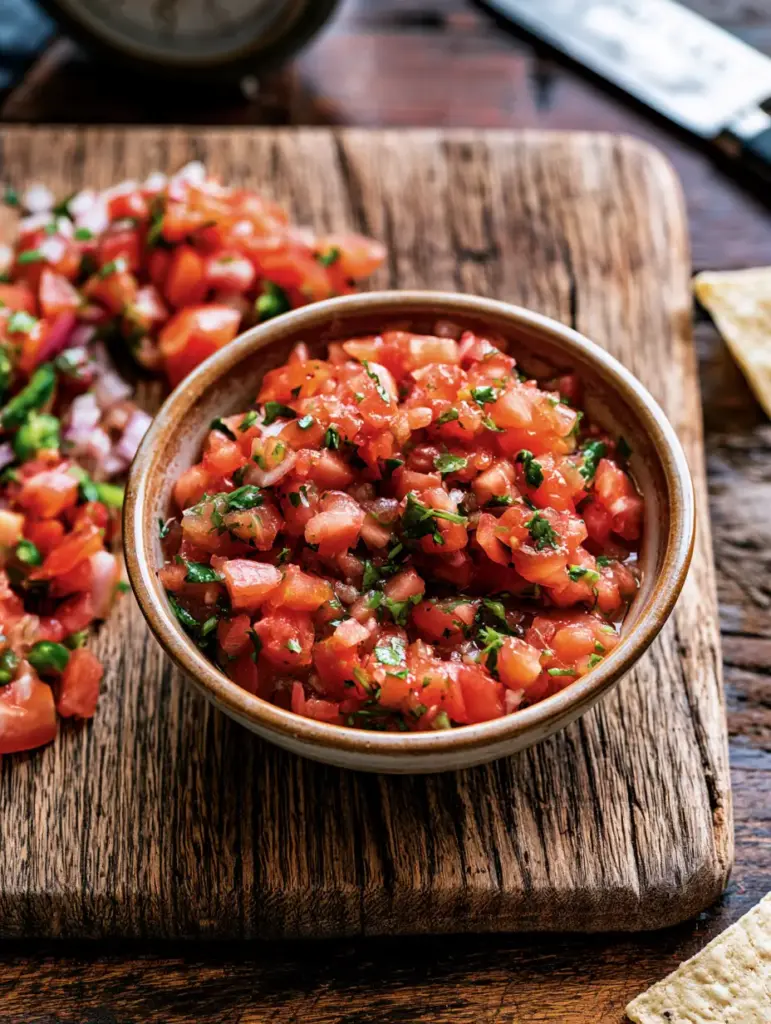
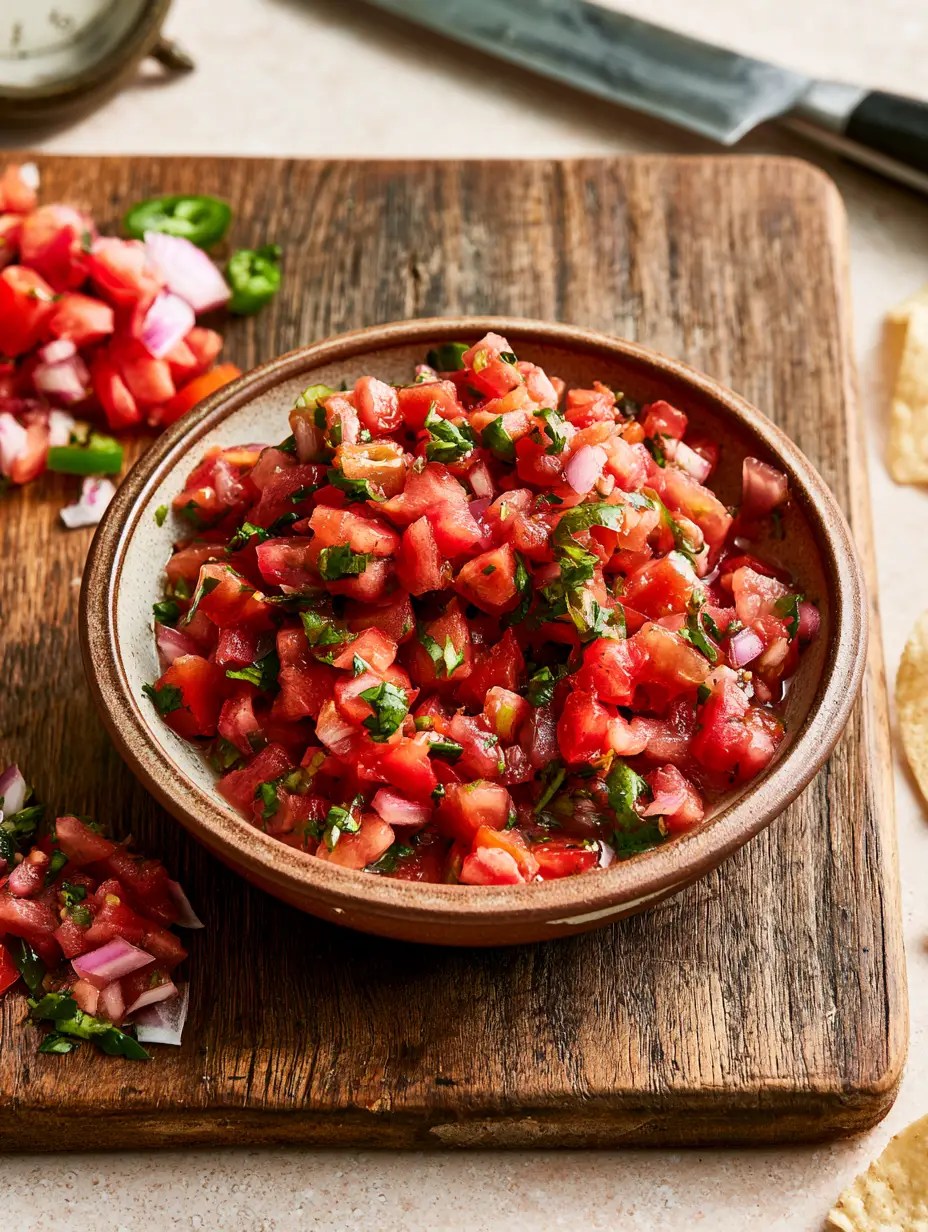
Pico de Gallo is more than just a condiment; it is a vibrant, ruby-red mosaic of garden-fresh ingredients that brings a burst of authentic Mexican flavor to any table. When you look at a bowl of perfectly prepared salsa fresca, you should see distinct, firm geometric cubes of tomato and translucent shards of onion, rather than a soupy mess.
This recipe focuses on achieving that elusive, dry, and chunky texture captured in professional culinary photography. By mastering the balance of acidity and the “seeding” technique, you will create a Pico de Gallo that stands tall on a tortilla chip without dripping or losing its structural integrity.
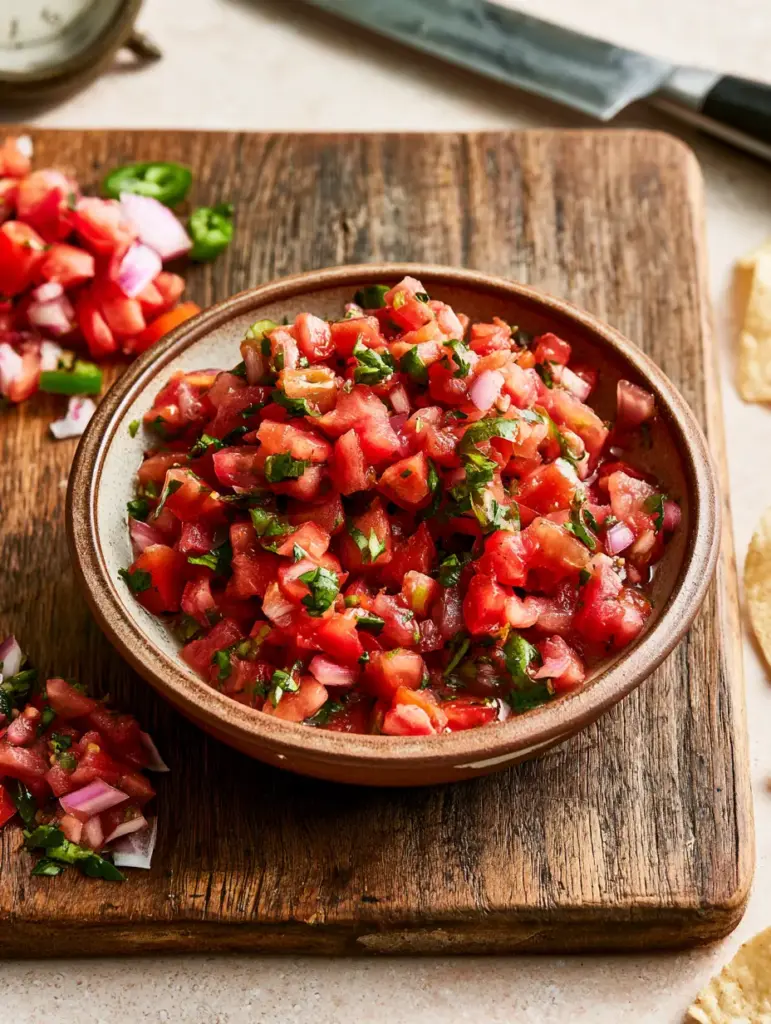
Imagine a rustic, matte-finish clay bowl overflowing with life—bright green jalapeños, jagged cilantro leaves, and the visible sparkle of coarse sea salt. That is the gold standard we are aiming for today. Whether you are hosting a summer fiesta or looking for a healthy snack, this guide ensures every bite is crisp, punchy, and visually stunning.
Why This Authentic Salsa Fresca Works
- Structural Integrity: By utilizing specific dicing techniques, we ensure the vegetables remain firm and crisp, preventing the “pooling” effect common in amateur recipes.
- Visual Contrast: The combination of ruby-red Roma tomatoes and bright green cilantro creates a high-contrast aesthetic that is as beautiful as it is delicious.
- Balanced Heat: Through precise mincing of jalapeños, the spice is evenly distributed, offering a gentle warmth rather than overwhelming fire.
- Textural Harmony: The inclusion of coarse sea salt flakes and cracked black pepper adds a finishing crunch that complements the snap of a fresh corn tortilla chip.
The Anatomy of Premium Ingredients for Chunky Salsa
Firm Roma Tomatoes: You need 2 cups (approx. 400g) of Roma tomatoes because they have a higher flesh-to-seed ratio, which is essential for a dry salsa. Their firm walls hold their shape even after being tossed with salt and lime.
Crisp White Onion: Use 1 cup (150g) of finely diced white onion to provide a sharp, clean bite that contrasts with the sweetness of the tomatoes. White onions are preferred over red or yellow for their distinct crunch and traditional flavor profile.
Fresh Green Jalapeños: 2 medium jalapeños (approx. 30g) provide the essential capsaicin kick. Mincing them finely ensures that no single bite is overly spicy, maintaining a sophisticated balance of heat.
Jagged Cilantro Leaves: A 1/2 cup (15g) of loosely packed, roughly chopped cilantro adds an earthy, citrusy top note. The “jagged” cut is intentional, as bruising the leaves too much during chopping will lead to wilting and loss of color.
Coarse Sea Salt & Cracked Black Pepper: 1 tsp (6g) of sea salt flakes and 1/2 tsp (1g) of freshly cracked pepper are vital for drawing out flavor. The coarse texture of the salt is a key visual component, catching the light in a rustic clay bowl.
Fresh Lime Juice: 2 tbsp (30ml) of freshly squeezed lime juice acts as the structural glue. The acidity brightens the colors of the vegetables and balances the natural sugars in the tomatoes.
Essential Tools for Culinary Precision
To achieve the professional “mosaic” look described in our visual blueprint, you cannot rely on a food processor. A food processor will pulverize the vegetables, releasing too much cellular liquid and resulting in a slurry rather than a chunky salsa.
A sharp Chef’s Knife is your most important tool; it allows for clean cuts that don’t bruise the tomato skins. A large wooden cutting board provides the space needed to keep your vegetable piles separate before the final mix.
Finally, a fine-mesh strainer is a secret weapon for those who want zero liquid pooling. Briefly resting the diced tomatoes in a strainer allows excess juice to escape before they are combined with the other ingredients in your matte clay serving bowl.
The Step-by-Step Blueprint for a Rustic Mosaic
Prepping the Tomato Base
Start by slicing your Roma tomatoes lengthwise. Use a small spoon to scrape out the watery seeds and pulp; this step is non-negotiable if you want to avoid a soggy salsa.
Once deseeded, cut the tomato flesh into uniform 1/4-inch (6mm) cubes. This precision ensures that every scoop of the Pico de Gallo fits perfectly onto a crispy snack or a traditional chip.
Achieving the Perfect Onion Crunch
Dice the white onion to a slightly smaller scale than the tomatoes, roughly 1/8-inch (3mm) pieces. If the onion flavor is too pungent for your palate, you can soak the diced pieces in cold water for 5 minutes and then pat them dry.
This “de-flaming” technique removes the harsh sulfurous compounds while retaining the structural snap that defines a high-quality Pico de Gallo. Combine these with your tomatoes in a large mixing bowl.
Managing the Heat
Slice the jalapeños in half and remove the white membranes and seeds if you prefer a milder salsa. Mince the green flesh as finely as possible, almost into a paste-like consistency, so it integrates seamlessly into the mosaic.
Add the minced jalapeños to the bowl. At this stage, you should see a vibrant contrast between the ruby-red tomatoes, the translucent white onions, and the bright green specks of pepper.
The Final Toss and Seasoning
Add the jagged cilantro leaves last. Use a gentle folding motion with a spatula rather than vigorous stirring to keep the cilantro from bruising or turning dark green.
Sprinkle the coarse sea salt flakes and cracked black pepper over the top. Drizzle the lime juice and toss one final time. You will notice the side-lighting hitting the skins of the tomatoes, creating a beautiful, natural glisten.
Expert Tips for Success
- The Resting Rule: Let the salsa sit for at least 15 minutes before serving. This allows the salt to macerate the vegetables just enough to meld the flavors without breaking down the cell walls.
- Avoid Refrigeration if Possible: Tomatoes lose their flavor and become mealy in the fridge. For the best “handheld smartphone photo” quality, serve the Pico de Gallo at room temperature immediately after the resting period.
- Knife Sharpening: If your knife isn’t sharp, you will squeeze the juice out of the tomatoes rather than cutting through the skin. A sharp blade is the difference between a chunky salsa and a mushy one.
- Lime Zest: For an extra aromatic boost, add a pinch of lime zest. It reinforces the citrus notes without adding extra liquid to the bottom of the bowl.
Maximizing Your Summer Spread
Pico de Gallo is a staple at any outdoor gathering, particularly when paired with refreshing beverages. It serves as a bright, acidic counterpoint to a sweet strawberry lemonade or a sophisticated coconut spritz.
If you are planning a full menu, consider serving this alongside other vibrant dishes. It pairs beautifully with a chilled cucumber salad or as a topping for grilled fish tacos during a session of summer cocktails.
The beauty of this salsa is its versatility. It can transition from a casual poolside snack to a refined appetizer for a dinner party, especially when presented in a rustic, matte-finish clay bowl that emphasizes its artisanal roots.
Storage and Freshness Guidelines
While Pico de Gallo is best enjoyed fresh, you can store leftovers in an airtight container in the refrigerator for up to 3 days. Note that the salt will continue to draw moisture out of the vegetables over time.
If you find a pool of liquid at the bottom of the container the next day, simply drain it off through a slotted spoon before serving. Do not freeze Pico de Gallo, as the freezing and thawing process destroys the cellular structure of the tomatoes and onions, leaving them soft and mushy.
Frequently Asked Questions
While you can use red onion, authentic Pico de Gallo traditionally uses white onion for its sharper, cleaner bite and crispier texture.
The heat lives in the seeds and membranes of the jalapeño. Remove them completely before mincing the green flesh to keep the flavor mild.
No, the skins of the Roma tomatoes provide the essential ‘snap’ and structural integrity that defines a chunky salsa fresca.
Roma tomatoes are the best choice because they are firm and have less water content compared to beefsteak or vine-ripened tomatoes.
Watery salsa is usually caused by using the tomato seeds and pulp. To keep it dry and chunky, scrape out the watery center of the Roma tomatoes before dicing.
The Authentic Pico de Gallo Recipe
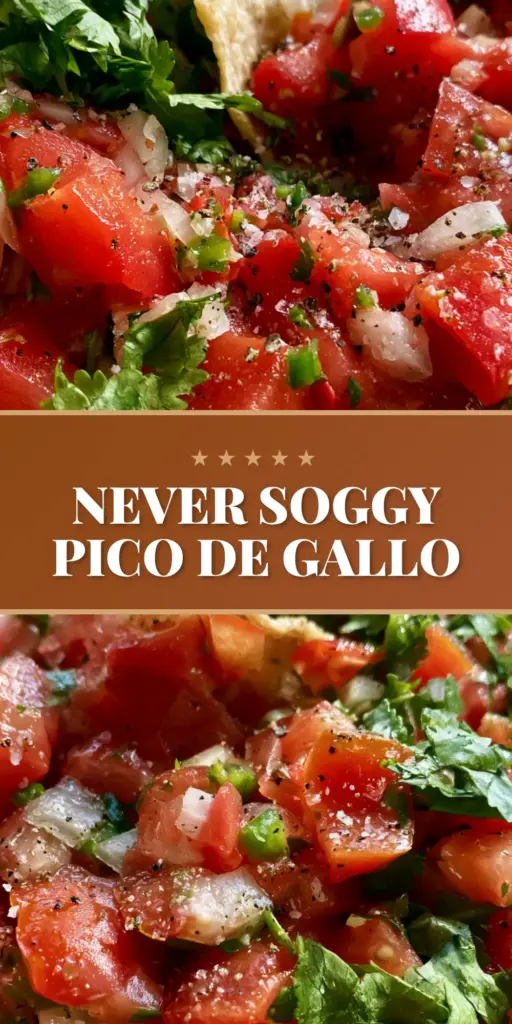
Pico de Gallo: The Ultimate Authentic Mexican Salsa Fresca Recipe
Ingredients
Equipment
Method
- Slice the Roma tomatoes in half and scrape out the seeds and watery pulp to ensure a dry final texture.
- Dice the tomato flesh into 1/4-inch cubes and the white onion into 1/8-inch cubes for a uniform mosaic look.
- In a rustic matte clay bowl, combine the diced tomatoes, onions, and minced jalapeños.
- Gently fold in the jagged cilantro leaves, lime juice, coarse sea salt, and cracked black pepper until just mixed.
Notes
Use a very sharp knife to avoid bruising the cilantro and tomato skins.
Final Thoughts on the Perfect Dip
Creating a masterpiece like this Pico de Gallo requires patience and attention to detail, but the reward is a sensory experience that far surpasses any store-bought alternative. The crunch of the corn tortilla chip against the firm, seasoned vegetables is a culinary delight.
If you enjoyed this recipe, please share your results! We love seeing your rustic clay bowl setups. Head over to Pinterest to save this for your next fiesta, and leave a comment below with your favorite way to serve this classic Mexican staple.