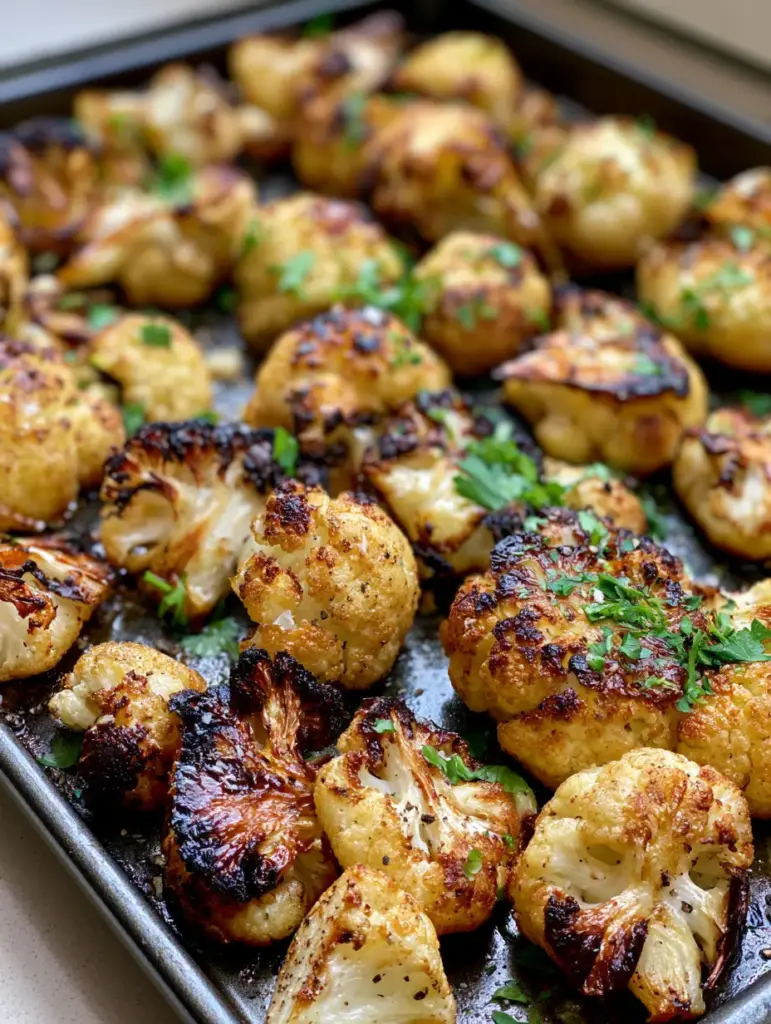
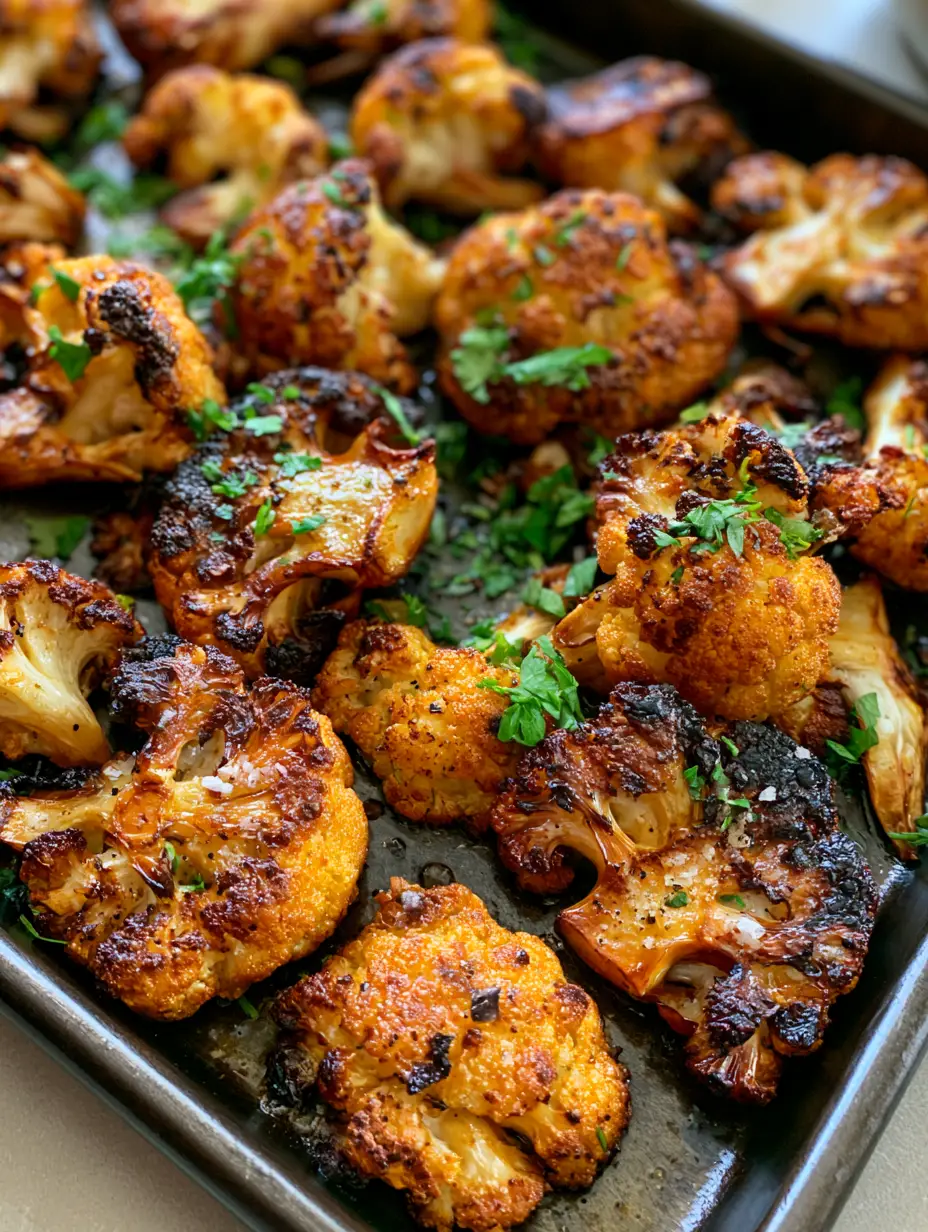
Crispy Roasted Cauliflower is the game-changing side dish that transforms a humble vegetable into a crave-worthy, golden-brown masterpiece. If you have been searching for that elusive combination of deep brown charred edges and a tender, melt-in-your-mouth interior, this recipe is your final destination. We aren’t just steaming florets here; we are utilizing high-heat caramelization to create a texture so satisfying it rivals your favorite snack foods. One look at those perfectly blistered, black-charred tips and you will understand why this dish goes viral every time it hits the dinner table.
Whether you are a seasoned meal prepper or a beginner home cook, mastering Crispy Roasted Cauliflower is a foundational skill. The beauty of this recipe lies in its simplicity—just a few pantry staples, a very hot oven, and a dark metal baking sheet. By the time you pull these florets out of the oven, they will be glistening with a light oil sheen, seasoned to perfection with visible grains of salt and cracked black pepper, and finished with a vibrant pop of fresh green parsley.
Why You’ll Crave This Caramelized Cauliflower
- Addictive Textural Contrast: You get the crunch of the charred crispy edges paired with a buttery, caramelized center.
- Pinterest-Perfect Presentation: The contrast between the golden-brown cauliflower and the bright green parsley flakes makes it an instant visual winner.
- Naturally Healthy: It is a low-carb, keto-friendly, and vegan-friendly side that satisfies the same salty-crunchy cravings as French fries.
- Versatile Pairing: It fits perfectly next to Oven-Baked Chicken Drumsticks or as a base for Greek Turkey Meatball Bowls.
The Essential Ingredients for Perfect Char
To achieve the best Crispy Roasted Cauliflower, every ingredient serves a specific culinary purpose. We are aiming for maximum flavor with minimal interference.
- 1 Large Head of Cauliflower (approx. 2 lbs / 900g): Fresh is best. Look for a heavy, tight head without brown spots. You want to cut these into uniform florets to ensure even roasting.
- 3 Tablespoons (45ml) Extra Virgin Olive Oil: The fat is the heat conductor. It creates that light oil sheen seen in the photos and allows the florets to sear against the pan.
- 1 Teaspoon (6g) Sea Salt: Essential for drawing out moisture, which concentrates the natural sugars for better caramelization.
- 1/2 Teaspoon (1g) Freshly Cracked Black Pepper: Provides a subtle heat and visual texture. The visible grains of pepper are key to a professional look.
- 1/2 Teaspoon (1g) Garlic Powder: Adds an umami depth that complements the roasted sweetness of the vegetable.
- 2 Tablespoons (8g) Fresh Flat-Leaf Parsley: Finely chopped flakes added at the very end provide a “bright green” contrast to the deep browns of the roasted florets.
If you are looking to round out a full meal, this cauliflower is the perfect companion to Honey BBQ Chicken and Rice for a balanced weeknight dinner.
Step-by-Step: From Raw Florets to Crispy Perfection
Following these steps ensures you don’t end up with mushy, grey vegetables. We are chasing the golden-brown charred texture that makes this recipe stand out.
1. Preheating for Power
Preheat your oven to 425°F (220°C). Position your oven rack in the bottom third of the oven. This puts the baking sheet closer to the heat source, ensuring the bottom of the florets get those deep brown and black charred edges we see in the Visual Recipe Blueprint.
2. The Art of the Cut
Break the cauliflower into bite-sized florets. Pro Tip: Ensure at least one side of each floret has a flat surface. This flat edge will make direct contact with the dark metal pan, leading to maximum browning. Rinse and thoroughly dry the florets. Any leftover water will cause the cauliflower to steam rather than roast.
3. The Seasoning Shakedown
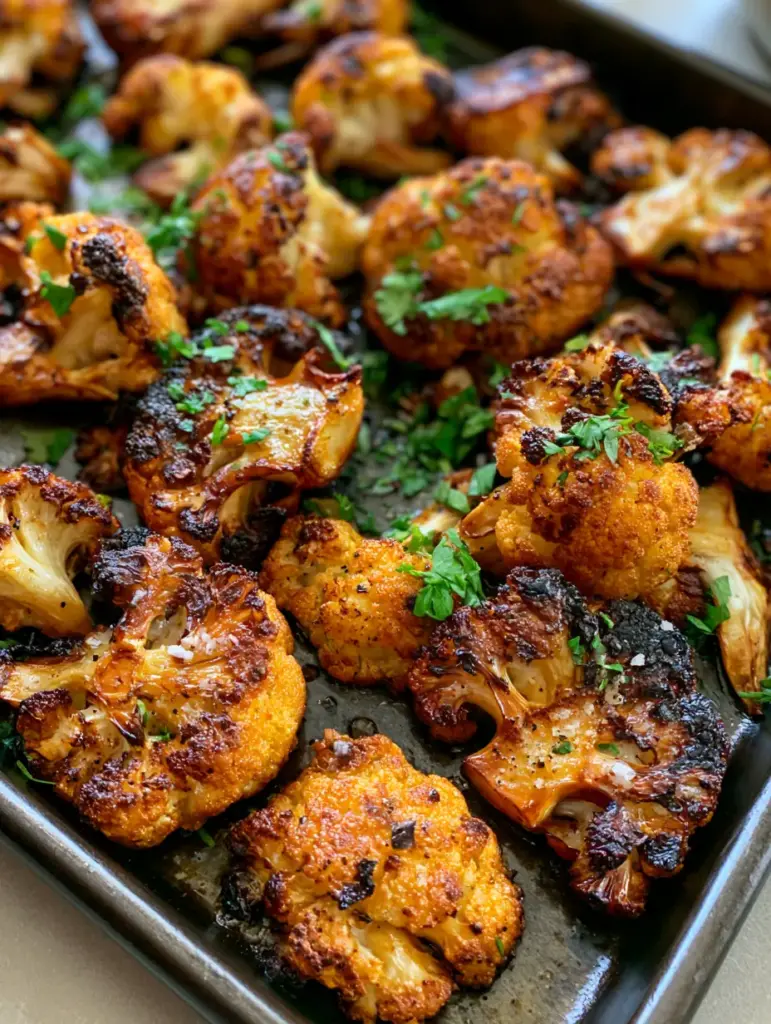
In a large bowl, toss the cauliflower florets with the olive oil, salt, pepper, and garlic powder. Do not be shy with the oil; you want an even sheen across every piece. The oil acts as the medium for the heat to transform the surface texture.
4. The Dark Pan Advantage
Spread the florets onto a dark metal baking sheet. Avoid using parchment paper if you want the absolute crispiest results, as the paper acts as an insulator. Ensure the pieces are evenly scattered and not crowded. Crowding creates steam, which is the enemy of the crunch.
5. The Roasting Ritual
Roast for 25-30 minutes. Halfway through, use a metal spatula to toss the florets. You are looking for golden-brown roasted cauliflower with visible caramelized textures. The tips should look nearly burnt—this is where the flavor lives!
Pro Secrets for the Ultimate Crunch
- Use a Dark Pan: Dark metal absorbs more heat than light-colored aluminum, leading to faster and deeper browning.
- High Heat is Non-Negotiable: Don’t drop the temperature. The 425°F (220°C) environment is what creates the charred crispy edges.
- Dry the Veggies: If your cauliflower is wet from washing, it will never get crispy. Use a clean kitchen towel or a salad spinner.
- The Parsley Finish: Always add your fine, bright green chopped parsley flakes after roasting. The residual heat will wake up the aroma without wilting the color.
For another vegetable side that utilizes similar high-heat techniques, check out these Garlic Parmesan Roasted Carrots.
Storage, Reheating & Freezing
To Store: Keep leftover Crispy Roasted Cauliflower in an airtight container in the refrigerator for up to 4 days. Note that the florets will lose some of their initial crunch as they sit.
To Reheat: Avoid the microwave! To bring back the crispy edges, place the florets back on a baking sheet at 400°F (200°C) for 5-7 minutes. Alternatively, an air fryer works wonders at 375°F (190°C) for 3 minutes.
To Freeze: While you can freeze roasted cauliflower, the texture will change significantly upon thawing. It is best used in soups or purees after being frozen.
What to Serve With This Side Dish
This cauliflower is a versatile powerhouse. It balances out rich meats like Ground Beef Quesadillas or adds a healthy crunch to a Crispy Chicken Ranch Snack Wrap.
If you are hosting a dinner party, consider serving it alongside a hearty main like roast chicken or even a plant-based pasta. The caramelized texture provides a sophisticated flavor profile that works with almost any cuisine.
Frequently Asked Questions
Yes, but you must roast it straight from frozen at a slightly higher temperature (450°F) and expect a softer interior. It will never be quite as crispy as fresh cauliflower.
Yes, but you must ensure it is bone-dry before adding oil and seasonings. Any water left on the florets will prevent the Maillard reaction (browning) from occurring.
Absolutely! It is low in calories, high in fiber, and packed with vitamins C and K. Using heart-healthy olive oil makes it a great alternative to processed snacks.
The black edges come from the natural sugars in the cauliflower caramelizing and eventually charring under high heat. This provides the ‘burnt’ savory flavor that makes the dish famous.
The most common reasons are crowding the pan, which creates steam, or not having the oven temperature high enough. Ensure you use 425°F (220°C) and a dark metal pan without parchment paper for the best results.
Crispy Roasted Cauliflower Recipe Card
Crispy Roasted Cauliflower: The Ultimate Caramelized Side Dish
Ingredients
Equipment
Method
- Preheat your oven to 425°F (220°C) and ensure the oven rack is in the lower-middle position.
- Wash and thoroughly dry the cauliflower florets. Any moisture will prevent them from getting crispy.
- In a large bowl, toss the florets with olive oil, salt, pepper, and garlic powder until a light oil sheen is visible.
- Spread the florets onto a dark metal baking sheet. Do not crowd the pan; ensure space between pieces for airflow.
- Roast for 25-30 minutes, tossing halfway through, until the edges are deep brown and charred.
- Remove from the oven and immediately sprinkle with fine, bright green chopped parsley flakes.
Notes
Don't skip the high heat; 425°F is essential for the char.
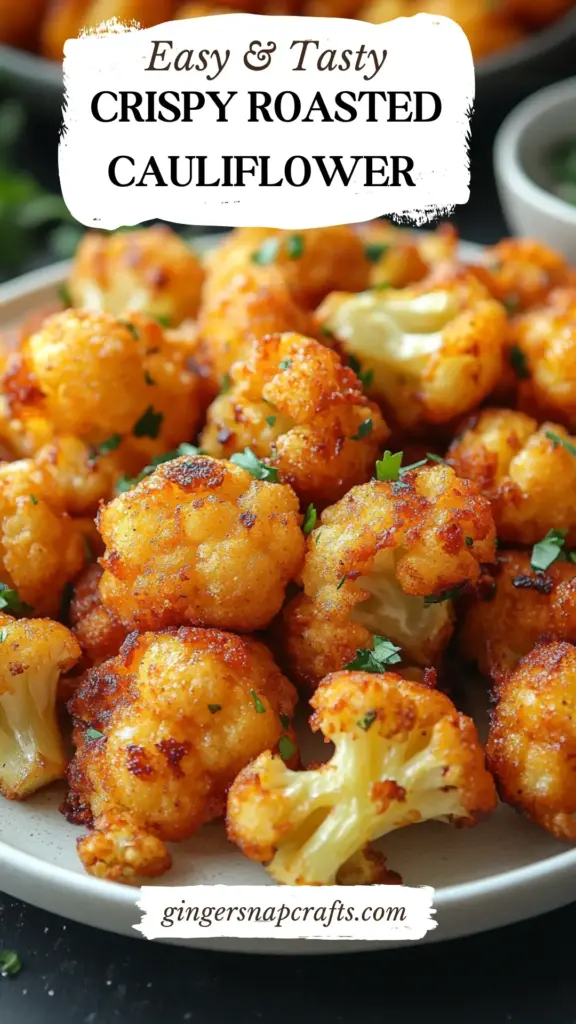
Join the evay_eats Community!
Did you achieve those perfectly charred crispy edges? We want to see your results! Save this recipe to your Pinterest boards so you never lose it, and follow evay_eats for more foolproof kitchen staples. If you made this, please drop a comment below and share a photo of your golden-brown masterpiece. Don’t forget to leave a 5-star rating if this is the best cauliflower you’ve ever had!