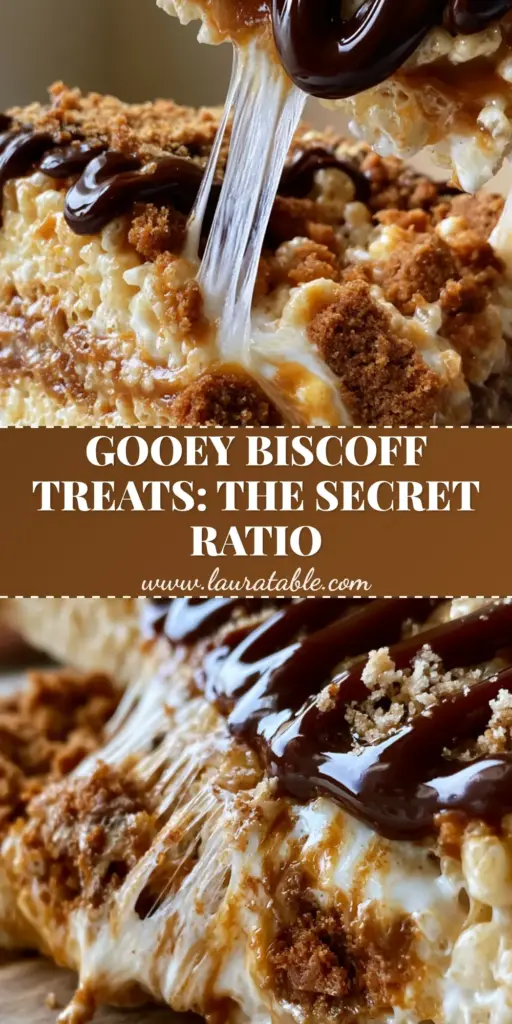
If you are searching for the most decadent, no-bake dessert ever created, these Biscoff Rice Krispie Treats are about to become your new obsession. Imagine the classic childhood cereal treat, but elevated with the deep, caramelized spice of Lotus Biscoff cookie butter and crunchy biscuit chunks. This isn’t just a snack; it’s a sensory experience featuring a legendary marshmallow pull that will stop any Pinterest scroller in their tracks.
The secret to these Biscoff Rice Krispie Treats lies in the layering of textures. We aren’t just stirring in a spoonful of spread; we are swirling, drizzling, and dusting to ensure every single bite is packed with speculoos flavor. Whether you need a quick party win or a late-night indulgence, this recipe delivers maximum impact with minimal effort.
Why You Will Love These Speculoos Cereal Bars
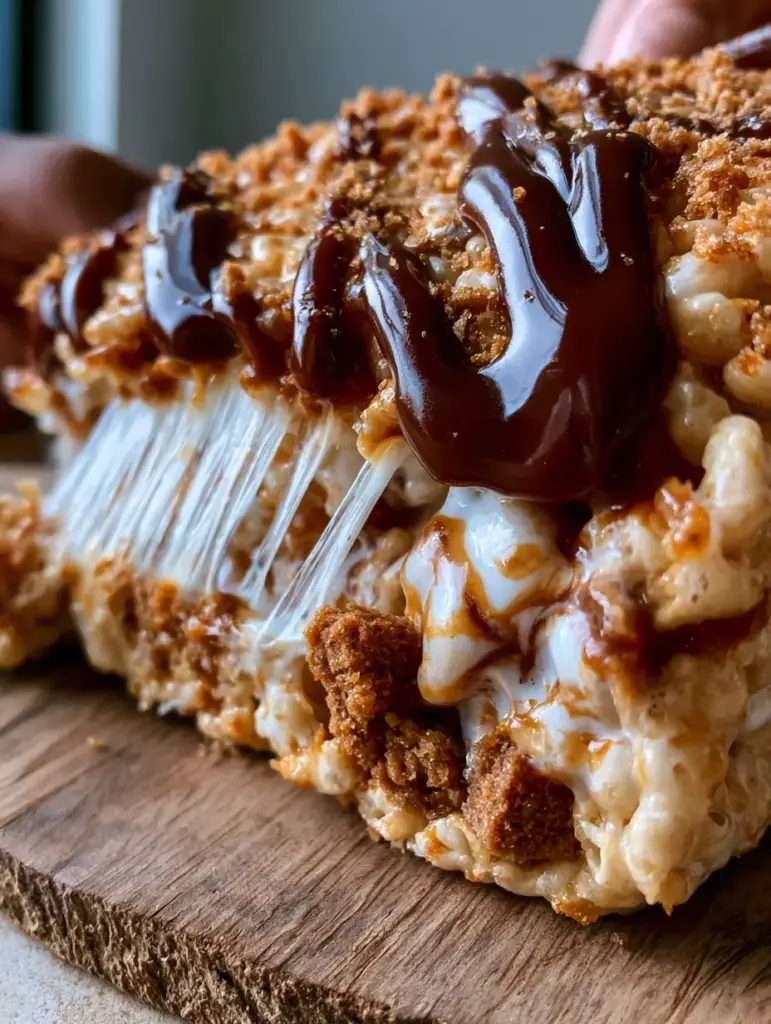
- The Ultimate Texture: A perfect balance of crispy puffed rice, crunchy biscuit bits, and a glossy, buttery marshmallow binder.
- Visual Appeal: Featuring thick, dark caramel-colored cookie butter drizzles and a fine cookie crumb dusting that looks professional every time.
- Gooey Factor: Designed specifically for that translucent marshmallow string pull that makes these treats irresistible.
- No-Bake Ease: A sophisticated dessert that requires zero oven time and only a handful of pantry staples.
If you love indulgent, easy-to-make bars, you should also check out our S’mores Cookie Bars for another nostalgic treat with a modern twist!
The Essential Ingredients for Biscoff Rice Krispie Treats
To achieve the bakery-style results shown in our photos, you need specific ingredients that work together to create that speculoos cookie butter swirl and perfect set.
1. Puffed Rice Cereal: You will need 6 cups (approx. 180g) of fresh, crisp cereal. The crunch is the foundation of the entire bar.
2. Fresh Mini Marshmallows: Use 10 ounces (283g) of high-quality marshmallows. Freshness is non-negotiable for the stretchy marshmallow string pull.
3. Salted Butter: 1/2 cup (115g) of butter provides the fat needed to keep the treats soft. Using salted butter balances the extreme sweetness of the cookie butter.
4. Biscoff Cookie Butter (Speculoos): You will need 2/3 cup (170g) for the base mix, plus extra for the glossy zig-zag drizzle on top.
5. Biscoff Biscuits: 8-10 cookies, roughly crushed. These provide visible chunks of cinnamon spice cookies embedded throughout the bars.
6. Vanilla Extract & Sea Salt: A splash of vanilla (1 tsp) and a pinch of salt enhance the warm cinnamon notes of the speculoos.
Mastering the Melt: Step-by-Step Instructions
Follow these steps closely to ensure your Biscoff Rice Krispie Treats remain soft and gooey rather than hard and brittle. Precision in the melting process is key to culinary success.
Prepping Your Station
Line an 8×8 inch (20x20cm) square pan with parchment paper. Leave an overhang on the sides so you can easily lift the bars out later. Pro tip: Lightly grease the parchment with a tiny bit of butter to prevent sticking.
The Low and Slow Melt
In a large pot over low heat, melt your 1/2 cup (115g) of salted butter. Once melted, add the mini marshmallows and a pinch of salt. Stir constantly with a silicone spatula until the marshmallows are glossy and just melted. Do not overcook them, or the sugar will become hard!
Infusing the Speculoos Swirls
Once the marshmallows are melted, remove the pot from the heat. Stir in the 2/3 cup (170g) of Lotus Biscoff cookie butter and vanilla extract. Stir until just combined—you want to see those speculoos cookie butter swirls rather than a perfectly uniform color.
Folding for Maximum Crunch
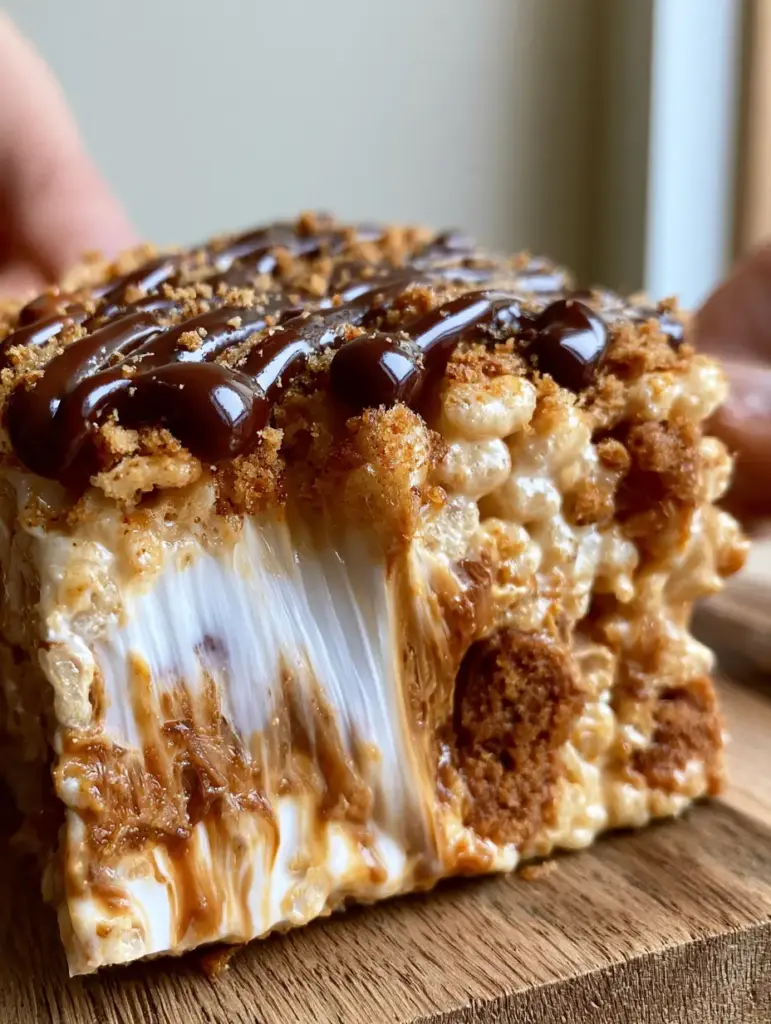
Quickly fold in the 6 cups (180g) of puffed rice cereal and the crushed Biscoff biscuit chunks. Use a gentle folding motion to ensure the cereal isn’t crushed. You want the golden toasted puffed rice to be fully coated in the buttery marshmallow binder.
The Gentle Press
Transfer the mixture to your prepared pan. Using a piece of greased parchment or a buttered spatula, gently pat the mixture into the corners. CRITICAL: Do not pack it down tightly! A light touch ensures the bars stay airy and create that famous marshmallow pull.
The Professional Finish
Melt an additional 2 tablespoons of cookie butter in the microwave for 20 seconds. Use a spoon to create a thick, glossy zig-zag drizzle across the top. Finish with a fine cookie crumb dusting using one crushed biscuit. This adds the visual “wow” factor seen in professional food photography.
While waiting for these to set, why not plan your next party menu? These treats pair beautifully after a meal of Bacon Ranch Pasta Salad or a light Watermelon Feta Salad.
Expert Tips for the Perfect Marshmallow Pull
- Never Boil the Marshmallows: High heat is the enemy. Melt them on the lowest setting possible to keep the proteins flexible for that translucent string pull.
- Use Fresh Cereal: Check the expiration date. Stale cereal will ruin the texture of your Biscoff Rice Krispie Treats.
- The Wet Hand Trick: If the mixture is sticking to your hands while pressing it into the pan, lightly dampen your fingers with water.
- Room Temperature Setting: Let the treats set at room temperature for at least 30-60 minutes. Refrigerating them will make the butter too hard, losing the gooey texture.
Storage, Reheating & Freezing
Storage: Keep your Biscoff Rice Krispie Treats in an airtight container at room temperature for up to 3 days. To keep them ultra-soft, place a slice of white bread in the container to absorb excess moisture.
Freezing: You can freeze these bars! Wrap individual squares in plastic wrap and place them in a freezer bag for up to 2 months. Thaw at room temperature for 20 minutes before eating.
Reheating: If they have become a bit firm, pop a square in the microwave for exactly 5-8 seconds. This will revive the gooey marshmallow binder instantly.
What to Serve With These Treats
These bars are incredibly rich and sweet. They pair perfectly with a cold glass of milk or a hot espresso. If you are serving them at a summer gathering, they are a fantastic follow-up to Grilled Pork Kabobs or even Mini Fruit Pizzas.
For a complete dessert spread, consider serving these alongside some Gooey S’mores Bars to give your guests a variety of “pull-apart” dessert options!
Frequently Asked Questions
Standard marshmallows and Biscoff cookies contain gelatin or dairy derivatives. To make this vegan, use vegan marshmallows, a plant-based butter, and verify your specific brand of speculoos cookies is vegan-friendly.
Yes! Chunky cookie butter will add even more texture to the treats. However, for the zig-zag drizzle on top, smooth cookie butter works best for a professional look.
Use very fresh marshmallows and add a few extra mini marshmallows right at the end of the melting process without fully melting them. Also, never press the mixture too hard into the pan.
This usually happens if the marshmallows were melted over high heat or cooked for too long. Always melt marshmallows on the lowest heat setting and remove them as soon as they become glossy.
The Ultimate Biscoff Rice Krispie Treats Recipe
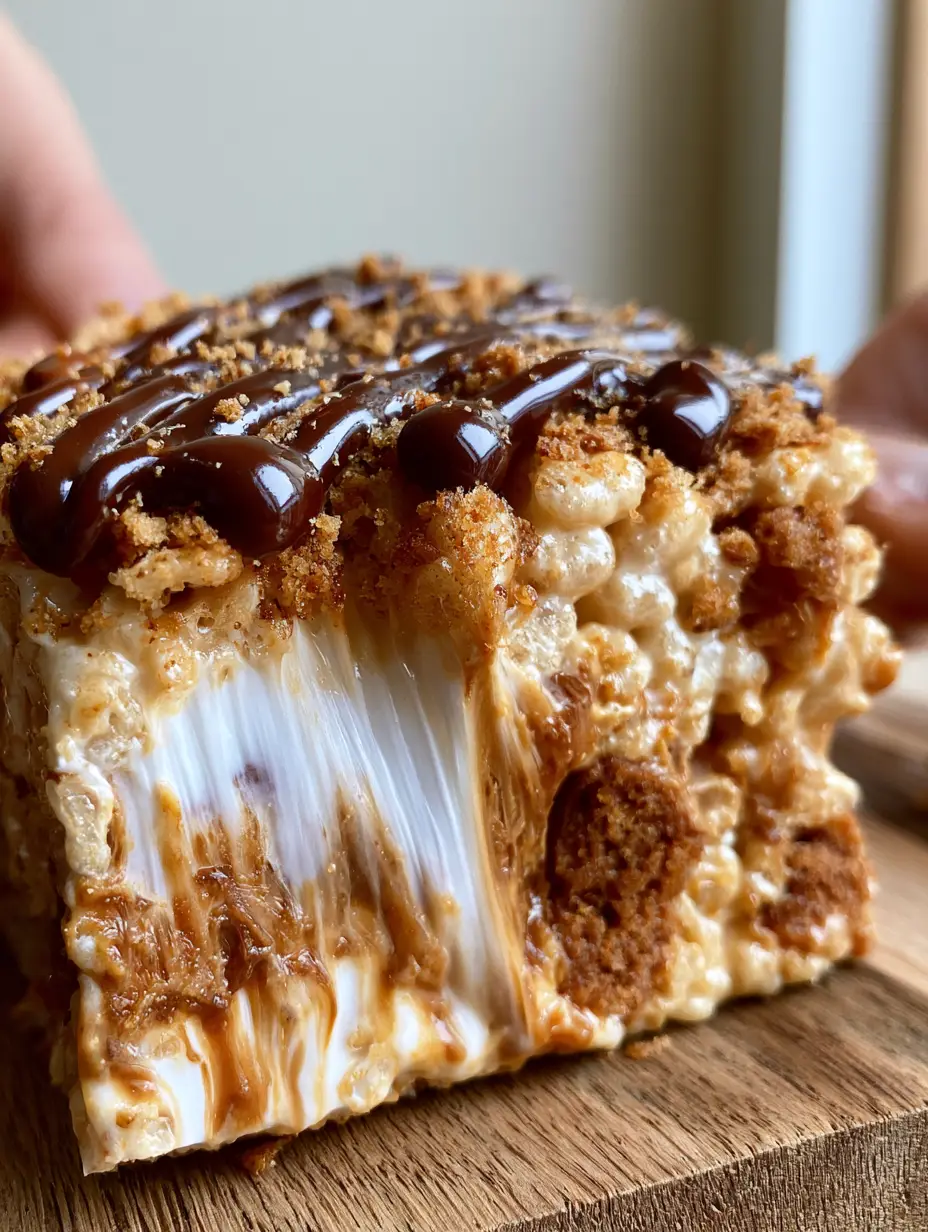
Biscoff Rice Krispie Treats: The Ultimate Gooey Cookie Butter Snack
Ingredients
Equipment
Method
- Line an 8x8 inch square pan with parchment paper, leaving an overhang for easy removal.
- In a large pot over low heat, melt the salted butter.
- Stir in the mini marshmallows. Keep stirring until just melted and glossy. Do not overheat.
- Remove from heat and stir in the cookie butter and vanilla until swirled.
- Gently fold in the puffed rice cereal and crushed Biscoff biscuit chunks until evenly coated.
- Transfer mixture to the pan and gently pat down. Do not compress tightly.
- Melt the extra cookie butter and drizzle in a zig-zag pattern. Sprinkle with fine cookie crumbs.
Notes
Tip 2: Do not press the mixture too hard into the pan to keep the treats light and airy.
Share Your Gooey Creations!
Did you manage to get that perfect marshmallow string pull? We want to see! Please save this recipe to your Dessert Board on Pinterest so you never lose it. If you made these Biscoff Rice Krispie Treats, leave a comment below and let us know how they turned out, or better yet, share a photo! Don’t forget to give this recipe a 5-star rating if you loved it as much as we do. Happy snacking!