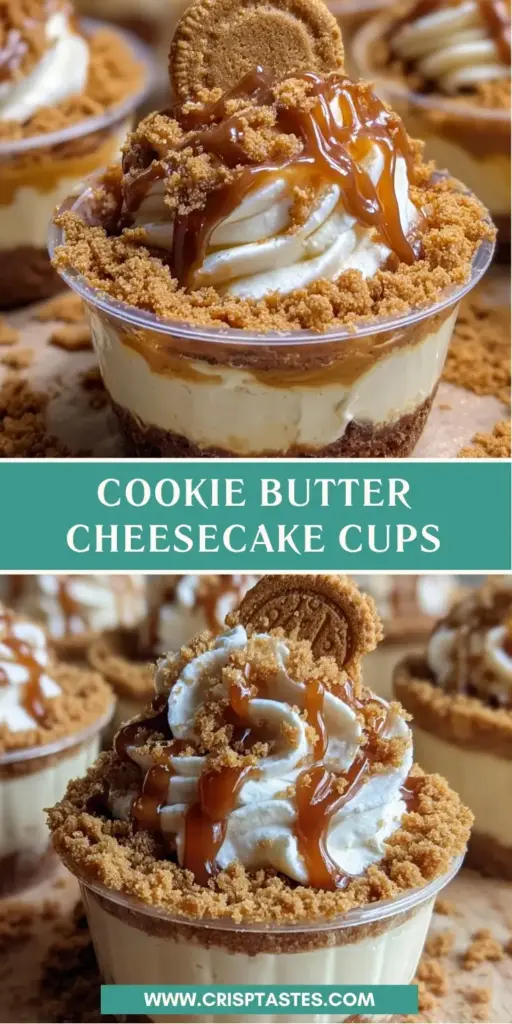
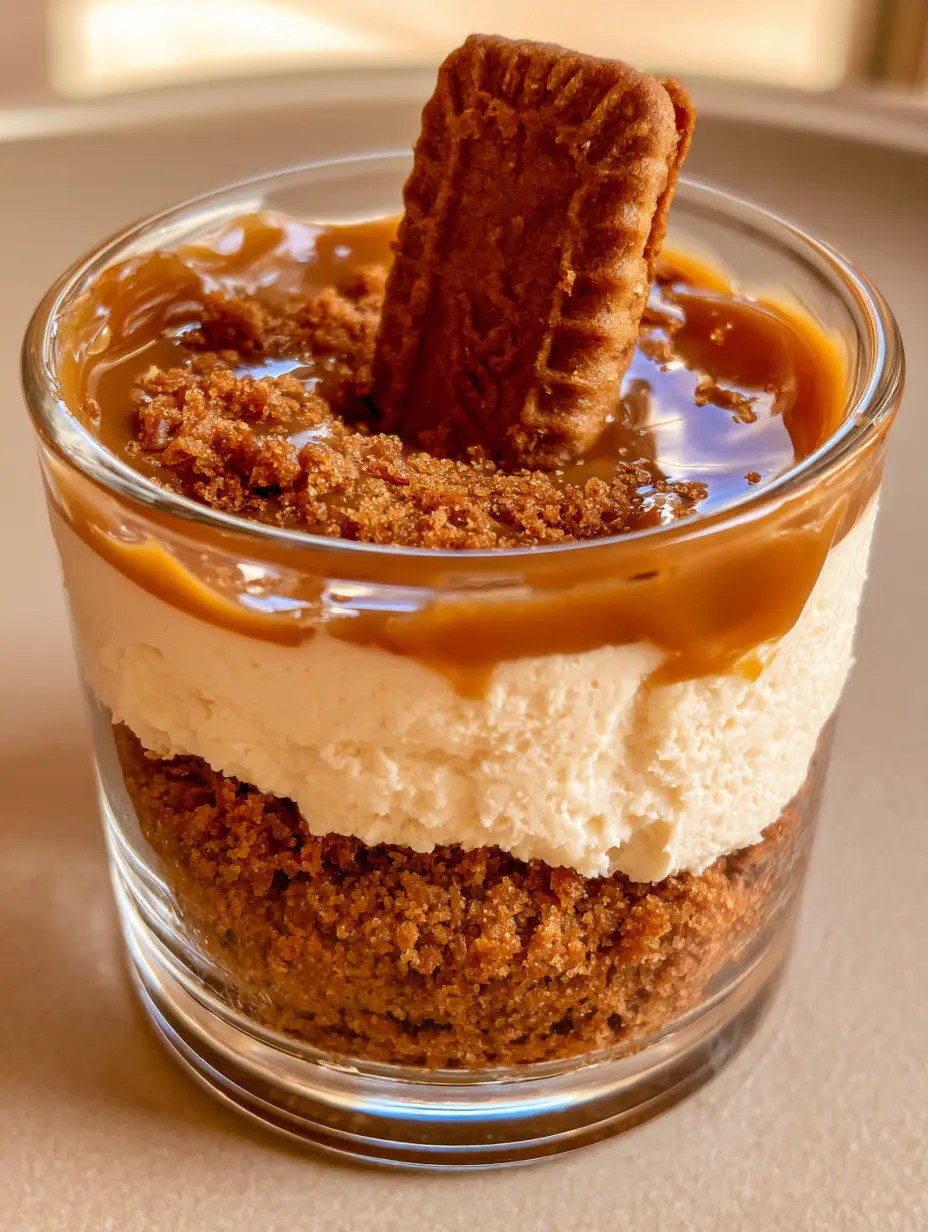
If you are searching for the most decadent, crowd-pleasing treat, these Cookie Butter Cheesecake Cups are the answer. Perfectly portioned and visually stunning, this recipe combines the spiced warmth of Speculoos with a velvety, smooth cream cheese filling that will have your Pinterest followers swooning. Whether you call it Biscoff or Speculoos, there is no denying that the tawny-brown, glossy pool of melted cookie butter on top is the star of the show.
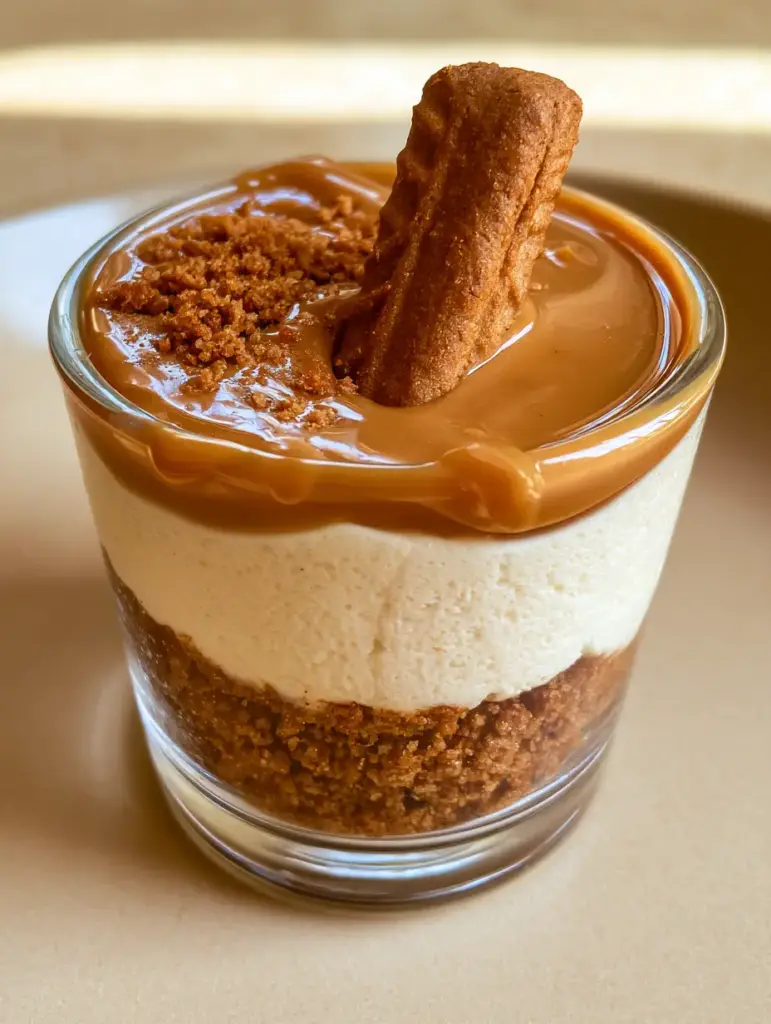
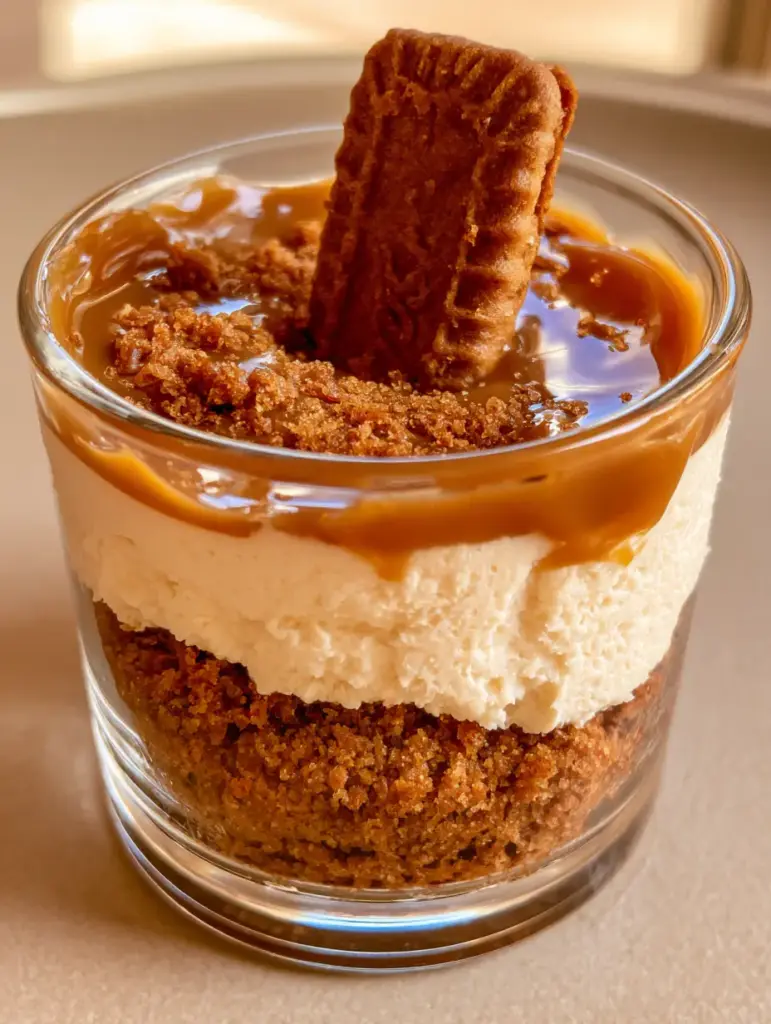
Every bite of these Cookie Butter Cheesecake Cups offers a structural masterpiece of textures. From the firmly pressed dark golden-brown crumb base to the matte ivory filling, this is the kind of dessert that looks like it came from a high-end bakery but takes minimal effort in your own kitchen.
Why You Will Love These Biscoff Cheesecake Votives
- Triple Cookie Impact: We use Speculoos in the crust, the melted topping, and a whole vertical cookie garnish for maximum flavor.
- No-Bake Ease: Achieve a professional, matte ivory finish on your cheesecake layer without the risk of cracks or water baths.
- High Visual Contrast: The transition from the dark golden base to the pale filling and the glossy tawny top creates a stunning “wow factor.”
- Perfect Portions: Serving these in clear glass votives makes them the ideal Cookie Butter Cheesecake Cups for parties or elegant dinners.
If you love small-batch treats like these, you should also check out our Lemon Bar Cookie Cups for a citrusy twist or our decadent Peanut Butter Balls with Cream Cheese.
The Essential Ingredients for Speculoos Success
To create the perfect Cookie Butter Cheesecake Cups, the quality of your ingredients matters. We aren’t just looking for flavor; we are looking for the specific visual cues that make this dish viral-worthy.
Speculoos Cookies (Biscoff): You will need 25-30 cookies (approx. 250g). These provide the spiced, caramelized foundation and the final vertical garnish.
Unsalted Butter: 4 tablespoons (56g) of melted butter act as the glue for our dark golden-brown crushed Speculoos foundation.
Full-Fat Cream Cheese: 16 ounces (450g) at room temperature. This is critical for achieving that dense, smooth, pale ivory cream cheese filling with a matte finish.
Powdered Sugar: 3/4 cup (90g). We use powdered sugar instead of granulated to ensure the filling remains silky and doesn’t become grainy.
Cookie Butter Spread: 1/2 cup (125g) for the topping. When melted, this creates that glossy, liquid tawny-brown layer that pools to the edges of the glass.
Vanilla Bean Paste or Extract: 1 teaspoon (5ml). This adds depth to the ivory filling, complementing the warm spices of the Biscoff.
How to Make the Perfect Cookie Butter Cheesecake Cups
Creating these Cookie Butter Cheesecake Cups is a three-layer process. Follow these steps to ensure your dessert matches the visual blueprint perfectly.
Constructing the Dark Golden-Brown Foundation
Begin by pulsing your Speculoos cookies in a food processor until they reach the texture of fine sand. Reserve about 2 tablespoons of these crumbs for the final dusting.
Mix the remaining crumbs with 4 tablespoons (56g) of melted butter. Press the mixture firmly into the bottom of your clear glass votives. You want a thick, firmly pressed foundation that is clearly visible through the glass.
Pro Tip: Use the end of a cocktail muddler or a small spice jar to pack the crumbs tightly. This prevents the crust from crumbling when you dig in with a spoon.
Whisking the Matte Ivory Cream Cheese Filling
In a large bowl, beat the room-temperature cream cheese until it is completely smooth. Gradually add the powdered sugar and vanilla, whisking until the mixture is thick and holds its shape.
Carefully pipe or spoon the filling over the crust. The goal is a dense, smooth layer with a matte finish. Smooth the top with a small offset spatula, leaving a small amount of head-space at the top of the glass for the cookie butter pool.
If you prefer a more traditional baked texture, you might enjoy our Sicilian Ricotta Cheesecake, but for these cups, the no-bake method provides the cleanest ivory color.
Achieving the Glossy Tawny-Brown Topping
Place your cookie butter spread in a microwave-safe bowl. Heat in 15-second intervals until it is liquid and pourable. It should be warm, but not hot.
Pour about 1-2 tablespoons of the melted tawny-brown cookie butter over the ivory filling. Gently tilt the glass so the spread pools to the edges, creating a perfectly flat, glossy surface.
For a different take on cookie-based crusts, you have to try our Brown Butter Chocolate Chip Cookies as a base for future experiments!
Final Garnish and Sensory Cues
Before the cookie butter topping sets, tuck a single rectangular Biscoff cookie vertically into the cream cheese, slightly off-center. This adds height and immediate brand recognition to your Cookie Butter Cheesecake Cups.
Finally, take those reserved fine crumbs and add a light dusting across the glossy top surface. The contrast between the matte crumbs and the liquid-look spread is visually captivating.
Expert Tips for Pinterest-Perfect Results
- Temperature Control: Ensure your cream cheese is truly at room temperature. Cold cream cheese will result in lumps, ruining that pale ivory matte finish.
- The Pour: Melt the cookie butter just enough to flow. If it’s too hot, it will melt the cream cheese layer below, blurring the distinct layers.
- Glassware: Use thin-walled clear glass votives. This allows the layers of dark golden crumbs and tawny spread to be the stars of the photo.
- Chill Time: Allow the Cookie Butter Cheesecake Cups to set in the fridge for at least 2 hours before serving. This firms up the base and allows the flavors to meld.
Storage and Make-Ahead Instructions
These Cookie Butter Cheesecake Cups are the perfect make-ahead dessert. You can prepare them up to 48 hours in advance.
Refrigeration: Keep the cups covered with plastic wrap in the fridge. However, do not add the vertical cookie garnish until just before serving to ensure the cookie stays crisp.
Freezing: While you can freeze the cheesecake base, we do not recommend freezing the fully assembled cup, as the glossy cookie butter layer may lose its sheen upon thawing.
What to Serve With This Dessert
Since these cups are rich and spiced, they pair beautifully with a hot cup of espresso or a cold glass of milk. If you are hosting a full brunch, they are a fantastic sweet finish after savory dishes like our Shakshouka Toast or Avocado Egg Salad.
Frequently Asked Questions
While Speculoos (Biscoff) provides the signature flavor, you can use Graham crackers or Gingersnaps for a similar dark golden-brown foundation.
Microwave the spread for 15-20 seconds until it is liquid. Pour it onto the center of the cheesecake and gently tilt the glass to let it flow to the edges.
They will stay fresh for up to 3 days. For the best texture, add the vertical cookie garnish right before serving so it doesn’t get soft.
A matte finish is achieved by using full-fat brick cream cheese and powdered sugar. Whipping in too much air can make it look glossy or bubbly.
The Official Cookie Butter Cheesecake Cups Recipe
Cookie Butter Cheesecake Cups: The Ultimate No-Bake Biscoff Dessert
Ingredients
Equipment
Method
- Pulse cookies into fine crumbs. Mix with melted butter until the texture of wet sand.
- Press the dark golden-brown mixture firmly into the bottom of clear glass votives.
- Beat cream cheese, powdered sugar, and vanilla until a smooth, pale ivory matte finish is achieved.
- Spoon the filling over the crust and smooth the surface.
- Microwave cookie butter until glossy and liquid. Pour over the cheesecake layer, pooling to the edges.
- Tuck a rectangular cookie vertically into the center and dust with remaining crumbs.
Notes
Chill for at least 2 hours to set the layers properly.
Share the Biscoff Love!
Did you make these Cookie Butter Cheesecake Cups? We want to see your results! This recipe was designed to be shared, so please Save this recipe to your Pinterest Dessert Board by clicking the Pin button below.
Don’t forget to follow @evay_eats for more high-protein and decadent dessert inspirations. If you loved the glossy tawny finish, leave us a 5-star rating in the recipe card and upload a photo of your creation in the comments. Happy eating!