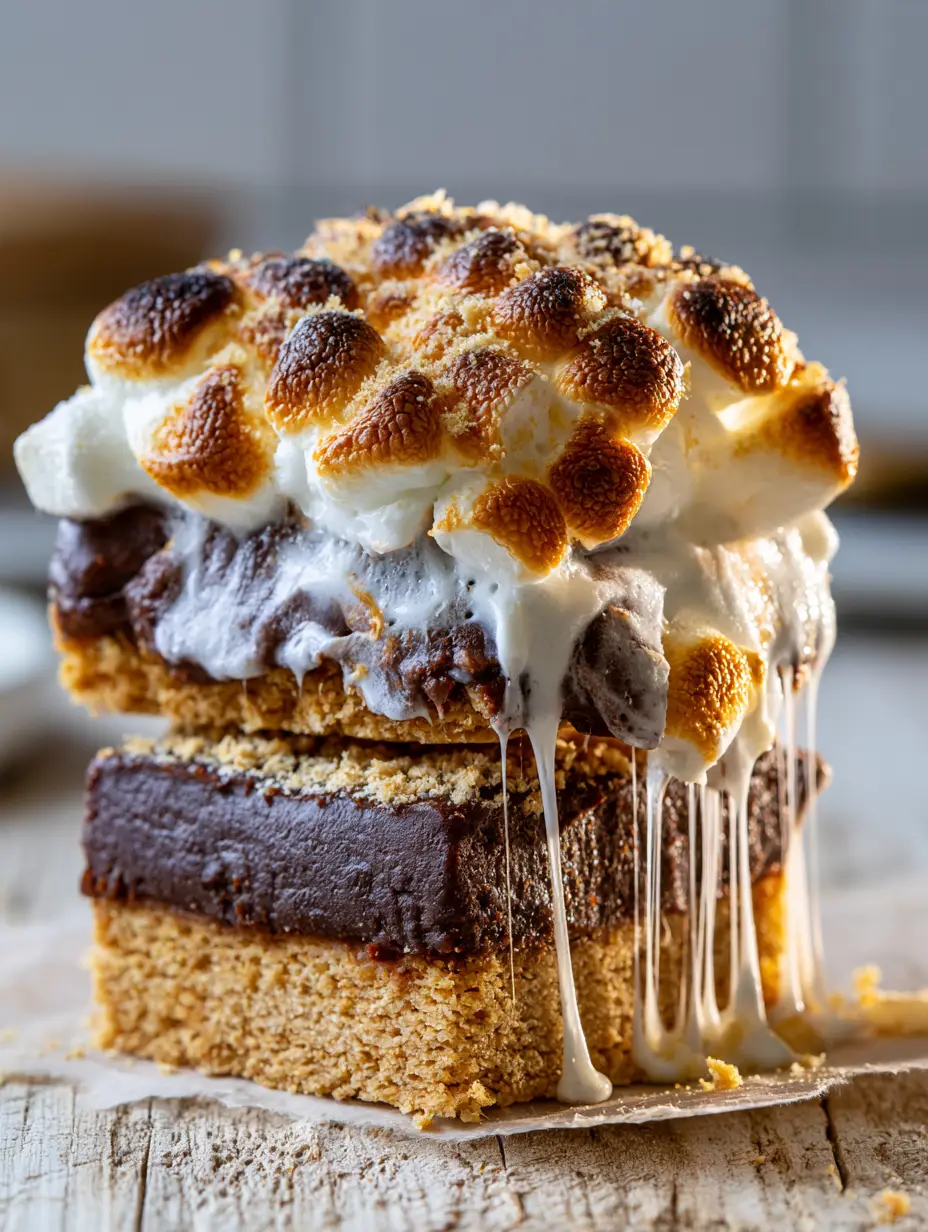
When you imagine the perfect campfire treat, your mind likely drifts to the messy, nostalgic flavor of a classic s’more. But these s’mores bars elevate that experience into a sophisticated, deep-dish masterpiece that combines a crunchy crust with a decadently thick chocolate center. Every bite of these s’mores bars delivers a symphony of textures, from the coarse graham cracker base to the charred, amber peaks of toasted mini marshmallows.
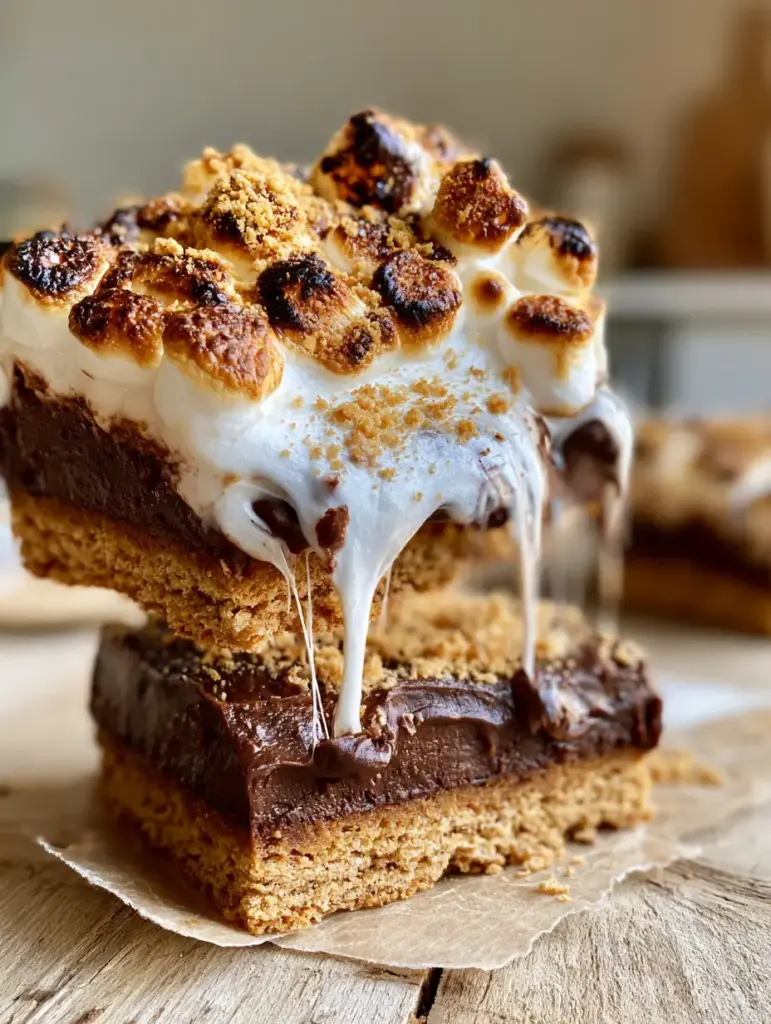
This isn’t your average thin dessert bar; we are talking about a professional-grade ganache layer that sits nearly one inch thick. The visual appeal is undeniable, especially when you lift a square and see those iconic, long strings of melted marshmallow webbing stretching from the stack. It is the ultimate handheld indulgence that captures the “golden hour” magic of a summer bonfire in every single crumb.
Why These Gooey S’mores Bars Redefine Campfire Comfort
- Structural Integrity: Unlike traditional s’mores that fall apart, our coarse graham cracker crust is pressed firmly to support a heavy, dense chocolate ganache.
- The Ganache Factor: We skip the thin chocolate bars for a rich, semi-glossy dark chocolate layer that stays soft enough to bite but firm enough to hold its shape.
- Torched Perfection: A mountain of mini marshmallows provides a visual spectacle of charred golden-brown peaks and melting white sides.
- Textural Contrast: A final dusting of fine graham cracker crumbs adds a delicate sandy finish that contrasts with the sticky marshmallow webs.
Creating these s’mores bars requires a balance of heat and patience. You want the marshmallows to reach that stage of “charred amber” without liquidizing the chocolate base entirely. It is a dance of culinary physics that results in a dessert so photogenic, it looks like it stepped right out of a high-end food magazine.
Essential Components for the Perfect Multi-Layered Treat
Graham Cracker Sheets: 3 cups (360g) of crushed graham crackers. These provide the foundational structural base; keeping some crumbs coarse ensures a satisfying crunch that mimics a rustic biscuit.
Unsalted Butter: 3/4 cup (170g) melted butter. This acts as the glue for your crust, providing a rich, fatty mouthfeel that balances the sweetness of the sugar and chocolate.
Semi-Sweet Chocolate Chips: 4 cups (720g) of high-quality chocolate. Semi-sweet is vital here to prevent the bars from becoming cloyingly sweet when paired with the marshmallow topping.
Heavy Whipping Cream: 1 cup (240ml) of cream. This is the “invisible” ingredient that transforms hard chocolate into a 1-inch thick, semi-glossy ganache that remains fudgy at room temperature.
Mini Marshmallows: 1 bag (10oz / 283g) of fresh mini marshmallows. Using mini marshmallows instead of large ones allows for more surface area to catch the heat, creating those beautiful charred peaks.
Granulated Sugar: 1/4 cup (50g) of sugar. Adding a touch of extra sugar to the crust helps it caramelize slightly during the par-bake, ensuring it doesn’t get soggy under the ganache.
Fine Sea Salt: 1/2 tsp (3g) of salt. Salt is scientifically required to enhance the cocoa notes in the chocolate and cut through the intense sugar profile of the marshmallows.
Culinary Tools Required for Professional Charred Results
To achieve the visual recipe blueprint, you will need a 9×9 inch (23x23cm) square baking pan. A smaller pan is better than a larger one here, as it ensures that the chocolate layer reaches that impressive one-inch thickness described in our visual guide.
You should also have parchment paper on hand to create a “sling.” This allows you to lift the entire block of s’mores bars out of the pan effortlessly, preserving the beautiful marshmallow strings. Finally, a kitchen torch is the preferred method for the “charred golden peaks,” though a broiler can work if you watch it with forensic intensity.
Master the Art of the Coarse Graham Cracker Base
Achieving That Signature Golden-Tan Crunch
Start by preheating your oven to 350°F (175°C). In a large mixing bowl, combine your crushed graham crackers, melted butter, and sugar. When processing your crackers, resist the urge to turn them into a fine powder; you want visible, coarse crumbs for that authentic, rustic texture.
Press the mixture firmly into the bottom of your parchment-lined pan. Use the bottom of a flat measuring cup to pack it down hard. Bake this for 8-10 minutes until it smells nutty and looks like a deep golden tan. This par-baking step is what prevents the s’mores bars from crumbling when you pick them up.
Crafting the Dense One-Inch Chocolate Ganache Layer
While the crust cools slightly, place your semi-sweet chocolate chips in a heat-proof glass bowl. Heat the heavy cream in a small saucepan until it just begins to simmer—do not let it reach a rolling boil. Pour the hot cream over the chocolate and let it sit undisturbed for 5 minutes.
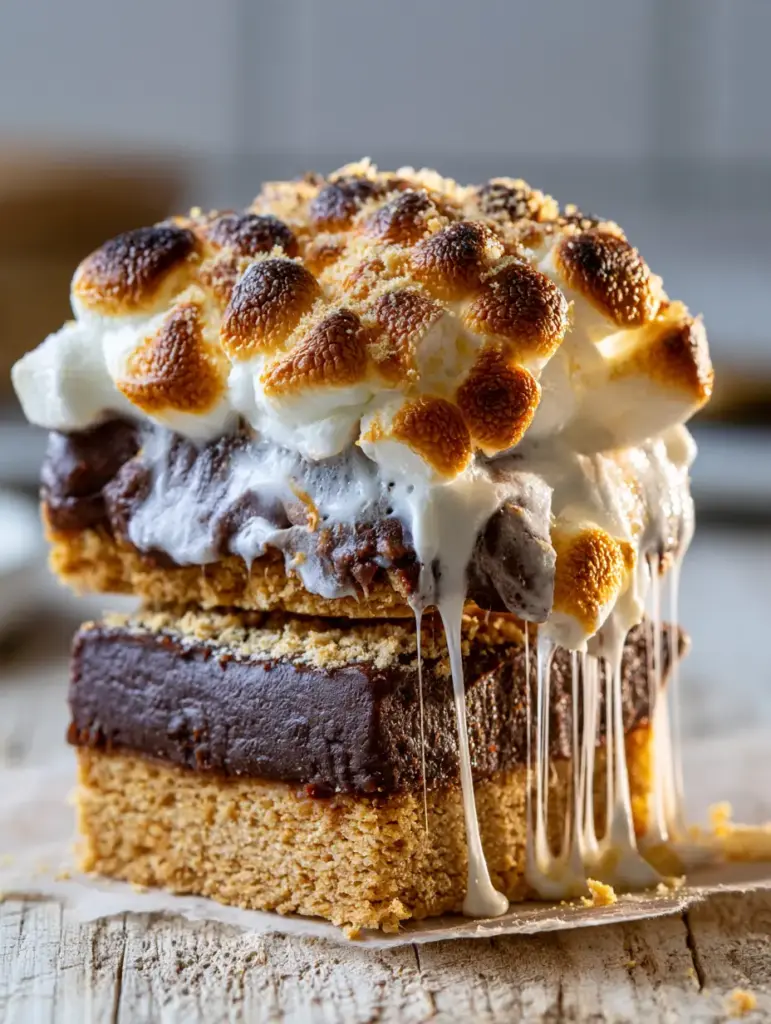
Gently whisk from the center outward until the mixture becomes a thick, semi-glossy, rich dark chocolate ganache. Pour this over your prepared crust. This layer should be roughly 1-inch thick, providing the “dense” middle layer seen in our smartphone photo prompt. Let it set in the refrigerator for at least 2 hours before the final step.
The Mountain of Marshmallows and Perfect Torching Technique
Once the ganache is firm, pile the mini marshmallows on top. Do not just lay them in a single layer; create a “mountain” with peaks and valleys. This height is essential for creating the melting sides that bleed into the chocolate.
Using a kitchen torch, move the flame constantly over the marshmallows. Look for the “amber” transition before the “char.” You want deep golden-brown peaks that look toasted and slightly burnt. If using a broiler, place the pan on the top rack for only 30-60 seconds, watching for the first sign of smoke. Finish with a light dusting of fine graham cracker crumbs.
Pro-Level Secrets for Handling Sticky S’mores Bars
- The Clean Cut: To get those perfect, non-smudged edges, dip a sharp knife in boiling water and wipe it dry between every single cut.
- Parchment is Non-Negotiable: Always leave an overhang of parchment paper. The marshmallow webs are incredibly sticky, and trying to dig these out of a pan will ruin the presentation.
- Temperature Control: If the ganache is too soft, the marshmallows will sink. Ensure the chocolate is fully set before adding the topping and applying heat.
- Crumb Texture: Save a handful of graham crackers to crush into a very fine dust at the very end. This adds a professional “finished” look to the charred tops.
Maximizing Shelf Life and Freshness
These s’mores bars are best enjoyed within 24 hours of torching the marshmallows, as the topping can become chewy over time. However, you can store them in an airtight container at room temperature for up to 3 days. Avoid refrigerating the finished bars for long periods, as the marshmallows can become tacky and lose their toasted crunch.
If you need to make them ahead of time, prepare the crust and ganache layers up to two days in advance and keep them chilled. Only add and toast the marshmallows shortly before serving to ensure that “gooey” lift-off experience described in our visual guide.
Best Pairings for Your Chocolate and Marshmallow Masterpiece
These bars are incredibly rich, so they pair beautifully with a refreshing side dish. If you are serving these at a summer BBQ, consider balancing the sugar with a chickpea cucumber feta salad or a vibrant watermelon feta salad. The saltiness of the feta provides a brilliant counterpoint to the semi-sweet chocolate.
For those who want to stick to the dessert theme but need something lighter, mini fruit pizzas or a classic fruit pizza offer a bright, acidic contrast to the heavy ganache. If you’re looking for more bar-style treats, our smores cookie bars provide a more cake-like texture if you prefer a baked marshmallow center over a torched one.
Frequently Asked Questions About Gooey S’mores
Yes, you can prepare the crust and ganache up to 48 hours in advance. For the best texture, add and toast the marshmallows just before you plan to serve them.
You can, but mini marshmallows provide more surface area for charring and create a much better ‘mountain’ effect with more golden-brown peaks and melted valleys.
Dip your knife in very hot water and wipe it clean between every single cut. The heat will slice through the ganache and marshmallow webbing without pulling.
The key is using a kitchen torch for precision. If using a broiler, ensure your ganache is fully chilled and set beforehand so it can withstand the brief 30-60 second blast of high heat.
This usually happens if the crust isn’t pressed firmly enough or if there isn’t enough butter. Use the bottom of a heavy glass to pack the crumbs tightly before par-baking.
The Official Recipe for Deep-Dish S’mores Bars
s'mores bars: The Ultimate Thick and Gooey Toasted Marshmallow Recipe
Ingredients
Equipment
Method
- Combine coarse graham crumbs, melted butter, and sugar in a bowl until it resembles wet sand.
- Press firmly into a lined 9x9 pan and bake at 350°F (175°C) for 10 minutes until golden tan. Cool completely.
- Bring heavy cream to a simmer and pour over chocolate chips and salt. Let sit for 5 minutes.
- Whisk until glossy and pour over the cooled crust to create a 1-inch thick layer. Refrigerate for 2 hours to set.
- Cover the ganache with a mountain of mini marshmallows, ensuring they are packed tightly.
- Use a kitchen torch to create charred golden-brown peaks. Sprinkle with fine graham cracker dust before serving.
Notes
Do not over-process the graham crackers; coarse crumbs are key to the visual blueprint.
Closing & Call to Action
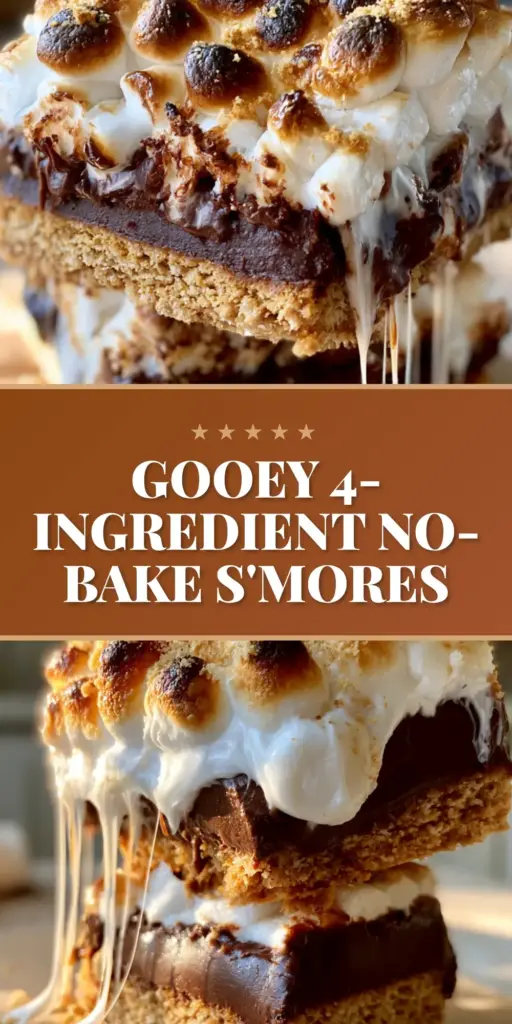
The magic of s’mores bars lies in the intersection of childhood nostalgia and adult culinary technique. By focusing on a 1-inch thick ganache and the forensic details of charred marshmallow peaks, you create a dessert that is as visually stunning as it is delicious. Whether you’re lifting a bar from a stack to see those gooey strings or enjoying the crunch of the coarse graham cracker crust, this recipe is a guaranteed crowd-pleaser.
If you loved this recipe, please leave a comment below and tell us how your marshmallow torching went! Don’t forget to share your photos and pin this recipe to Pinterest so you can save it for your next summer gathering!