There is nothing quite like the sensory experience of biting into a perfectly crafted dessert that transports you straight to a summer campfire. These s’more bars represent the pinnacle of nostalgic indulgence, featuring a base so sturdy and buttery it practically melts on your tongue.
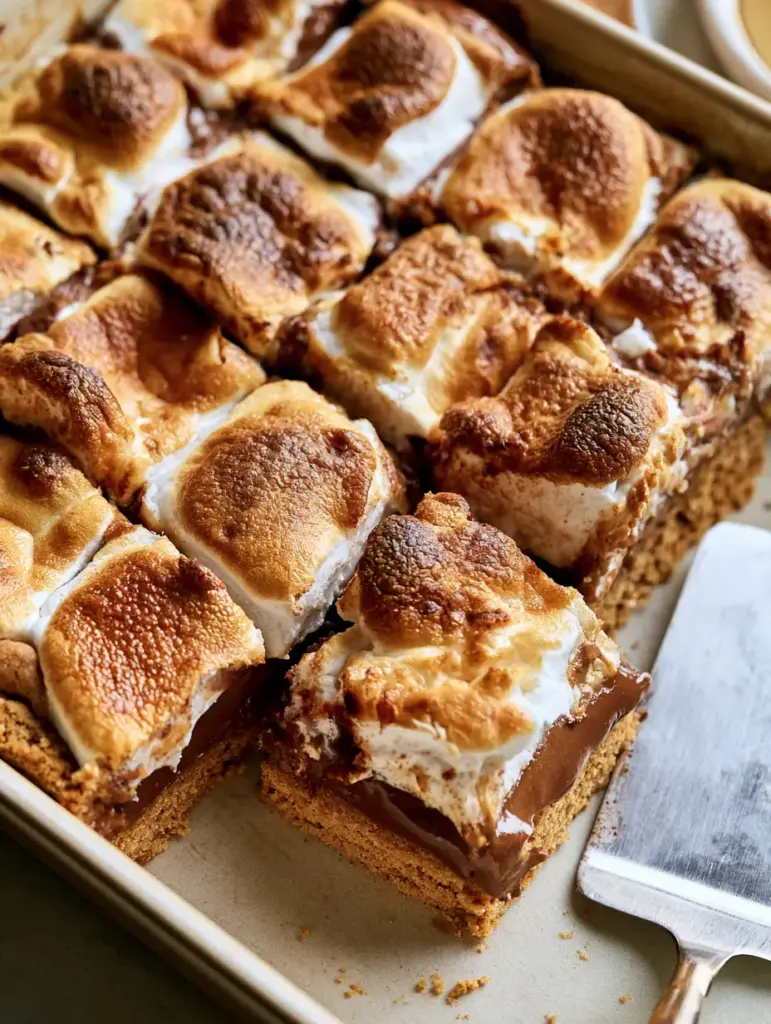
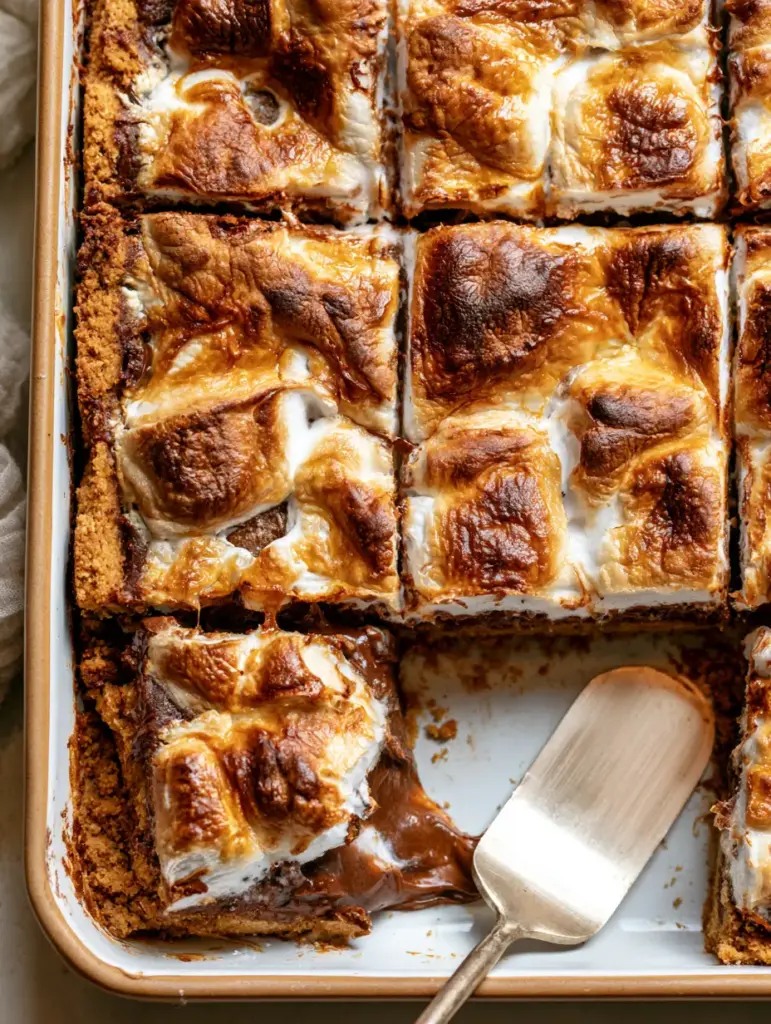
The magic of these s’more bars lies in the architectural layers: a compacted graham cracker foundation, a glistening river of molten semi-sweet chocolate, and a cloud-like topping of toasted mini marshmallows. Each bite offers a symphony of textures, from the crunch of the crust to the long, gooey marshmallow string pull that defines social-media-worthy food photography.
When you lift a single square from the rustic wooden board, you’ll see the soft, warm natural daylight catching the caramelized sugar peaks. This recipe isn’t just about mixing ingredients; it’s about mastering the “char” and achieving that deep golden-brown finish that makes s’more bars truly legendary.
Why You’ll Crave These Caramelized Marshmallow Squares
- The Iconic Gooey Pull: We utilize a specific ratio of marshmallow to heat to ensure that signature “string pull” every single time you pull a bar from the pan.
- Molten Chocolate Core: Unlike thin chocolate bars, our recipe uses a semi-sweet ganache-style layer that stays glistening and soft even at room temperature.
- The Graham Foundation: By using melted salted butter and high-pressure compaction, we create a graham cracker crust that is thick, golden, and structurally sound.
- Artisanal Char Marks: We provide the technical steps to achieve those meticulously toasted, deep golden-brown char marks and caramelized edges seen in professional bakeries.
Essential Pantry Staples for the Perfect Graham Foundation
Graham Cracker Crumbs (2 cups / 200g): This is the structural backbone of your s’more bars. For the best texture, pulse whole crackers in a food processor until they resemble fine sand to ensure a compacted, sturdy base.
Melted Salted Butter (1/2 cup / 115g): Butter acts as the “glue” for our crust. The salt in the butter is a foundational invisible ingredient that balances the intense sweetness of the marshmallow and chocolate layers.
Granulated Sugar (1/4 cup / 50g): While graham crackers are already sweet, this extra sugar helps the crust caramelize slightly against the pan, creating those beautiful golden-brown edges.
Semi-Sweet Chocolate Chips (2 cups / 340g): We opt for semi-sweet to provide a deep, rich flavor profile. This creates the heavy, glistening river of chocolate that anchors the dessert.
Heavy Cream (2 tbsp / 30ml): This is a secret culinary addition. Adding a touch of cream to the chocolate layer ensures it remains molten and soft rather than snapping like a hard candy bar.
Mini Marshmallows (4 cups / 200g): Mini marshmallows are superior for s’more bars because they provide more surface area for toasting, leading to more of those “caramelized sugar peaks” we desire.
Pro-Level Equipment for Toasted Perfection
To achieve the visual result of a thick s’more bar being lifted from a rustic board, you need the right tools. An 8×8 inch (20x20cm) square baking pan is non-negotiable for achieving that specific thickness and “heave” in the middle layer.
Parchment paper is your best friend here; leave an overhang on the sides so you can lift the entire block of bars out at once. This prevents the marshmallow from sticking to the sides and ruining the “clean lift” visual when you cut them into squares.
Finally, while a broiler works, a handheld kitchen torch is the “secret weapon” for forensic visual accuracy. It allows you to target individual marshmallow peaks to create those specific deep golden-brown char marks without overcooking the chocolate underneath.
Step-by-Step Blueprint for Gooey Success
Constructing the Heavy Graham Foundation
Preheat your oven to 350°F (175°C). In a medium bowl, combine your graham cracker crumbs, melted butter, and granulated sugar. Stir until the mixture looks like wet sand and holds its shape when squeezed.
Press the mixture into your lined 8×8 pan. Use the bottom of a flat measuring cup to firmly compact the crust—this ensures the s’more bars won’t crumble when you attempt that handheld photo pull. Bake for 8–10 minutes until the edges are just beginning to turn golden-brown.
Engineering the Molten Chocolate River
While the crust is warm, melt your semi-sweet chocolate chips and heavy cream together. You can use a double boiler or 30-second bursts in the microwave, stirring until the texture is a heavy, glistening river of molten chocolate.
Pour the chocolate over the par-baked crust. Use an offset spatula to smooth it to the very edges. The residual heat from the crust will help the chocolate bond to the foundation, preventing the layers from separating later.
Achieving the Perfect Marshmallow Char
Top the chocolate layer with a dense, even layer of mini marshmallows. Place the pan back in the oven for 2–3 minutes, just until the marshmallows have puffed up and become slightly sticky. They should look like a soft, white cloud at this stage.
For the final visual touch, turn on your broiler or use your kitchen torch. Watch closely as the sugar begins to undergo the Maillard reaction. Look for the marshmallows to develop caramelized edges and deep golden-brown char marks. Once the peaks are dark and aromatic, remove from heat immediately.
Troubleshooting the Perfect Marshmallow String Pull
The “marshmallow pull” is the hallmark of elite s’more bars. To achieve this, the bars must be served slightly warm. If they have cooled completely and the chocolate has set, a 10-second zap in the microwave will reactivate that gooey, stretchy texture.
When cutting your bars, use a sharp knife dipped in hot water and wiped dry between every single cut. The heat from the blade slices through the sticky marshmallow and molten chocolate without dragging, keeping your layers distinct and visually sharp.
If your marshmallows aren’t charring evenly, it may be due to moisture. Ensure your marshmallows are fresh; stale marshmallows have a drier exterior that resists the beautiful caramelization needed for those toasted peaks.
Preserving the Crunch: Storage and Reheating Tips
Store your s’more bars in an airtight container at room temperature for up to 3 days. We do not recommend refrigeration, as the cold environment can make the graham cracker crust lose its buttery crunch and cause the chocolate to bloom.
If you want to enjoy that “just-toasted” experience days later, place a bar in a toaster oven for 1-2 minutes. This will soften the molten chocolate center and slightly crisp the exterior of the marshmallows once again.
For long-term storage, you can freeze these bars. Wrap individual squares tightly in plastic wrap and then foil. Thaw at room temperature and give them a quick torching or broil to bring back the toasted aroma before serving.
Refresh Your Palate: Savory Pairings and Dessert Variations
Because these s’more bars are incredibly rich and decadent, they pair beautifully with fresh, acidic dishes. Try serving them as a sweet finale after a bright Summer Peach Salad or a crisp Chickpea Feta Avocado Salad.
If you are hosting a larger gathering, these bars look stunning on a dessert spread alongside our Mini Fruit Pizzas or a colorful Fruit Pizza. The contrast between the toasted marshmallows and fresh fruit provides a balanced experience for your guests.
For those who love a cookie-like texture, you can also explore our S’mores Cookie Bars which incorporate a dough-based foundation rather than a traditional graham cracker crust.
Everything You Need to Know About S’more Bars
Yes, but mini marshmallows are preferred as they create more ‘peaks’ and surface area for caramelization, resulting in better char marks and a more even chocolate-to-marshmallow ratio.
While a kitchen torch gives you the most control for those artisanal char marks, you can achieve a similar toasted result by placing the bars under your oven’s broiler for 1-2 minutes.
The key is to serve them slightly warm. If the bars have cooled, the chocolate and marshmallow set; a quick 10-second warming in the microwave will restore that iconic gooey stretch.
Store them in an airtight container at room temperature for up to 3 days. Avoid the fridge, as it can make the graham cracker base soggy and the chocolate hard.
This usually happens if the crust wasn’t compacted enough before baking. Use the bottom of a heavy glass or measuring cup to press the crumbs firmly into the pan to create a solid foundation.
The Definitive S’more Bars Recipe Card
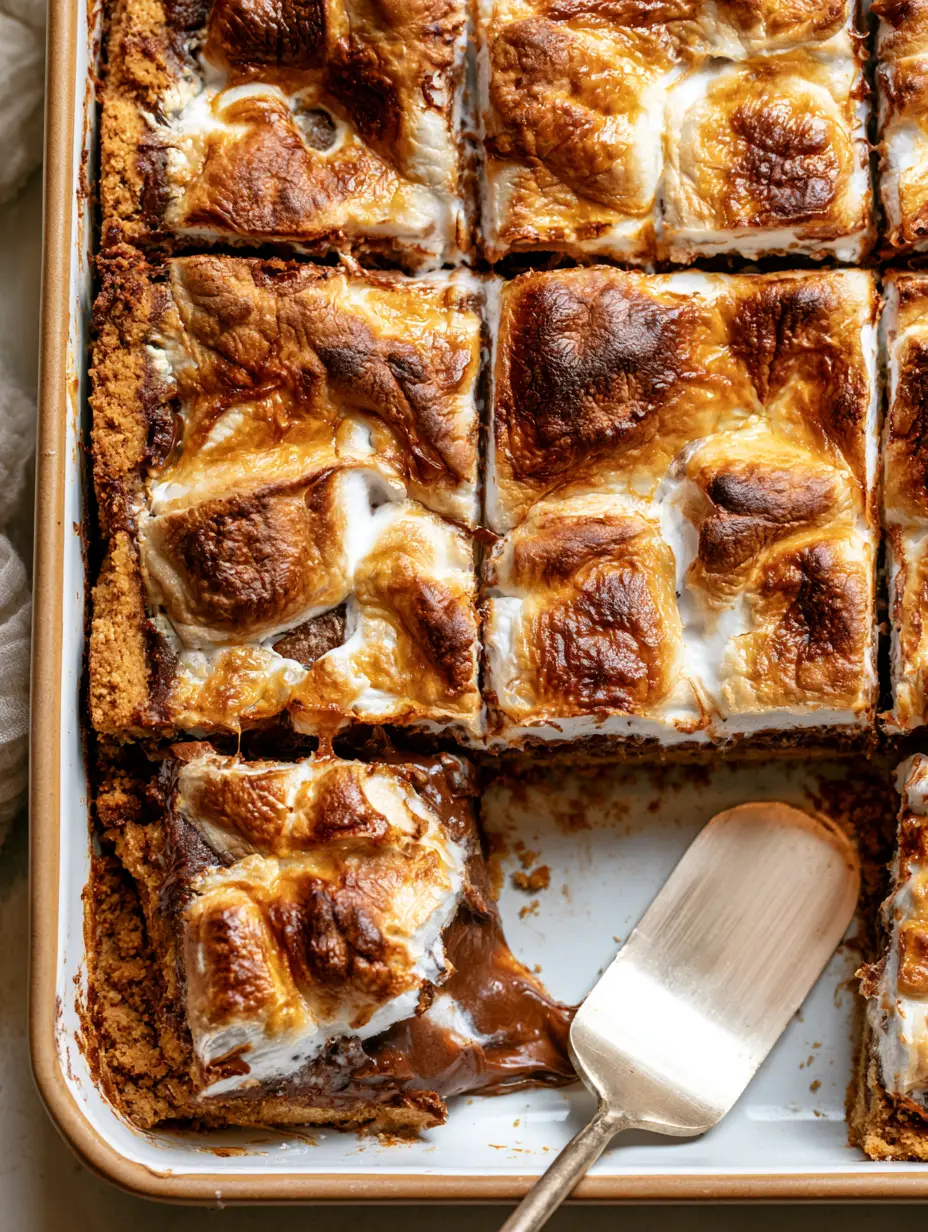
S'more Bars: The Ultimate Molten Chocolate and Toasted Marshmallow Treat
Ingredients
Equipment
Method
- Preheat oven to 350°F (175°C). Combine graham crumbs, sugar, and melted butter in a bowl until the texture resembles wet sand.
- Press mixture firmly into a lined 8x8 pan using a flat-bottomed cup to ensure it is thick and compacted.
- Bake for 8-10 minutes until the base is set and edges are golden-brown.
- Melt chocolate chips and heavy cream together until a glistening, molten chocolate river forms.
- Pour the molten chocolate over the warm crust and smooth it into an even, heavy layer.
- Cover the chocolate with mini marshmallows and bake for 2-3 minutes until puffed.
- Use a broiler or kitchen torch to create deep golden-brown char marks and caramelized peaks.
Notes
Use a heated knife to cut clean squares through the sticky marshmallow layer.
Closing & Call to Action
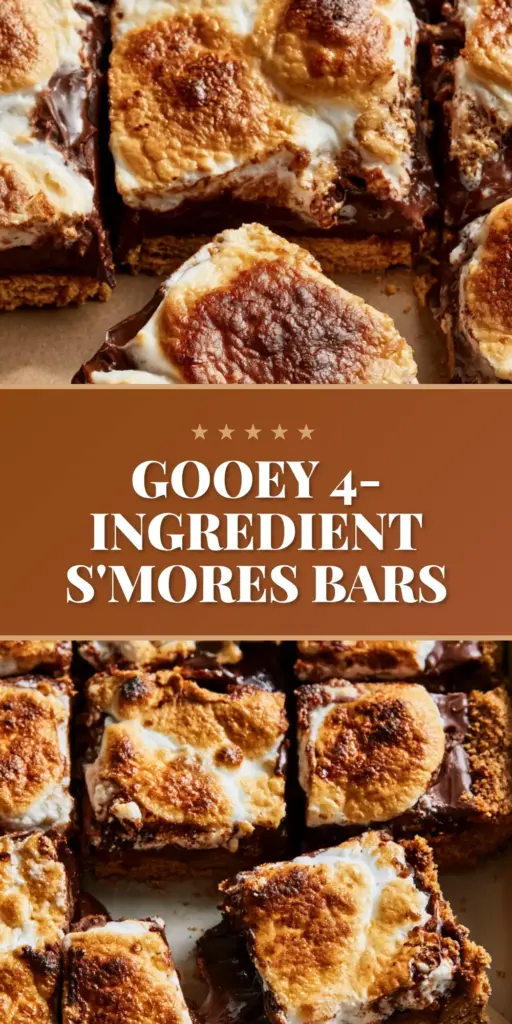
These s’more bars are more than just a dessert; they are a decadent, nostalgic experience that brings the campfire to your kitchen. With their thick graham crust, molten chocolate, and perfectly charred marshmallow peaks, they are guaranteed to be the star of your next gathering.
If you enjoyed this recipe, please leave a comment below and let us know how your marshmallow pull turned out! Don’t forget to sign up for our newsletter for more elite dessert blueprints and professional culinary tips.
Love this recipe? Be sure to share it with your friends and save it to your favorite dessert boards on Pinterest so you can find it whenever that campfire craving hits!