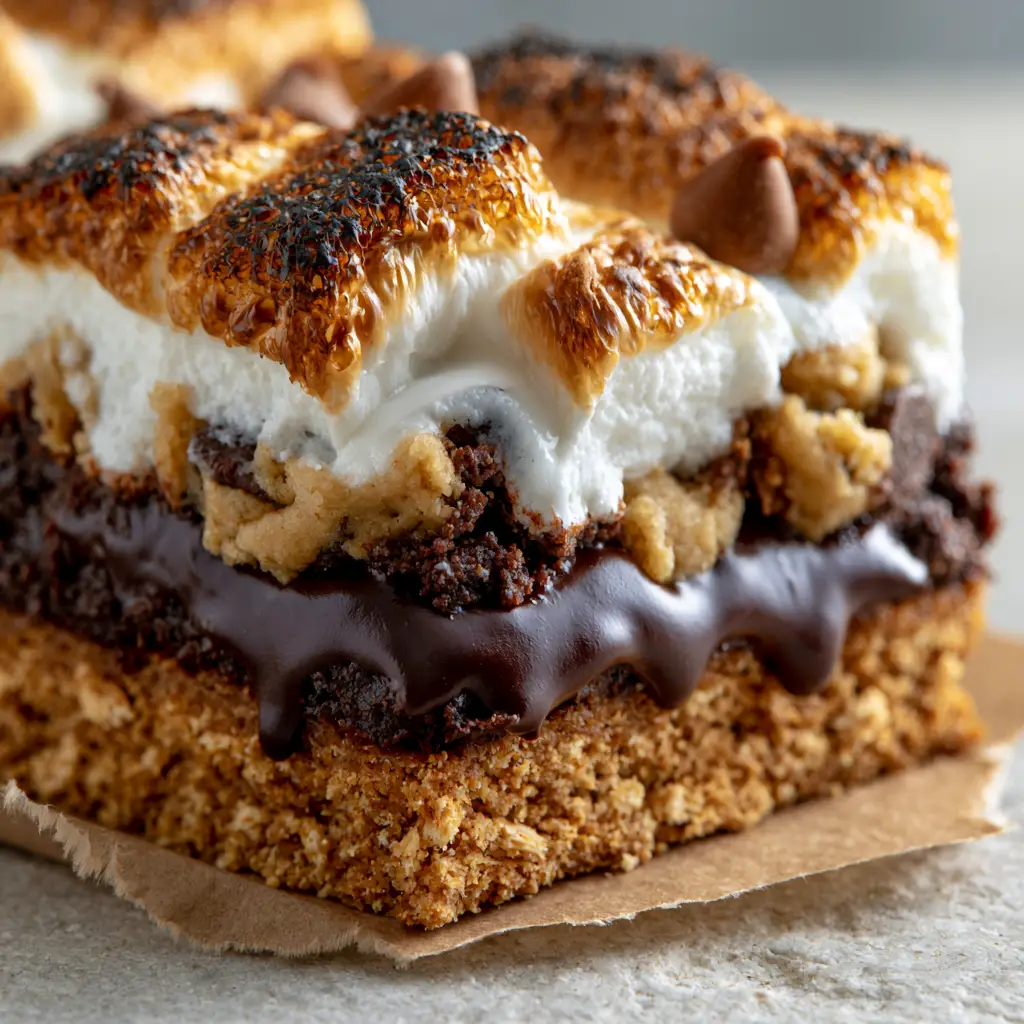
There is nothing quite like the sensory explosion of a campfire s’more, but these S’mores cookie bars take that nostalgic experience and elevate it into a professional-grade confectionery masterpiece. Imagine a thick, buttery graham cracker base supporting a glossy, oozing layer of dark chocolate ganache, topped with massive, fluffy marshmallows that have been toasted to charred, golden-brown perfection. Interspersed throughout are soft, underbaked pockets of classic chocolate chip cookie dough that melt into the marshmallow peaks.
In this guide, we are moving beyond the basic traybake to create a multi-textured dessert that looks as if it stepped off a high-end bakery shelf. We will focus on the contrast between the coarse, crunchy crumb of the crust and the silky, semi-melted chocolate middle. By the end of this tutorial, you will be stacking these thick bars high on torn parchment paper, ready for a macro-photography-worthy reveal.
The Architecture of the Perfect S’mores Cookie Bars
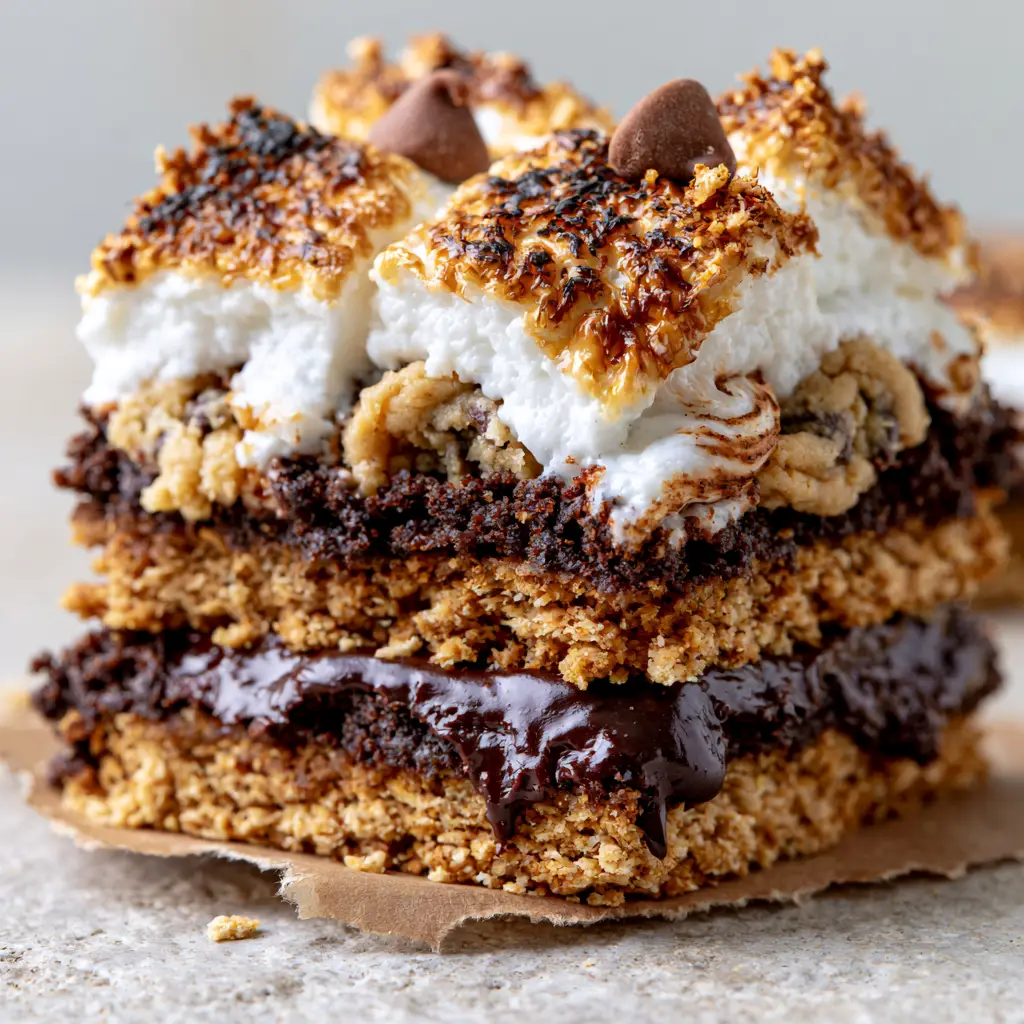
To achieve the specific visual result of thick, stratified layers that hold their shape while remaining gooey, we have to look at the culinary physics of the ingredients. These S’mores cookie bars are designed with structural integrity in mind, ensuring the chocolate doesn’t just run out the sides but “oozes” with intent.
- The Triple-Textured Topping: We combine the airy stretch of large marshmallows with the dense, buttery crumb of soft-baked cookie dough for a complex mouthfeel.
- High-Gloss Ganache Core: Instead of just using chocolate chips, we use a semi-melted dark chocolate ganache to ensure the middle layer remains glossy and soft even after the bars have cooled.
- Charred Peak Finish: We utilize a high-heat broiling technique to create those iconic caramelized golden-brown peaks while keeping the centers white and molten.
- Buttery Foundation: A compressed graham cracker crust provides the necessary saltiness and crunch to balance the intense sweetness of the marshmallow layer.
The Ingredients Required for Decadent Layers
Every element in these S’mores cookie bars serves a specific purpose in building the visual and flavor profile described in our culinary blueprint. We aren’t just baking; we are engineering a dessert that maintains its “macro-ready” look from the first cut to the last bite.
Graham Cracker Crumbs: You will need 2 cups (240g) of finely crushed graham crackers to form a sturdy, golden-brown base. These provide the essential honey-wheat flavor profile that defines a true s’more.
Unsalted Butter: We use 1/2 cup (115g) of melted butter for the crust and another 1/2 cup (115g) softened for the cookie dough. This provides the “fat bridge” that carries the flavors of chocolate and toasted sugar across the palate.
Dark Chocolate Bars: Select 10 oz (285g) of high-quality dark chocolate (60% cacao or higher). This ensures the “glossy, semi-melted” appearance in the mid-layer, providing a sophisticated bitterness to offset the marshmallows.
Heavy Cream: 1/2 cup (120ml) is required to transform the chocolate into a stable ganache. This is the “invisible” ingredient that keeps the chocolate layer from becoming brittle or hard when refrigerated.
Mini and Large Marshmallows: A combination of 4 cups (200g) of large marshmallows and 1 cup (50g) of mini marshmallows creates the varied height and “fluffy peaks” seen in the visual prompt.
Cookie Dough Components: A standard mix of All-Purpose Flour (1.5 cups / 190g), Brown Sugar (1/2 cup / 100g), and one egg creates the “soft, underbaked” swirls that nestle into the marshmallow top.
Semi-Sweet Chocolate Chips: 1/2 cup (90g) of chips are scattered specifically at the end. These should be nestled into the toasted marshmallow tops to provide a visual pop and localized bursts of sweetness.
Essential Tools for Professional Baking Results
To recreate the “sheet pan” look of these S’mores cookie bars, you will need a 9×9 inch (23x23cm) square metal baking pan. Metal conducts heat more efficiently than glass, which is critical for getting that “golden-brown buttery graham cracker crust” without overcooking the cookie dough swirls.
You will also need plenty of brown parchment paper. Not only does this prevent sticking, but “torn parchment paper” is a key styling element for a rustic, high-quality presentation. A kitchen torch is optional but highly recommended for fine-tuning the “perfectly charred” peaks on the marshmallows if your broiler is uneven.
Building the Golden Graham Cracker Foundation
The first step in our S’mores cookie bars is the base. Combine your crushed graham crackers with 2 tablespoons (25g) of granulated sugar and the melted butter. Press this mixture firmly into the bottom of your parchment-lined pan using the back of a heavy measuring cup.
Bake this layer alone at 350°F (175°C) for 8-10 minutes. You are looking for a visual cue: the edges should just begin to turn a deeper shade of bronze, and the smell of toasted honey should be prominent. This “blind bake” ensures the crust remains “thick and visible” rather than getting lost under the heavy chocolate layer.
Creating the Glossy Dark Chocolate Ganache
While the crust cools slightly, heat your heavy cream until it just begins to simmer. Pour it over the finely chopped dark chocolate and let it sit for 2 minutes before whisking from the center outward. This technique creates a stable emulsion, resulting in that “dense, glossy” texture.
Pour the ganache over the pre-baked crust while it is still warm. This allows a slight bond to form between the layers. If you were making no-bake desserts, you would chill this immediately, but for our bars, we want it to remain slightly fluid as we add the toppings.
Swirling the Cookie Dough and Marshmallows
Next, prepare a quick batch of chocolate chip cookie dough. Take small, teaspoon-sized dollops of the dough and “nestle” them directly into the chocolate ganache. Space them out so they become “small pockets of soft, underbaked dough” as they bake.
Cover the entire surface with the large marshmallows. Pack them tightly; as they heat, they will expand and fuse together. Sprinkle the remaining semi-sweet chocolate chips into the crevices between the marshmallows for that “nestled” visual effect seen in the macro photography.
The Broiling Secret for Charred Marshmallow Peaks
Bake the entire pan for 10-12 minutes at 350°F (175°C) until the cookie dough pockets are set but still soft. Now, for the critical visual bridge: switch your oven to the “Broil” setting. Stand by the oven door—this happens fast!
Watch for the marshmallows to puff up and the tops to catch the heat. You are looking for “perfectly charred, caramelized golden-brown peaks.” As soon as the tips are dark brown and the centers look “gooey and white,” remove the pan from the oven immediately. The residual heat will continue to melt the “dense dark chocolate ganache” underneath.
Mastering the Perfect Texture: Pro Tips
- The Clean Cut: To get the “thick sheet pan” look with clean edges, let the bars cool completely in the pan before lifting them out with the parchment paper. Use a hot, wet knife to slice through the sticky marshmallow layer.
- Avoid the Sog: Never pour the ganache onto a cold, unbaked crust. The moisture from the cream will seep into the crumbs, destroying the “coarse crumb” texture we worked hard to build.
- Cookie Dough Consistency: Keep your cookie dough slightly chilled before dropping it onto the bars. This prevents it from spreading too much, keeping those “swirls” distinct and visible.
- Visual Side-Lighting: If you are photographing these S’mores cookie bars, place them near a window for that “natural side-lighting” that highlights the “gentle highlights on the melted chocolate.”
Preserving the Gooey Goodness
These bars are best served within 24 hours of baking to maintain the “soft, gooey white centers” of the marshmallows. However, they can be stored in an airtight container at room temperature for up to 3 days. Do not refrigerate them, as this will cause the marshmallows to become tough and the “buttery graham cracker crust” to lose its crunch.
If you have leftovers, a quick 10-second blast in the microwave will revive the “oozing” chocolate and soften the cookie dough pockets, making them taste as if they just came out of the oven. If you enjoy this flavor profile, you might also love a peanut butter chocolate chip cookie pizza for your next gathering.
What to Serve With These Indulgent Bars
Because these S’mores cookie bars are incredibly rich and dense, they pair beautifully with light, refreshing sides that cleanse the palate. For a summer cookout, consider serving them alongside a watermelon feta salad or a crisp cucumber chickpea feta salad.
If you’re hosting a full BBQ spread, these bars are the perfect finale after a savory elote pasta salad or a classic bacon and corn salad. The contrast between the salty, charred corn and the sweet, charred marshmallows creates a cohesive culinary theme for the entire meal.
Frequently Asked Questions
While you can use chips, they will set firm and lose the ‘glossy, oozing’ look. A ganache (chocolate mixed with heavy cream) ensures the middle layer stays soft and luxurious even at room temperature.
No, refrigeration will make the graham cracker crust soggy and the marshmallows tough. Store them in an airtight container at room temperature for up to 3 days to maintain the perfect gooey texture.
Use a long, sharp chef’s knife dipped in hot water. Wipe the blade clean and re-dip it in hot water after every single cut. This melts through the marshmallow and ganache for professional, clean edges.
The broiler acts very quickly. Stay at the oven door and watch for the marshmallows to puff and turn golden-brown. This usually takes between 45 and 90 seconds. If they brown too fast, move the oven rack lower.
A crumbly crust usually means there wasn’t enough ‘glue’ or it wasn’t pressed firmly enough. Ensure you use the full 1/2 cup of melted butter and use a flat-bottomed tool to compress the crumbs into a solid layer before baking.
The Ultimate S’mores Cookie Bars Recipe
S'mores Cookie Bars: The Ultimate Gooey Toasted Marshmallow Layer Dessert
Ingredients
Equipment
Method
- Mix graham crumbs, sugar, and melted butter. Press into a 9x9 pan lined with parchment. Bake at 350°F (175°C) for 10 minutes until golden-brown and fragrant.
- Heat cream and pour over dark chocolate. Whisk until glossy and smooth. Pour over the baked crust.
- Drop small spoonfuls of cookie dough into the chocolate. Cover with large marshmallows and scatter extra chocolate chips into the gaps.
- Bake for 12 minutes, then switch to broil for 1-2 minutes. Watch for the marshmallows to form caramelized golden-brown peaks with charred tips.
Notes
Use a wet knife to cut through the gooey marshmallow centers cleanly.
Conclusion: The Ultimate Campfire Classic, Refined
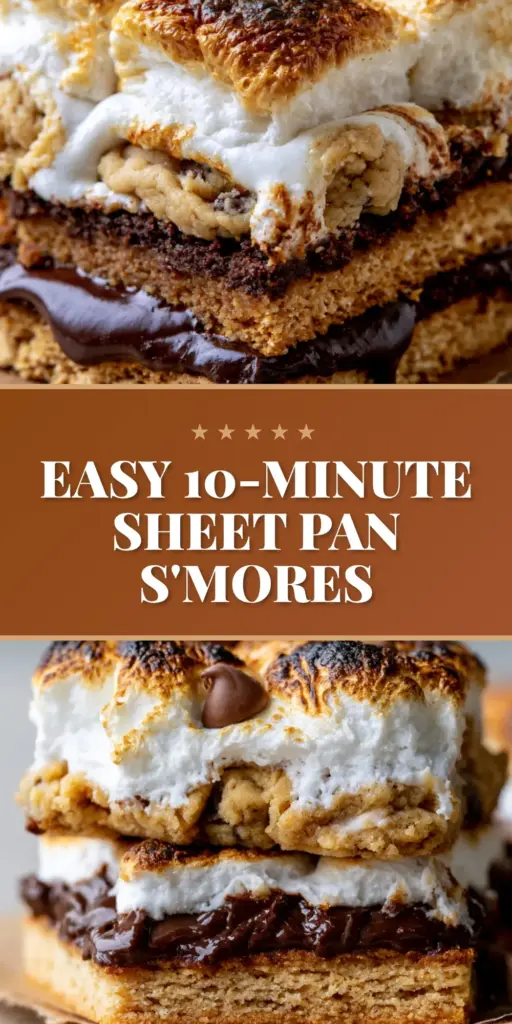
Mastering these S’mores cookie bars is about more than just mixing ingredients; it is about managing textures and temperatures to create a dessert that is as visually stunning as it is delicious. From the “thick, golden-brown buttery graham cracker crust” to those “caramelized golden-brown peaks,” every element works in harmony.
We invite you to share your results! Did you get that perfect “glossy ganache” ooze? Let us know in the comments below. Be sure to save this recipe to your Pinterest boards for your next summer party or cozy winter night in.