No-Bake Samoa Cookies are the ultimate solution for when those iconic Girl Scout cookie cravings hit, but you want a faster, richer, and more decadent version without ever turning on the oven. This recipe captures the exact essence of the classic—a firm, crunchy base, a thick layer of golden-brown toasted shredded coconut, and a viscous, translucent amber caramel that binds everything together in a chewy, sweet embrace. If you love the combination of toasted coconut and glossy dark chocolate, this no-bake version is about to become your new favorite dessert obsession.
The beauty of these No-Bake Samoa Cookies lies in the contrast of textures. By skipping the traditional baking process, we maintain a specific fibrous texture in the coconut that contrasts perfectly against the glossy dark chocolate drizzle. Whether you are a seasoned baker or just looking for a quick treat to share on Pinterest, this guide will show you exactly how to achieve that professional, handheld look with minimal effort. If you enjoy simple treats, you should also check out our no-bake oreo peanut butter bars for more easy inspiration.
Why You Will Obsess Over These Homemade No-Bake Samoas
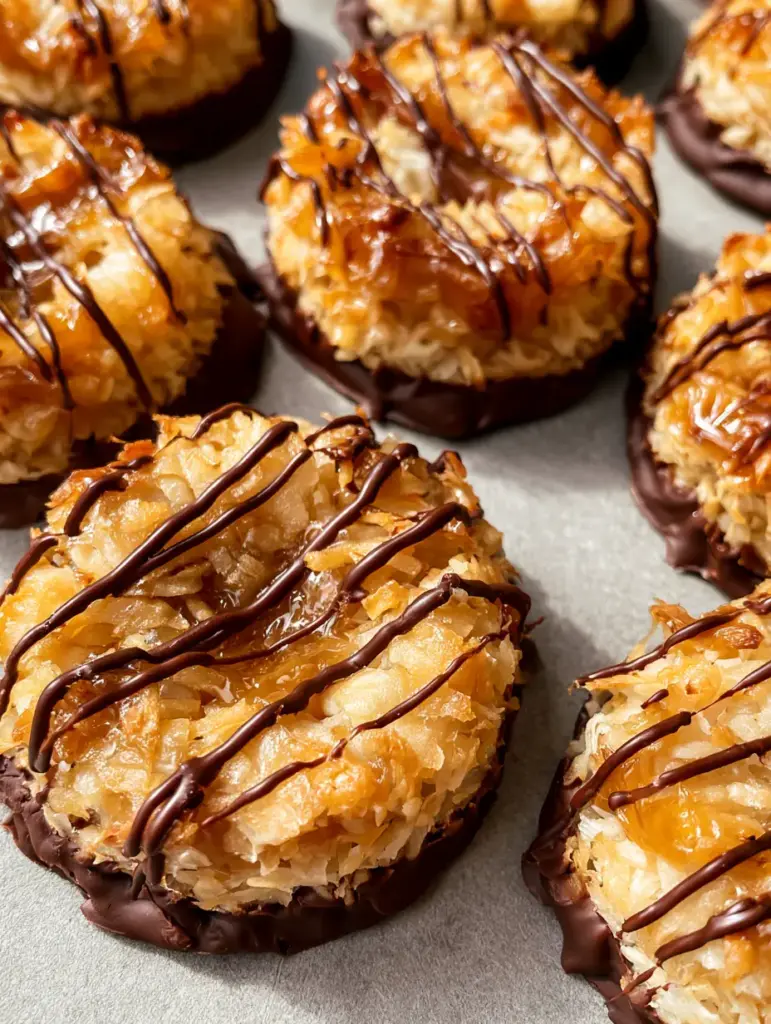
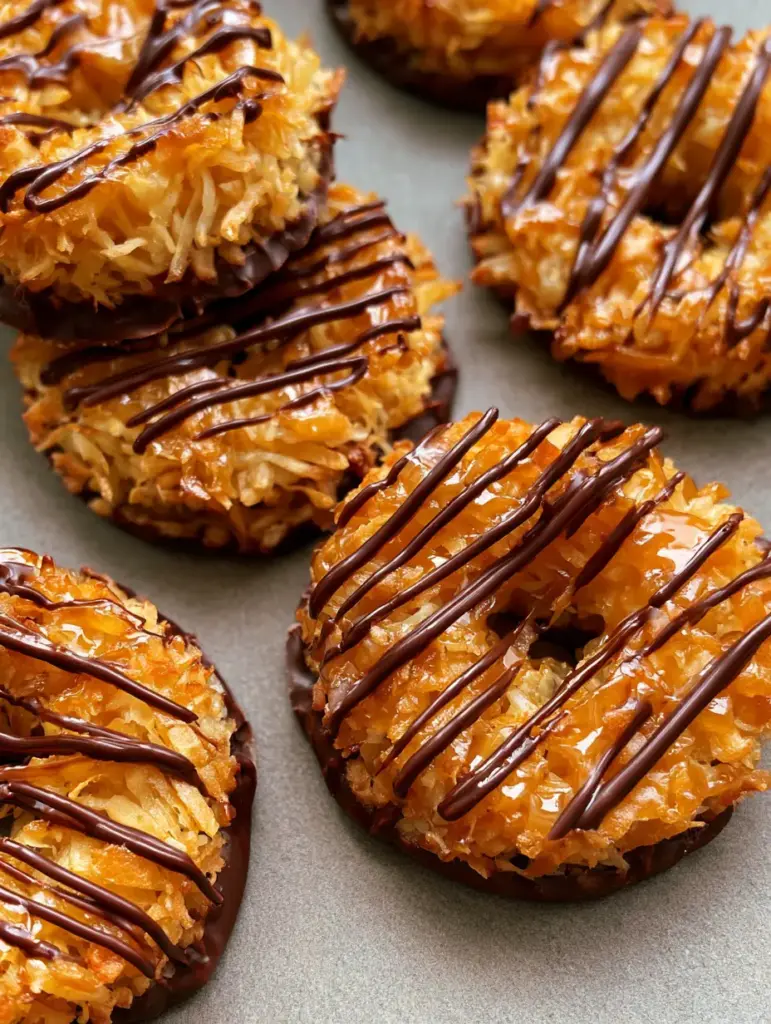
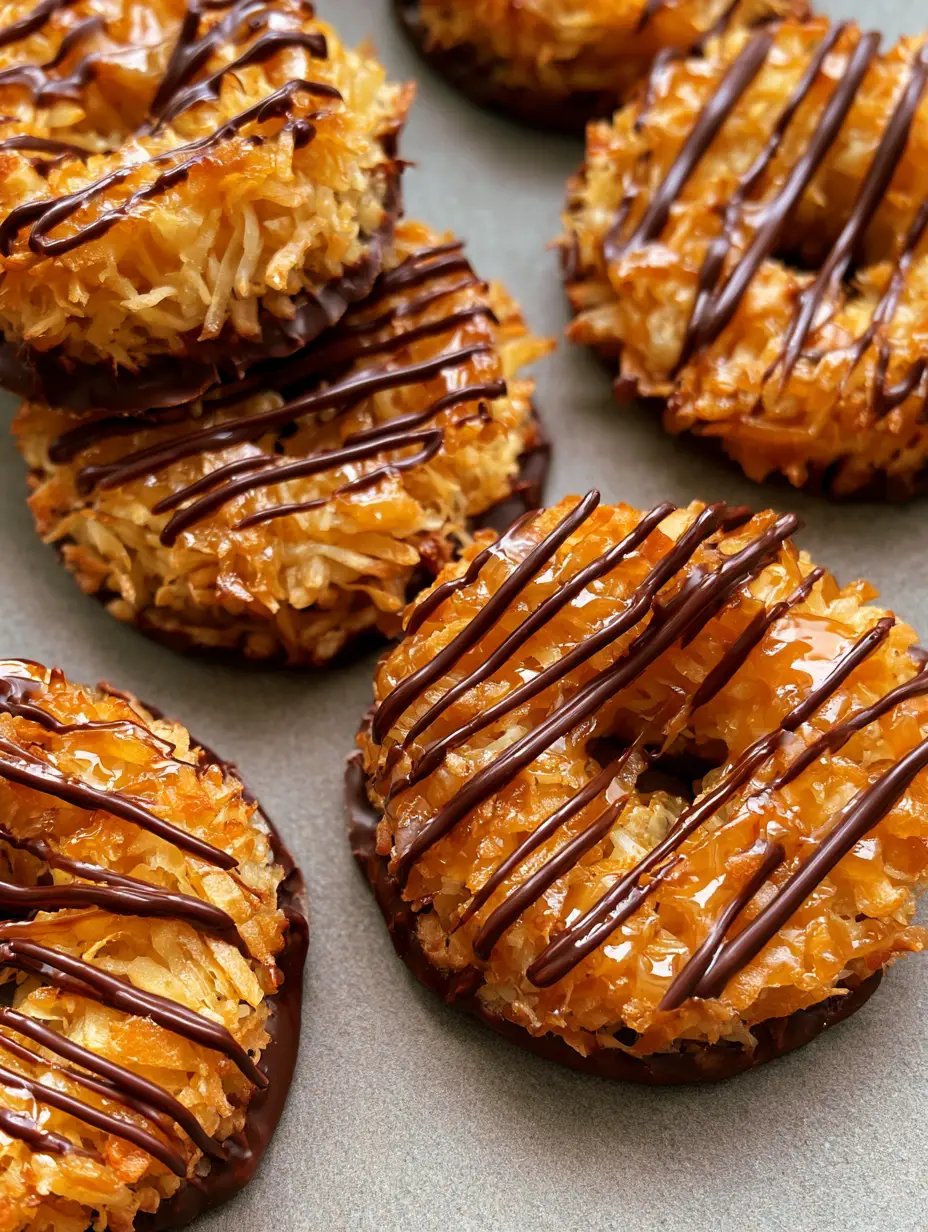
- Visual Perfection: Every cookie features thin, precise lines of dark chocolate drizzled over a dense layer of toasted coconut, making them look like they came straight from a boutique bakery.
- Texture Contrast: You get a firm base topped with viscous amber caramel, providing a satisfying chew that mimics the original perfectly.
- No-Oven Required: We use a clever stovetop method for toasting the coconut and melting the chocolate, keeping your kitchen cool while delivering maximum flavor.
- Handheld Convenience: These cookies are designed to be sturdy, featuring a thin layer of dark chocolate coating the bottom to prevent sticking and add a rich cocoa finish.
The Essential Ingredients for Coconut Caramel Perfection
To create authentic No-Bake Samoa Cookies, we need ingredients that provide both structure and that signature deep, caramelized flavor profile. Here is what you will need:
1. Shredded Sweetened Coconut (3 cups / 225g): This is the heart of the cookie. Toasting it is non-negotiable to achieve the golden-brown color and fibrous texture seen in the blueprint.
2. Shortbread Cookies or Vanilla Wafers (2 cups / 200g crumbs): When finely crushed and mixed with a little butter, these create the firm base that supports the heavy caramel topping.
3. Soft Caramels (11 oz / 310g): We melt these down with a splash of milk to create a viscous, translucent amber caramel. This acts as the “glue” for the toasted coconut.
4. Dark Chocolate Melting Wafers (1.5 cups / 250g): High-quality dark chocolate provides the glossy sheen for the drizzle and the protective coating for the bottom of the cookie.
5. Evaporated Milk or Heavy Cream (2 tbsp / 30ml): Just a touch is needed to thin the caramel so it remains chewy rather than rock-hard once cooled.
6. Unsalted Butter (4 tbsp / 56g): Melted butter binds the cookie crumbs into a firm base that won’t crumble when you take a bite.
For those looking for a slightly more nutritious twist on snack time, these No-Bake Samoa Cookies pair wonderfully alongside our healthy seed cookies for a balanced dessert platter.
How to Make No-Bake Samoa Cookies Step-by-Step
Step 1: Toasting the Shredded Coconut
Start by placing your shredded coconut in a large skillet over medium-low heat. Stir constantly to ensure even browning. You are looking for a golden-brown toasted hue and a fragrant, nutty aroma. Visual Cue: The coconut should transition from bright white to a deep tan, appearing slightly dry and fibrous. Once toasted, immediately remove from the heat to prevent burning.
Step 2: Preparing the Firm Cookie Base
Pulse your shortbread cookies in a food processor until they reach a fine, sandy texture. Mix the crumbs with melted butter until the mixture feels like wet sand. Press this mixture into a parchment-lined tray or use a ring-shaped mold to create the classic donut shape. Sensory Cue: Press down firmly; the base must be compact to support the heavy toppings.
Step 3: Mixing the Viscous Amber Caramel Topping
In a microwave-safe bowl or small saucepan, combine the soft caramels and evaporated milk. Heat gently until the mixture is smooth and translucent amber in color. Fold in the toasted coconut until every strand is coated in the viscous caramel. It should look thick and sticky, holding its shape when pressed.
Step 4: Shaping the Ring Shapes
While the coconut mixture is still warm, pile it onto your prepared cookie bases. Use the back of a spoon to press a hole in the center, creating the iconic ring-shaped Samoa cookies. If the mixture gets too sticky, slightly dampen your fingers with water. Let these set in the refrigerator for 20 minutes to become firm.
Step 5: The Glossy Dark Chocolate Coating and Drizzle
Melt your dark chocolate until it is completely smooth and glossy. Dip the bottom of each chilled cookie into the chocolate, then place back on the parchment paper. Finally, transfer the remaining chocolate to a piping bag (or a zip-top bag with the corner snipped). Visual Cue: Drizzle thin, precise lines back and forth across the top of the coconut layer. The contrast of the dark chocolate against the golden-brown coconut is what makes these cookies truly pop.
Expert Tips for Success
- Don’t Walk Away: Coconut can go from perfectly golden-brown to burnt in seconds. Keep that skillet moving!
- Control the Drizzle: For those precise lines, ensure your chocolate is warm but not hot. If it’s too thin, the lines will bleed together; if too thick, they won’t flow.
- Chill Thoroughly: The viscous amber caramel needs time to set. Do not skip the refrigeration step, or your rings will lose their shape when you dip them in chocolate.
- Salt is Key: A tiny pinch of sea salt in the caramel mixture enhances the translucent amber flavor profile and balances the sweetness of the No-Bake Samoa Cookies.
Storage, Reheating & Freezing
These No-Bake Samoa Cookies are incredibly stable. Store them in an airtight container at room temperature for up to 5 days, or in the refrigerator for up to 2 weeks for a firmer snap. If you want to prep these far in advance, they freeze beautifully! Simply flash-freeze them on a tray before transferring to a freezer bag for up to 3 months. When you’re ready for a treat, let them thaw for 10 minutes at room temperature to regain that viscous caramel texture.
What to Serve With This
While these cookies are a star on their own, they make an excellent finish to a flavorful meal. Consider serving them after a savory dish like our banana bread brownies for a full-dessert spread, or even after a hearty french onion chicken orzo dinner. The richness of the dark chocolate and toasted coconut cleanses the palate perfectly after savory, herbal flavors.
The Ultimate No-Bake Samoa Cookie Recipe
No-Bake Samoa Cookies: The Ultimate Easy Homemade Copycat Recipe
Ingredients
Equipment
Method
- Place coconut in a skillet over medium heat. Stir constantly until golden-brown and fibrous in texture.
- Combine cookie crumbs and melted butter. Press into ring shapes on a parchment-lined tray.
- Melt caramels with milk until a viscous amber liquid forms. Fold in toasted coconut.
- Press the coconut caramel mixture onto the bases, maintaining the ring shape. Chill for 20 minutes.
- Dip bottoms in melted dark chocolate. Drizzle precise thin lines over the top. Let set before serving.
Notes
Use a toothpick to help refine the ring shape in the center if the caramel is too sticky.
Yes, but you may want to add a tablespoon of powdered sugar to the toasted coconut to match the classic sweet profile of the original Samoa.
Refrigeration is recommended to help the dark chocolate coating and amber caramel set firmly, especially if your kitchen is warm.
Use a piping bag with a very small tip and move your hand in a fast, fluid motion across the cookies. Don’t stop mid-drizzle!
High-quality dark chocolate melting wafers provide the best glossy sheen and a smooth snap that mimics the original Girl Scout cookie.
The caramel needs to be a viscous, translucent amber consistency to act as glue. If it cools too much, briefly reheat it to make it sticky again.
Share the Love & Get Baking!
We want to see your No-Bake Samoa Cookies! If you followed this recipe, please take a handheld photo and share it with us in the comments below. Did you manage to get those thin, precise chocolate lines? Let us know! Don’t forget to save this recipe to your Pinterest boards so you can find it every time the craving strikes. Please leave a 5-star rating if you enjoyed this copycat treat—it helps our community grow and keeps the kitchen lights on!