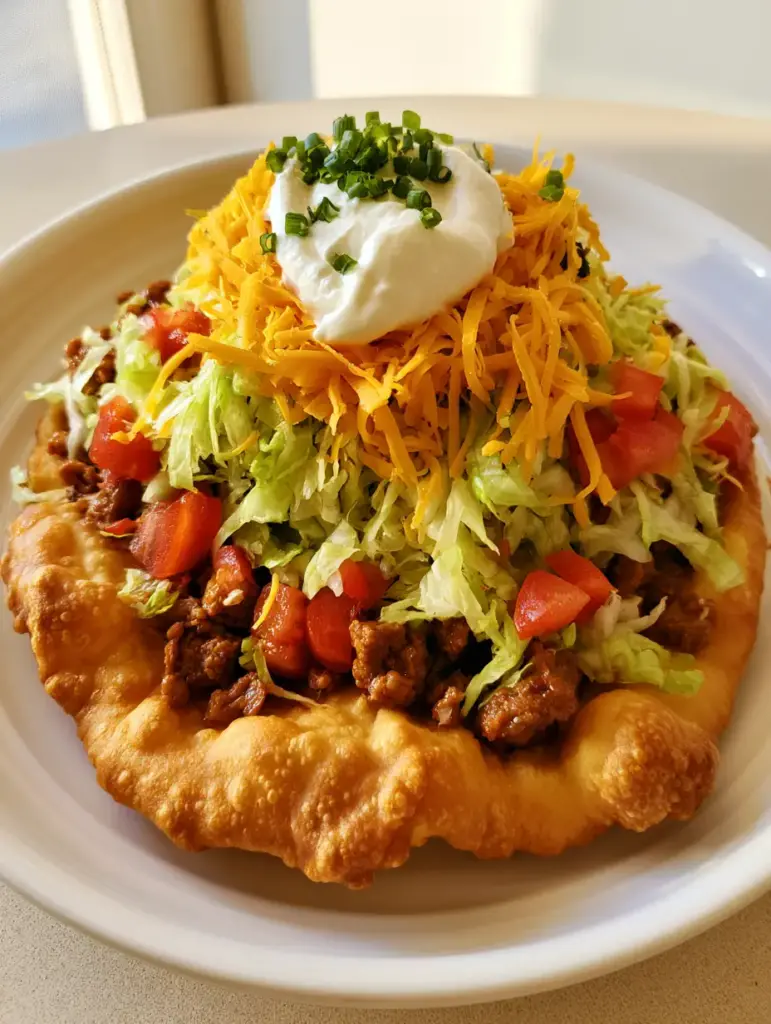
Native American Fry Bread is more than just a recipe; it is a symbol of resilience, a staple of community gatherings, and quite possibly the most delicious vessel for toppings ever created. If you have ever been to a powwow or a local fair, you know the intoxicating scent of dough hitting hot oil. That iconic golden-brown fried dough with its bubbly, uneven surface and crispy, puffed edges is the heart of this dish. In this guide, I will show you how to master the perfect texture so you can recreate these world-class Indian Tacos in your own kitchen.
Making Native American Fry Bread at home might seem intimidating, but the process is surprisingly simple. With just a few pantry staples, you can create a soft, pillowy interior that contrasts perfectly with a crunchy exterior. Whether you are serving it sweet with honey or turning it into a massive Indian Taco piled high with seasoned beef and fresh vegetables, this recipe is guaranteed to be a family favorite. Let’s dive into the science of the perfect fry.
Why This Is The Best Native American Fry Bread You Will Ever Make
- Unbeatable Texture: We use a specific hydration ratio to ensure the dough stays fluffy and light, never dense or rubbery.
- Visual Perfection: This recipe creates those signature deep golden bubbles and shatteringly crisp edges seen in professional food photography.
- Versatility: Master the base dough, and you have the foundation for both savory dinners and sweet desserts.
- Pantry Friendly: No yeast required! This version uses baking powder for a quick rise and immediate gratification.
If you love working with dough but want something a bit different, you might also enjoy my pizza sourdough bread for your next weekend project. But for tonight, we are focusing on the sizzle of the fryer.
Essentials for the Perfect Golden Crust
To achieve that handheld smartphone photo look, every ingredient serves a functional purpose in the culinary chemistry of the dough. Here is what you will need:
The Dry Components
All-Purpose Flour: 3 cups (375g). This provides the structure. You want enough gluten for chew, but not so much that it becomes tough. Much like my moist pineapple bread, the quality of your flour matters.
Baking Powder: 1 tablespoon (12g). This is your leavening agent. It creates the puffed edges and bubbly surface that make fry bread iconic.
Salt: 1 teaspoon (6g). Crucial for flavor. Without salt, the dough will taste flat, no matter how good your toppings are.
The Liquid & Fat
Warm Water or Milk: 1 to 1.5 cups (240-350ml). Using warm liquid (about 110°F/43°C) helps the dough relax, making it easier to stretch into those beautiful, uneven shapes.
Vegetable Oil or Shortening: For frying. You need a high-smoke-point oil to get that golden-brown finish without burning the exterior before the middle is cooked.
How to Master the Fry Bread Dough
The secret to Native American Fry Bread isn’t just the ingredients; it’s the touch. You want to handle the dough as little as possible to prevent excess gluten development.
Step 1: Mixing the Foundation
In a large bowl, whisk together your flour, baking powder, and salt. Slowly add the warm water, stirring with a wooden spoon until a soft dough forms. The dough should be slightly tacky but not stick to your fingers. If it feels too dry, add water one tablespoon at a time.
Step 2: The Critical Rest Period
Do not skip this! Cover your bowl with a clean cloth and let the dough rest for at least 30 to 60 minutes. This allows the flour to fully hydrate and the gluten to relax. A relaxed dough is what gives you those uneven, bubbly surfaces when it hits the oil.
Frying to Golden Perfection: Visual & Sensory Cues
Now comes the exciting part. When you fry Native American Fry Bread, you are looking for specific cues to know when to flip. Much like searing the meat for my Mediterranean chicken stir fry, temperature control is everything.
Shaping the Rounds
Divide the dough into 6 to 8 equal pieces. Roll them into balls, then pat them out by hand. Avoid using a rolling pin; using your fingers creates the natural divots and thick edges that hold all the taco toppings later. The center should be thinner than the edges.
The Sizzle Test
Heat 1-2 inches (2.5-5cm) of oil in a heavy skillet to 350°F (175°C). Drop a small piece of dough in; if it bubbles and rises to the top immediately, you are ready. Carefully slide a dough round into the oil. Watch for the puff! Within seconds, the dough should balloon upwards.
Achieving the Deep Golden Brown
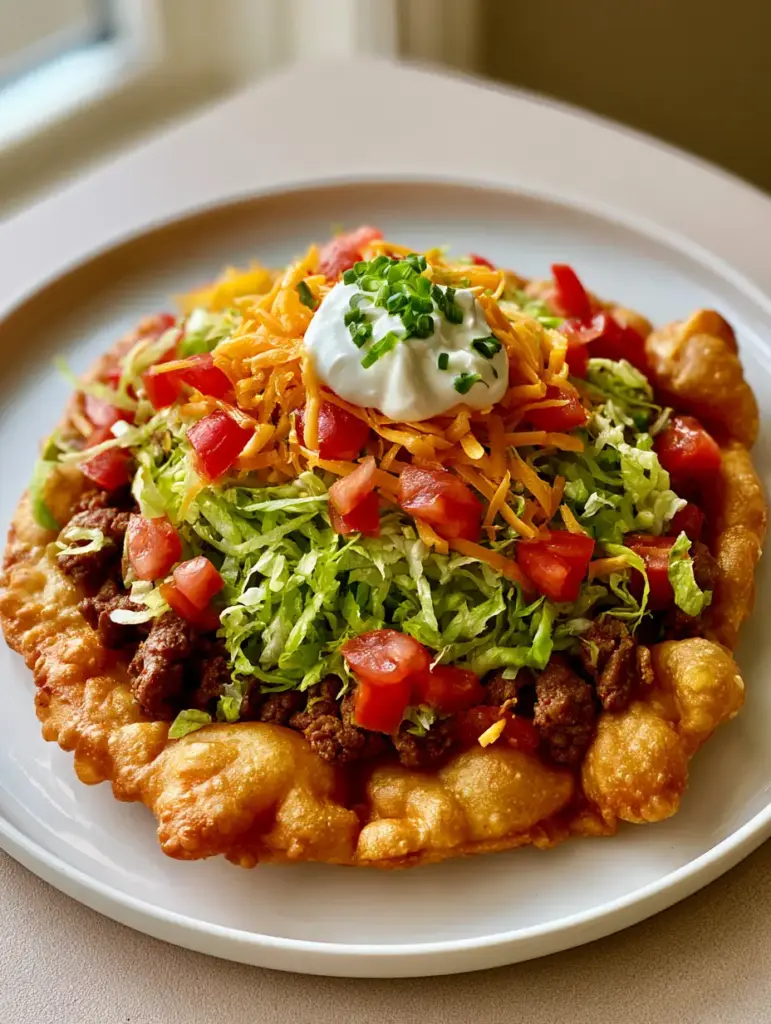
Fry for about 2 minutes per side. You are looking for a rich, golden-brown hue and a crispy, puffed edge. Use tongs to flip carefully to avoid splashing. Once done, drain on paper towels to maintain that crunch.
Building the Ultimate Indian Taco
To match our Visual Recipe Blueprint, we aren’t just making bread; we are building a masterpiece. The contrast of hot bread and cold toppings is essential.
The Meat Layer: Start with a generous layer of seasoned, browned ground beef. Use a blend of chili powder, cumin, and garlic to give it that classic taco profile.
The Mountain of Green: Follow the beef with a literal mountain of finely shredded green iceberg lettuce. The crunch of the lettuce against the soft bread is a textural dream.
The Bright Red Pop: Add diced bright red tomatoes. Ensure they are ripe and juicy to provide a fresh acidity that cuts through the richness of the fried dough.
The Cheese: A generous heap of shredded sharp cheddar cheese goes on next. If the beef is hot enough, the cheese will just start to melt into the crevices of the bread.
The Final Flourish: Place a single dollop of thick white sour cream right on top. Garnish with a sprinkle of finely chopped green scallions for a pop of color and a mild onion bite.
Expert Tips for Fry Bread Success
- Oil Temperature: If the oil is too cold, the bread will absorb the fat and become greasy. If it’s too hot, the outside burns before the inside cooks. Use a thermometer!
- Finger Holes: Some traditional recipes call for poking a small hole in the center of the dough before frying. This helps the bread fry evenly and prevents a massive air bubble from forming in the middle.
- Freshness Matters: Fry bread is best served within minutes of leaving the oil. The crispy surface begins to soften as it sits.
- Don’t Overwork: When mixing, stop as soon as the flour is incorporated. Over-kneading leads to tough, chewy bread instead of fluffy fry bread.
Storage, Reheating & Freezing
While Native American Fry Bread is best fresh, you can save leftovers. Store them in an airtight container at room temperature for up to 2 days.
To Reheat: Avoid the microwave! It will make the bread rubbery. Instead, place the fry bread in a toaster oven or a 350°F (175°C) oven for 5 minutes until the crispy edges return.
To Freeze: You can freeze the fried rounds. Wrap them tightly in plastic wrap and foil. Reheat directly from frozen in the oven until warmed through.
What to Serve With This
If you aren’t making Indian Tacos, this bread is incredible served with a bowl of Mexican street corn soup. The creamy soup is the perfect dip for the salty, fried dough. For a sweet treat, dust the hot bread in cinnamon sugar or drizzle with local honey.
Frequently Asked Questions
Yes, you can prepare the dough and keep it covered in the refrigerator for up to 2 hours. However, for the best rise and texture, it is recommended to fry the dough shortly after the initial resting period.
Traditional fry bread recipes typically use baking powder as the leavening agent rather than yeast. This creates the characteristic bubbles and allows for a quicker preparation time.
The secret is to shape the dough by hand rather than using a rolling pin. Leaving the edges slightly thicker than the center allows them to puff up beautifully when they hit the hot oil.
Use a neutral oil with a high smoke point, such as vegetable oil, canola oil, or shortening. Avoid olive oil, as it can burn at the temperatures required to get that perfect golden-brown crust.
Tough fry bread is usually caused by overworking the dough. When you mix the flour and water, stir just until combined. Let the dough rest for at least 30 minutes to allow the gluten to relax, ensuring a soft, pillowy interior.
The Authentic Native American Fry Bread Recipe
Native American Fry Bread: The Ultimate Fluffy Indian Taco Recipe
Ingredients
Equipment
Method
- In a large bowl, whisk together the flour, baking powder, and salt.
- Slowly stir in the warm water until a soft, slightly tacky dough forms. Do not overmix.
- Cover the bowl and let the dough rest for 30-60 minutes to allow the gluten to relax.
- Heat oil in a heavy skillet to 350°F (175°C).
- Divide dough into balls and pat into flat rounds by hand, leaving the edges slightly thicker.
- Fry each round for about 2 minutes per side until golden-brown and puffed. Drain on paper towels.
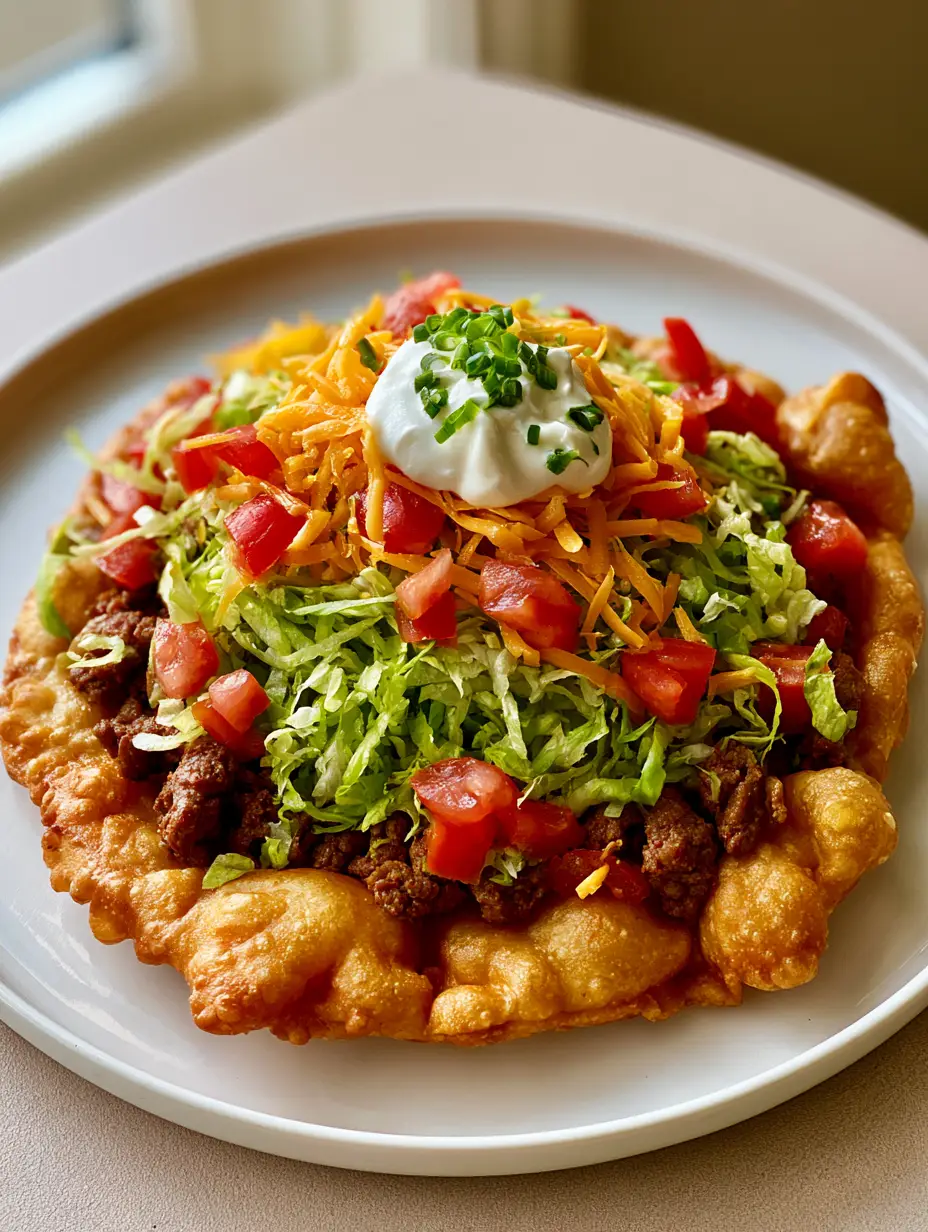
- Layer the warm fry bread with seasoned beef, lettuce, tomatoes, cheese, sour cream, and scallions.
Notes
Resting the dough is the secret to a fluffy interior.
Save This Recipe To Pinterest!
Do you want to find this recipe later? Pin it to your Dinner Inspiration or Comfort Food board on Pinterest! I love seeing your creations, so please tag @evay_eats or upload a photo of your Indian Tacos in the comments below. Don’t forget to leave a 5-star rating if you enjoyed this recipe—it helps other home cooks find my kitchen! Happy frying!