DIY Cotton Candy Glow Jars are the ultimate way to bring a touch of whimsical, neon magic into your home. If you have been searching for a project that combines the soft, nostalgic aesthetic of carnival treats with a modern, phosphorescent glow, you have found it. These jars look exactly like captured clouds of glowing sugar, making them the perfect centerpiece for a late-night party or a dreamy bedroom accent.
Creating these DIY Cotton Candy Glow Jars is surprisingly simple, yet the visual impact is professional-grade. By layering wispy fibers with vibrant neon liquids, you create a depth of color that mimics the airy texture of real pulled sugar. Whether you are prepping for a glow-in-the-dark themed event or just want a fun weekend project, these jars deliver a high-impact “wow” factor with very little effort.
If you love the aesthetic of these glowing creations, you might also enjoy making some glow-in-the-dark rice krispie treats for your next event. Much like these jars, they bring an unexpected light to the table that guests absolutely adore.
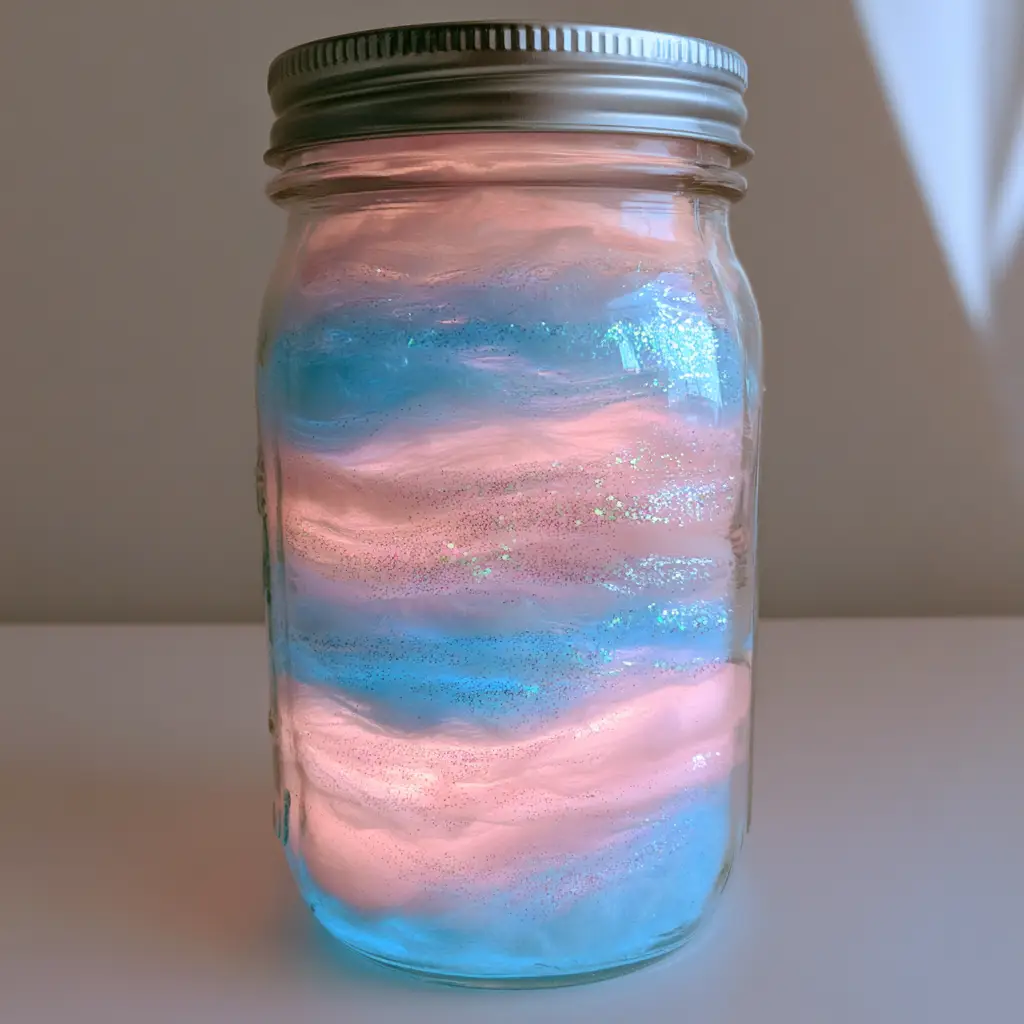
Why You Will Love These Glowing Cotton Candy Jars
- Stunning Visual Contrast: The combination of soft pastel pink and vibrant sky blue creates a beautiful cotton candy sunset effect.
- Textural Depth: Using pulled cotton batting ensures the jars look airy, wispy, and cloud-like rather than flat.
- Ultra-Bright Glow: The neon phosphorescent liquid illuminates the fibers from the inside out, creating a magical lantern effect.
- Sparkling Finish: Fine iridescent silver glitter catches the light, adding a layer of “pixie dust” to every jar.
Essential Materials for DIY Cotton Candy Glow Jars
To achieve the specific look from our visual blueprint, you will need the following materials. Each plays a specific role in ensuring the light scatters correctly through the “sugar” fibers.
- Clear Glass Mason Jars: 16 oz (473ml) jars provide the best vertical space for layering.
- Cotton Batting: 2 cups (approx. 50g) of high-quality polyester fiberfill, pulled into wispy, thin sheets.
- Neon Phosphorescent Liquid: 2 oz (60ml) each of neon pink and neon blue glow paint or glow-stick fluid. This provides the internal illumination.
- Iridescent Silver Glitter: 1 tbsp (15g) of ultra-fine glitter to mimic sugar crystals.
- Silver Metal Screw-Top Lids: To seal the jars and reflect the glow back downward.
- Water: 1/2 cup (120ml) to slightly thin the glow liquid for better saturation.
If you enjoy projects that play with color and texture, check out these savory beet macarons which use natural pigments to achieve a similarly vibrant hue!
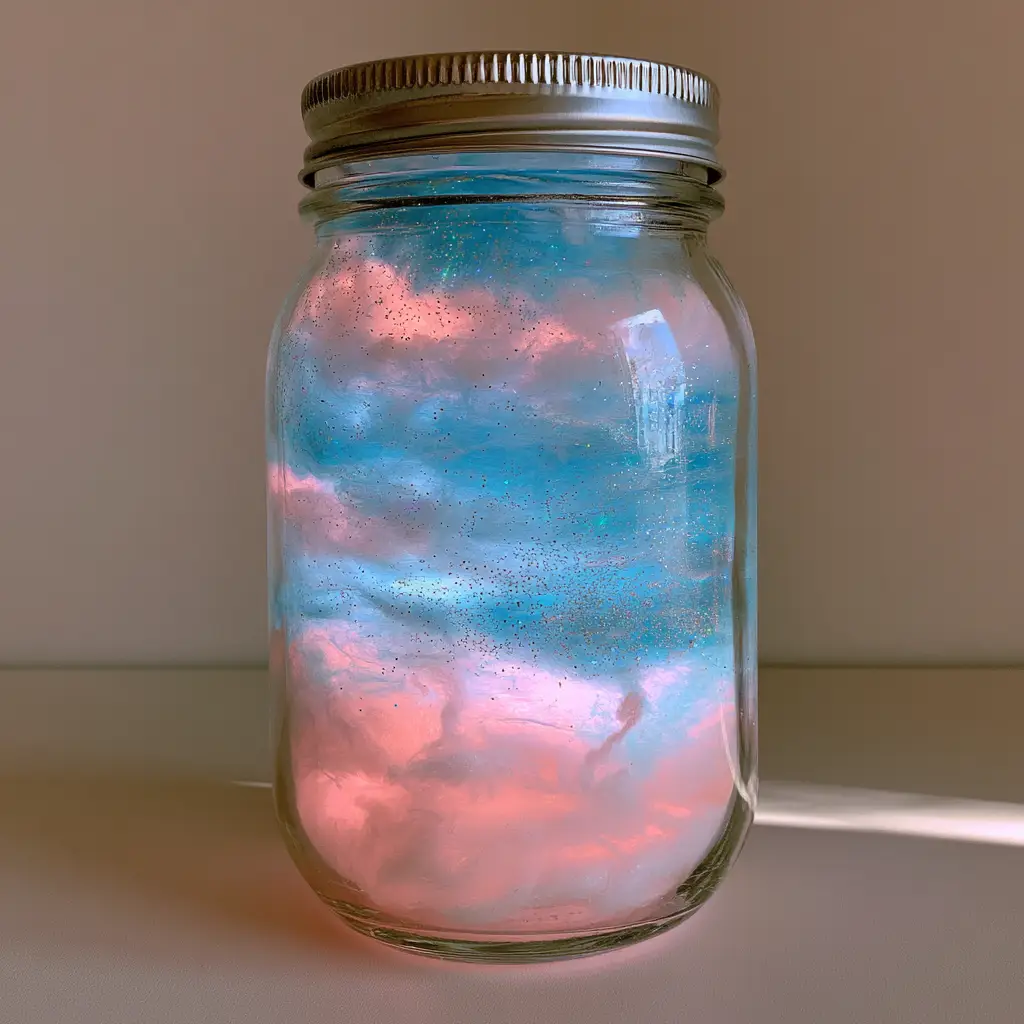
How to Assemble Your Neon Glow Jars
1. Prepare the Glowing “Syrup”
In two small bowls, mix your neon phosphorescent liquid with a small amount of water. You want a consistency that is thin enough to soak into the cotton but thick enough to retain its vibrant neon pigment. Stir in half of your iridescent silver glitter to ensure the sparkle is distributed throughout the liquid.
2. Prep the Cotton Batting
This is the most important step for visual accuracy. Do not use the cotton in clumps. Instead, pull the batting apart until it is wispy and translucent. It should look like real cotton candy before it is spun onto a stick. This allows the light to pass through the fibers, creating that cloud-like glow.
3. Layer the Pink Foundation
Place a thin layer of the wispy cotton at the bottom of the Mason jar. Use a dropper or a small spoon to saturate the cotton with the pastel pink glow liquid. Use a long skewer to press the cotton against the glass, ensuring the neon color is visible from the outside.
4. Create the Sky Blue Contrast
Add another layer of pulled batting on top of the pink. Saturate this layer with the vibrant sky blue liquid. The colors should meet but not blend into a muddy purple; you want distinct, wispy layers. Sprinkle a little extra silver glitter between these layers to catch the neon light.
5. Final Layering and Sealing
Continue alternating pink and blue layers until the jar is full. Ensure the top layer is extra fluffy. Screw the silver metal lid on tightly. Give the jar a very gentle shake to help the glitter settle into the “fluff.”
Expert Tips for the Best Glow
- Avoid Over-Saturating: If the cotton is too wet, it will collapse. You want it moist but airy to maintain the pulled cotton candy texture.
- Charge the Glow: Place your jars under a bright light or a UV lamp for 30 minutes before showing them off. The phosphorescent liquid needs to “charge” to reach maximum brightness.
- Use Fine Glitter: Chunky glitter will sink to the bottom. Ultra-fine iridescent glitter clings to the cotton fibers, mimicking the look of sugar.
- Smartphone Photography: To get the “handheld smartphone photo” look, turn off your flash and take the photo in soft, natural daylight or a dim room to highlight the neon glow.
Looking for more dessert-inspired DIYs? Our lemon cream cheese dump cake isn’t neon, but it’s just as bright and cheerful!
How to Display and Store Your Jars
These DIY Cotton Candy Glow Jars are best displayed on a neutral surface to let the colors pop. While the glow liquid is long-lasting, the cotton may eventually settle. To refresh them, simply open the jar and gently fluff the batting with a fork.
Keep these jars in a cool, dry place. If you used glow paint, the jars will last indefinitely as decor. If you used glow-stick fluid, the intense glow will only last 8-12 hours, making them perfect for one-night events.
What to Serve Alongside Your Glow Jars
If you are using these jars for a party, pair them with other “glowing” or neon-themed treats. Brightly colored snacks like Mexican street corn (with plenty of vibrant spices) or colorful cookies work beautifully. The jars add a magical atmosphere to any dessert table featuring whimsical treats.
Frequently Asked Questions
No, real cotton candy will dissolve instantly when it touches the glow liquid. For the permanent wispy texture shown, polyester cotton batting is required.
If you use phosphorescent glow paint, the jars will glow for years as long as they are ‘charged’ by light. If you use glow-stick fluid, the intense glow will last for 8 to 12 hours.
Most neon glow paints are non-toxic, but they are not edible. These jars are for decorative purposes only and should be kept away from small children who might mistake them for real food.
Place your DIY Cotton Candy Glow Jars under a bright LED light or a UV blacklight for 20-30 minutes for the most vibrant results.
The Ultimate DIY Cotton Candy Glow Jar Recipe
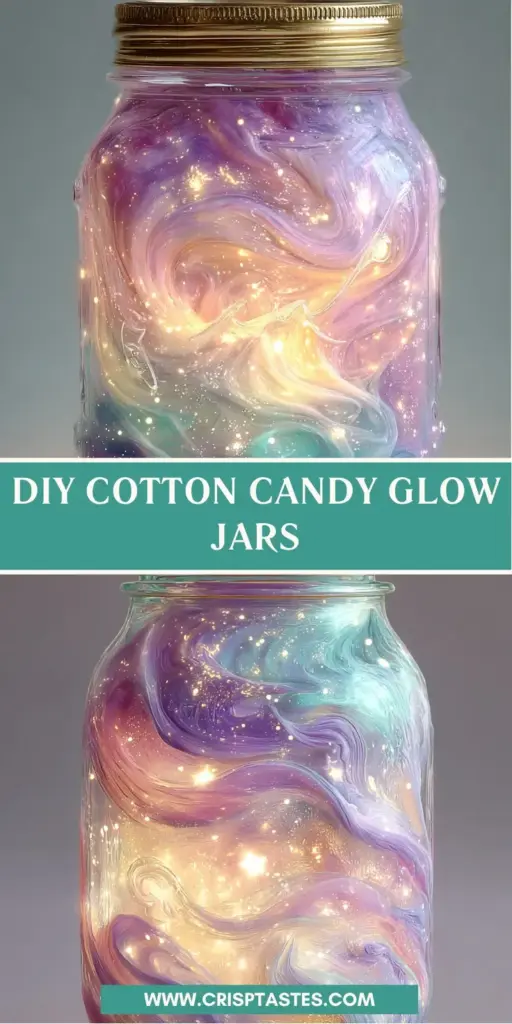
DIY Cotton Candy Glow Jars: A Magical Neon Mason Jar Craft
Ingredients
Equipment
Method
- Mix neon phosphorescent liquid with 1/4 cup water and half the glitter in small bowls.
- Pull the cotton batting into thin, wispy sheets until it looks cloud-like and airy.
- Layer the cotton in the jar, saturating each layer with neon pink or blue liquid using a dropper.
- Top with a final fluff of cotton and iridescent glitter, then seal with the silver metal lid.
Notes
Ensure the cotton is pulled very thin to allow light to penetrate the layers.
Join the Glow Revolution!
Did you make these DIY Cotton Candy Glow Jars? We want to see your results! Save this project to your Pinterest DIY Board so you never lose the instructions. Follow evay_eats for more magical projects!
Leave a 5-star rating in the recipe card below and drop a photo of your glowing jars in the comments. Nothing makes us happier than seeing your neon creations come to life!