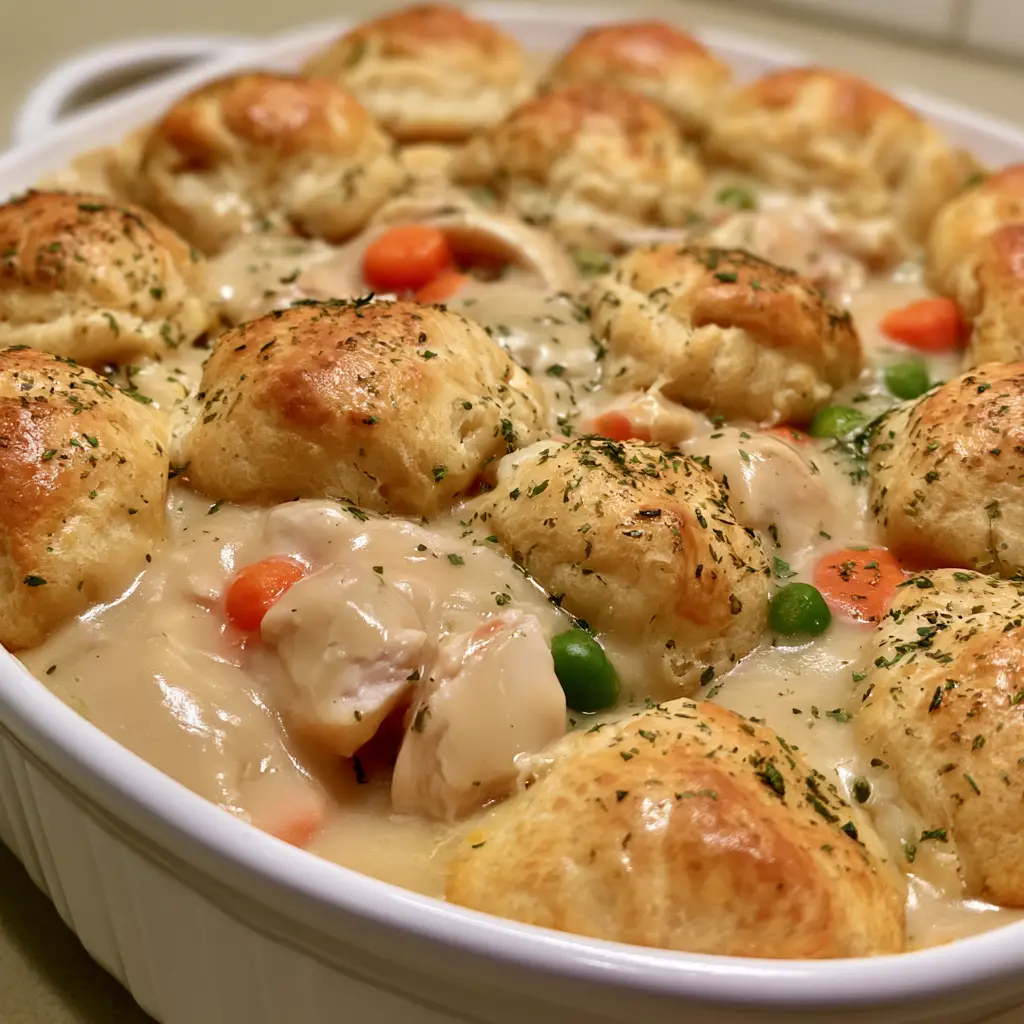
This Chicken Bubble Biscuit Bake is the definitive answer to “what’s for dinner?” when you need something cozy, fast, and family-approved. Imagine golden-brown, puffed biscuit dough balls nestled in a sea of thick, creamy beige gravy that bubbles up with every bite. It is the ultimate Pinterest-viral meal that combines the heartiness of a pot pie with the ease of a casserole.
If you are a fan of effortless family meals like a Costco Chicken Bake, you are going to fall in love with the textures here. We are talking about tender white meat chicken, sweet orange carrots, and snappy green peas all draped in a velvety sauce. The matte buttery finish on the biscuits provides the perfect contrast to the rich, bubbling filling beneath.
Why This Chicken Bubble Biscuit Bake Works
- Visual Texture Contrast: The combination of soft, pillowy biscuits and the glossy, herb-flecked gravy creates a stunning presentation in a white ceramic dish.
- Ultra-Fast Prep: By using refrigerated biscuit dough and pre-cooked chicken, you cut down the “hangry” wait time significantly.
- High Vertical Appeal: The way the Chicken Bubble Biscuit Bake rises in the oven makes it a dream for food photography and Pinterest engagement.
- One-Pan Magic: Everything happens in one casserole dish, meaning less cleanup and more time enjoying your meal.
If you enjoy creamy, oven-baked goodness, you might also want to try my Chicken Alfredo Bake with Broccoli for another weeknight winner. But today, it is all about those bubbles of dough and that beige gravy perfection.
Essential Ingredients for Success
To achieve that handheld smartphone photo look, you need specific ingredients that balance moisture and structure. Here is what you will need for the perfect Chicken Bubble Biscuit Bake:
Refrigerated Biscuit Dough: 2 cans (16.3 oz / 460g each). Look for the “Grands” style for maximum puff. You will cut these into quarters to create the “bubbles.”
Cooked Chicken Breast: 3 cups (approx. 450g). Using white meat chicken keeps the colors bright and the texture lean. You can use rotisserie chicken or even leftover slow cooker chicken thighs if you prefer dark meat.
Creamy Gravy Base: 2 cans (10.5 oz / 298g each) of condensed cream of chicken soup. This provides that iconic thick, creamy beige gravy seen in the blueprint.
Whole Milk: 1 cup (240ml). This thins the condensed soup just enough to allow it to bubble up between the dough balls without becoming watery.
Frozen Peas and Carrots: 1.5 cups (225g). The small orange carrot circles and round green peas add essential pops of color and nutrition.
Melted Butter: 4 tablespoons (56g). Brushed over the top to create that signature matte buttery finish.
Dried Green Herb Flakes: 1 teaspoon. A mix of parsley and thyme gives the dish that “finished” professional look.
Step-by-Step Instructions to Perfection
1. Prepare the Casserole Foundation
Preheat your oven to 375°F (190°C). Grease a 9×13 inch (23x33cm) white ceramic casserole dish liberally with butter or non-stick spray. In a large mixing bowl, whisk together the cream of chicken soup, milk, and herbs until smooth. This forms the base of your thick, creamy beige gravy.
2. The Chicken and Vegetable Fold
Gently fold in your cubed chicken, orange carrot circles, and green peas. Ensure the vegetables are evenly distributed so every serving gets a bit of everything. Pour this mixture into the bottom of your prepared dish, spreading it into an even layer. If you love garlic, feel free to add a teaspoon of garlic powder here, similar to the profile of creamy garlic chicken thighs.
3. Creating the “Bubbles”
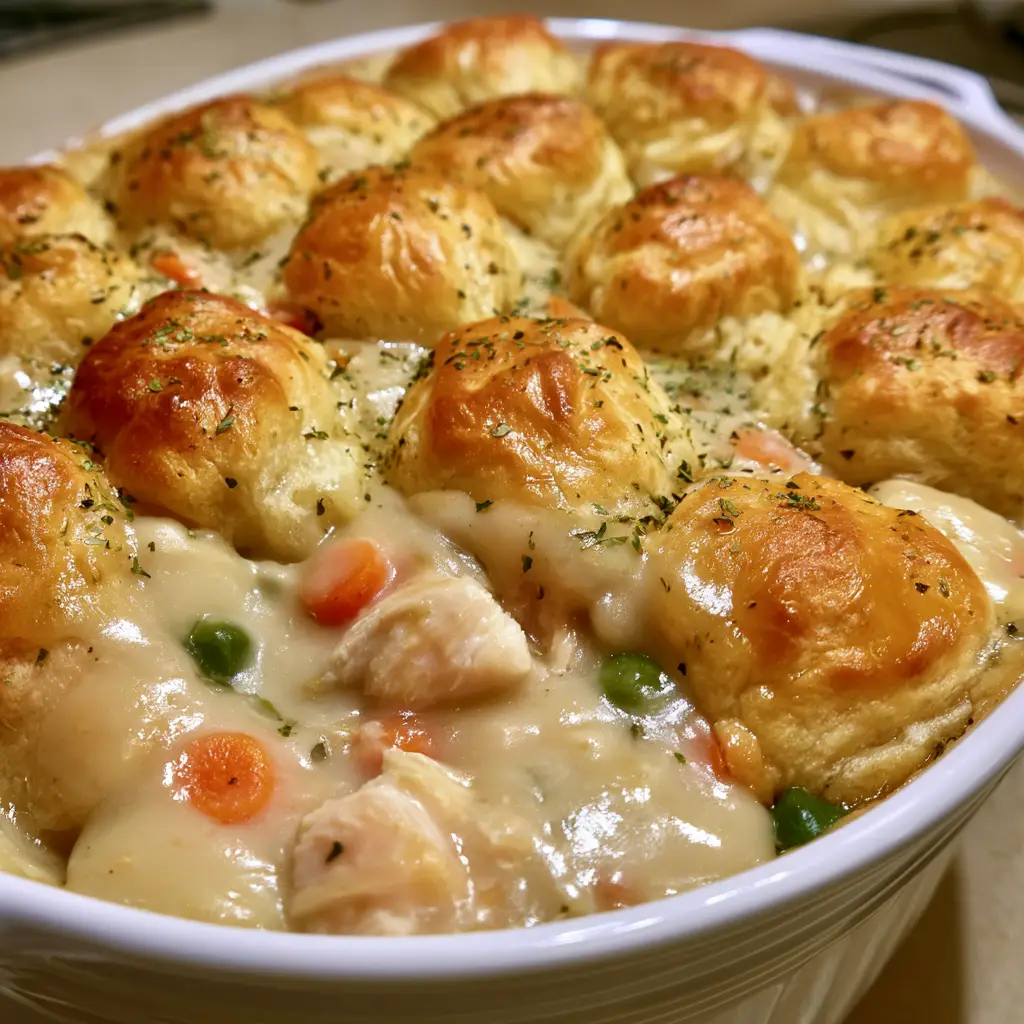
Open your biscuit cans and cut each raw biscuit into four equal quarters. Place the pieces into the casserole dish, pressing them slightly into the gravy. Do not submerge them completely; you want the tops to stay exposed so they can achieve that golden-brown, puffed look. The gravy should be bubbling up between the biscuits as they expand.
4. The Butter Finish and Bake
Melt your butter and brush it generously over the exposed dough. This ensures the matte buttery finish rather than a shiny, greasy one. Sprinkle the remaining dried green herb flakes over the entire surface. Bake for 25-30 minutes, or until the biscuits are fully cooked through and the gravy is vigorously bubbling at the edges.
Expert Tips for the Best Bubble Bake
- Don’t Overcrowd: Give the biscuit pieces a little room to breathe. They will expand significantly, and overcrowding can lead to raw dough in the center.
- Check for Doneness: Use a toothpick to check the center of a biscuit ball. If it comes out clean, you’re ready to serve.
- Visual Cue: The gravy should look thick and beige, not thin. If it looks too liquid, bake for another 5 minutes.
- Resting Time: Let the dish sit for 5-10 minutes after removing it from the oven. This allows the sauce to thicken further, making it easier to serve.
For a different take on oven-baked comfort, check out my No-Peek Chicken and Rice. It uses a similar steam-bake method for incredible results.
Storage, Reheating, and Freezing
To Store: Keep leftovers in an airtight container in the refrigerator for up to 3 days. The biscuits will soften slightly, but the flavor remains excellent.
To Reheat: The best way to maintain the puffed biscuit texture is in the oven at 350°F (175°C) for 10-12 minutes. Microwaving works but may make the dough a bit chewy.
To Freeze: I do not recommend freezing this dish once baked, as the biscuits can become soggy upon thawing. However, you can freeze the chicken and gravy mixture separately!
What to Serve With Chicken Bubble Biscuit Bake
Since this is a heavy, comforting meal, I recommend serving it with something bright and acidic. A crisp green salad with a lemon vinaigrette or steamed broccoli florets works perfectly. If you want to lean into the comfort, a side of garlic mashed potatoes is never a bad idea.
Frequently Asked Questions
Absolutely. While peas and carrots are classic, you can add small broccoli florets. If you love that combo, you’ll also enjoy my Chicken Alfredo Bake with Broccoli.
Yes! Rotisserie chicken is a perfect time-saver for this Chicken Bubble Biscuit Bake. Simply shred or cube the meat before adding it to the gravy mixture.
Ensure you cut the biscuits into quarters (small ‘bubbles’) and don’t submerge them entirely in the gravy. Also, use a white ceramic dish which distributes heat evenly.
Brush the tops of the biscuit dough balls with melted butter before baking. This creates that signature matte buttery finish and beautiful golden color.
The Ultimate Chicken Bubble Biscuit Bake Recipe
Chicken Bubble Biscuit Bake: The Ultimate Creamy Comfort Food
Ingredients
Equipment
Method
- Preheat your oven to 375°F (190°C) and grease a white ceramic casserole dish.
- Whisk together soup, milk, and half the herbs in a bowl until you have a thick, creamy beige gravy.
- Fold chicken, carrots, and peas into the gravy. Pour into the casserole dish.
- Quarter the biscuits and place them on top of the gravy, allowing space for them to puff up.
- Brush the dough with melted butter and sprinkle with the remaining green herb flakes.
- Bake for 25-30 minutes until biscuits are golden-brown and the gravy is bubbling up between the pieces.
Notes
Ensure the biscuits are not fully submerged to prevent sogginess.

Join the Community!
Did you make this Chicken Bubble Biscuit Bake? I want to see your results! Please save this recipe to your favorite Pinterest board so you never lose it. If you tried it, leave a 5-star rating in the recipe card above and upload a photo of your dish in the comments below. Follow @evay_eats for more cozy dinner inspiration!