Pineapple strawberry slushies are the vibrant, frosty answer to sweltering summer afternoons. There is something truly magical about the way the tart, tropical notes of pineapple collide with the sweet, nostalgic flavor of sun-ripened strawberries. This isn’t just a drink; it is a sensory experience defined by frosty micro-ice crystals and a velvety consistency that rivals any professional smoothie shop.
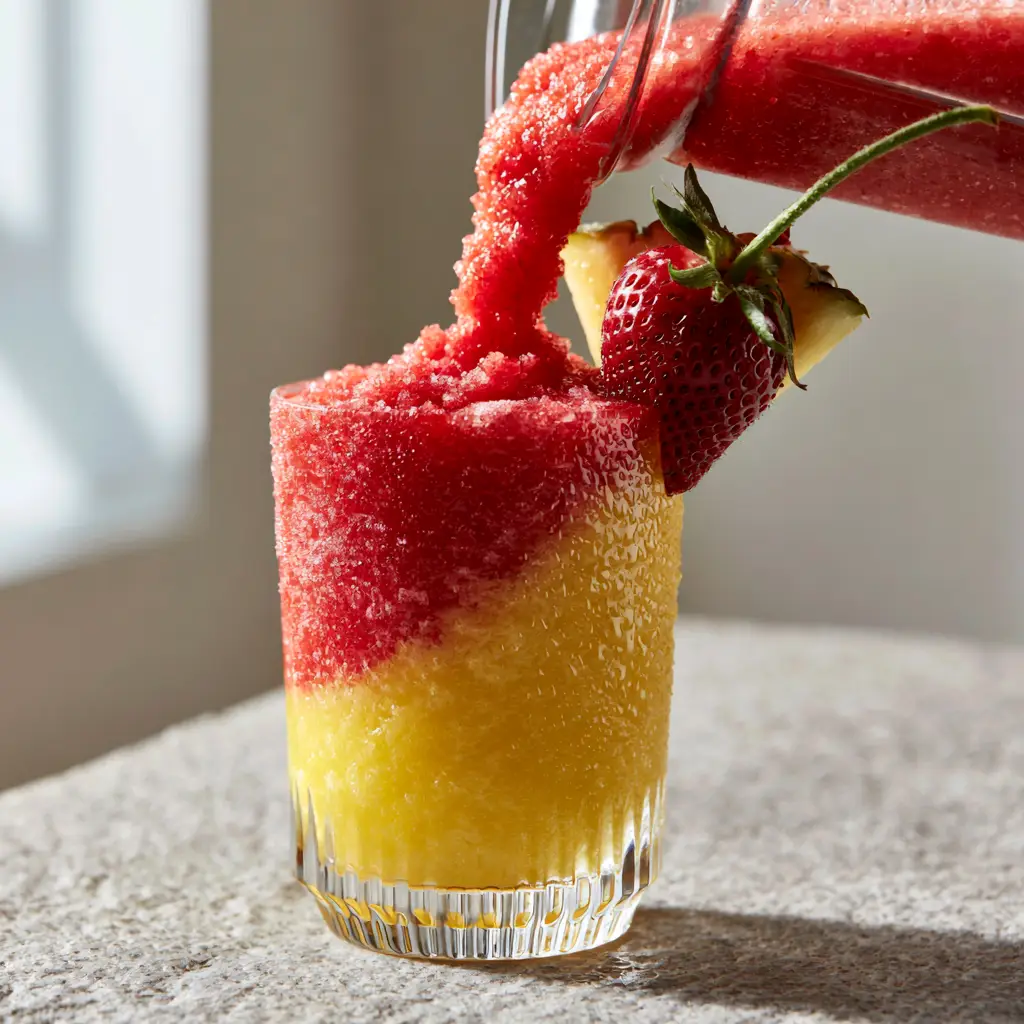
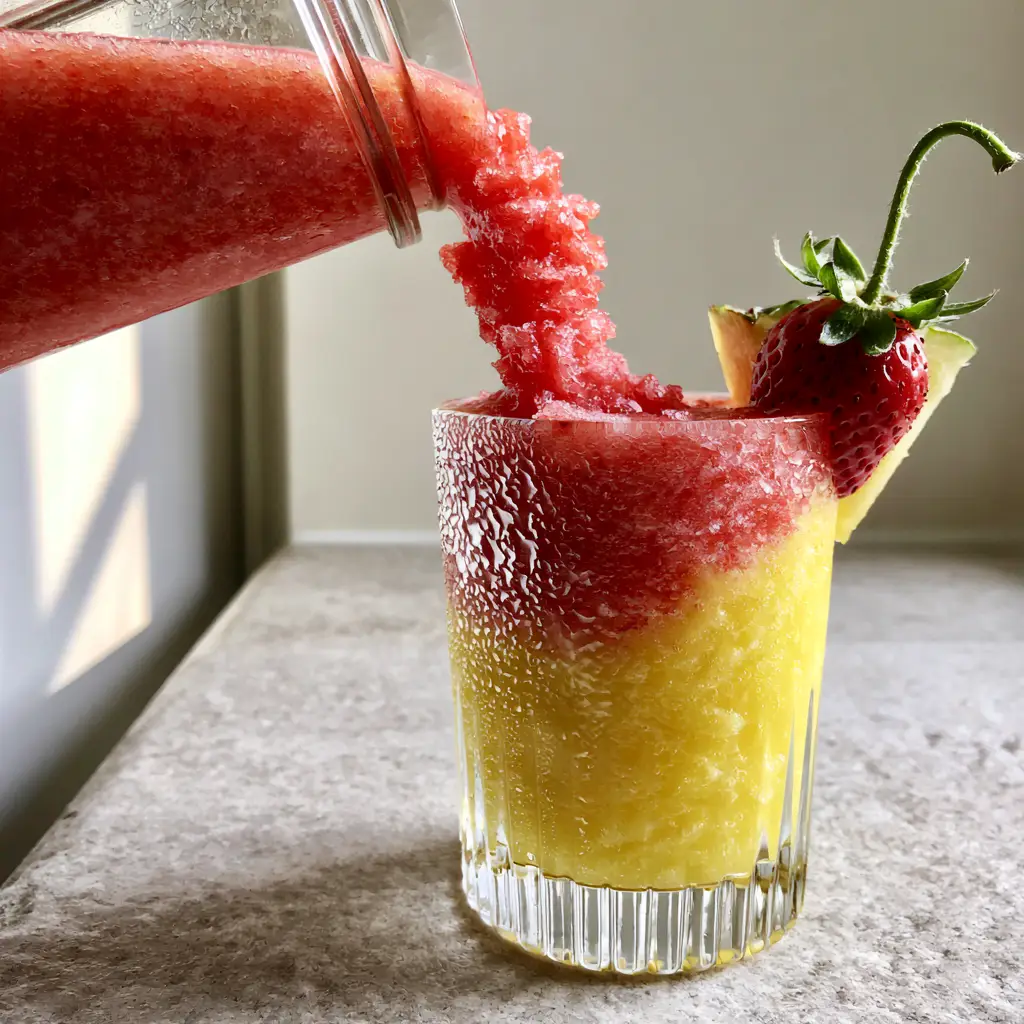
When you pour these pineapple strawberry slushies into a chilled ribbed glass tumbler, the dual-toned layers create a stunning visual gradient. Watching the vibrant red strawberry mixture swirl into the bright yellow pineapple base is almost as satisfying as the first icy sip. Whether you are lounging by the pool or hosting a backyard BBQ, this refreshing treat is guaranteed to be the star of the show.
Why You Will Crave These Frosty Layered Slushies
- Visual Showstopper: The distinct strawberry slushie layer and pineapple slushie layer create a beautiful sunset effect that is perfect for Pinterest-worthy photos.
- Perfect Texture: We use a specific blending technique to achieve frosty micro-ice crystals that feel like velvet on the tongue rather than chunky ice.
- Natural Sweetness: By utilizing high-quality frozen fruit, we minimize the need for added sugars while maximizing the intense tropical fruit profile.
- Instagram-Ready Presentation: Served in a ribbed glass with condensation droplets and a fresh pineapple wedge garnish, it looks as good as it tastes.
If you love refreshing fruit-forward drinks, you should also check out our Cherry Limeade Slushies for another icy citrus twist.
The Essential Ingredients for Pineapple Strawberry Slushies
To achieve that thick, spoonable consistency, the quality and temperature of your ingredients are paramount. Here is what you will need for the perfect pineapple strawberry slushies:
- Frozen Pineapple Chunks: 2 cups (300g). These provide the creamy, tropical base. Using frozen fruit instead of ice ensures the flavor never gets watered down.
- Frozen Strawberries: 2 cups (300g). These create that iconic vibrant red top layer. Look for whole frozen berries for the best color.
- Fresh Lime Juice: 2 tablespoons (30ml). The acidity cuts through the sweetness and brightens the entire flavor profile.
- Honey or Agave Nectar: 1-2 tablespoons (15-30ml). Depending on the ripeness of your fruit, a little liquid sweetener helps smooth out the micro-ice crystals.
- Coconut Water or Filtered Water: 1 cup (240ml), divided. This acts as the liquid base to help your blender catch the frozen fruit.
- Garnishes: Fresh whole strawberries with green stems and fresh pineapple wedges for that professional rim decoration.
These slushies pair beautifully with a fresh summer side like our Watermelon Feta Salad or a crisp Summer Pasta Salad.
How to Make Layered Pineapple Strawberry Slushies
Step 1: Prep the Ribbed Glassware
For the most refreshing experience, place your ribbed glass tumblers in the freezer for 10 minutes before starting. This encourages the formation of those beautiful condensation droplets on the outside of the glass once the slushie is poured.
Step 2: Blend the Pineapple Base
In a high-speed blender, combine the 2 cups (300g) of frozen pineapple, half of the lime juice, and 1/2 cup (120ml) of coconut water. Pulse on high until the mixture reaches a velvety, bright yellow consistency. You are looking for a thick, soft-serve texture where you can see the micro-ice crystals.
Step 3: Create the First Layer
Carefully spoon or pour the pineapple mixture into the bottom half of your chilled glasses. Use the back of a spoon to level the top of the pineapple slushie layer. Place the glasses back in the freezer briefly while you prep the next stage to prevent melting.
Step 4: Blend the Strawberry Top
Rinse the blender jar quickly. Add the 2 cups (300g) of frozen strawberries, the remaining lime juice, and the rest of the coconut water. Blend until you have a thick, vibrant red strawberry slushie mixture. It should be thick enough to sit on top of the pineapple layer without immediately sinking.
Step 5: The Masterful Pour
This is where the magic happens. Slowly pour the strawberry mixture over the pineapple base. For a dynamic pouring action look, pour slightly off-center to create a gentle swirl where the two colors meet. The contrast between the red and yellow is the hallmark of professional pineapple strawberry slushies.
Step 6: Garnish and Serve
Top each glass with a fresh whole strawberry (ensure the green stem is intact for color contrast) and slide a small pineapple wedge onto the rim. Serve immediately with a wide straw or a long spoon.
Expert Tips for the Perfect Slushie Texture
- Don’t Over-Blend: Stop blending as soon as the fruit is smooth. Over-blending creates friction heat, which will melt your micro-ice crystals and turn your slushie into juice.
- Adjust Liquid Carefully: If your blender is struggling, add more liquid 1 tablespoon at a time. The goal is a velvety consistency that is thick enough to hold a straw upright.
- Use Frozen Fruit Only: Avoid adding loose ice cubes if possible. Frozen fruit provides a much smoother, more intense flavor for your pineapple strawberry slushies.
- Sweeten to Taste: Taste your frozen fruit before blending. If the strawberries are tart, increase the honey or agave slightly to balance the flavors.
Planning a full summer spread? These slushies are the perfect beverage to serve alongside a crowd-pleasing Watermelon Recipe collection.
Storage and Make-Ahead Instructions
Pineapple strawberry slushies are best enjoyed immediately to appreciate the frosty micro-ice crystals. However, if you have leftovers, you can pour them into a silicone muffin tin and freeze them. When you are ready for another drink, simply pop two or three “slushie pucks” back into the blender with a splash of water for a quick refresh.
Do not store these in the refrigerator, as the layers will melt and blend together, losing the distinct strawberry slushie layer and pineapple slushie layer visual appeal.
What to Serve with Pineapple Strawberry Slushies
These tropical drinks are incredibly versatile. They serve as a cooling palate cleanser for spicy dishes or a light dessert for a heavy meal. We love serving them with a savory snack like Boat Dip or as a refreshing finish after a bowl of Summer Garden Pasta.
Frequently Asked Questions
While best served fresh for the texture, you can freeze the mixture in ice cube trays and re-blend them for a quick refresh later.
You can, but you must freeze the fresh fruit for at least 4 hours first. Using room temperature fruit will result in a juice rather than a slushie.
No! Using 100% frozen fruit creates a much more intense flavor and a smoother ‘micro-ice crystal’ texture than using traditional ice cubes.
Ensure your slushie mixture is very thick and velvety. Pouring the second layer slowly over the back of a spoon helps prevent the layers from merging.
The Official Pineapple Strawberry Slushies Recipe
Pineapple Strawberry Slushies: The Ultimate Layered Summer Drink
Ingredients
Equipment
Method
- Place two ribbed glasses in the freezer to prepare for the slushie layers.
- Combine frozen pineapple, 1/2 cup coconut water, and 1 tbsp lime juice in a blender. Pulse until velvety with micro-ice crystals.
- Pour the bright yellow pineapple mixture into the bottom half of the chilled glasses.
- Clean the blender and combine frozen strawberries, 1/2 cup coconut water, 1 tbsp lime juice, and honey. Blend until thick and vibrant red.
- Slowly pour the strawberry mixture over the pineapple layer. Garnish with a fresh strawberry (green stem on) and a pineapple wedge.
Notes
Pour the second layer over the back of a spoon for cleaner separation.
Join the Community!
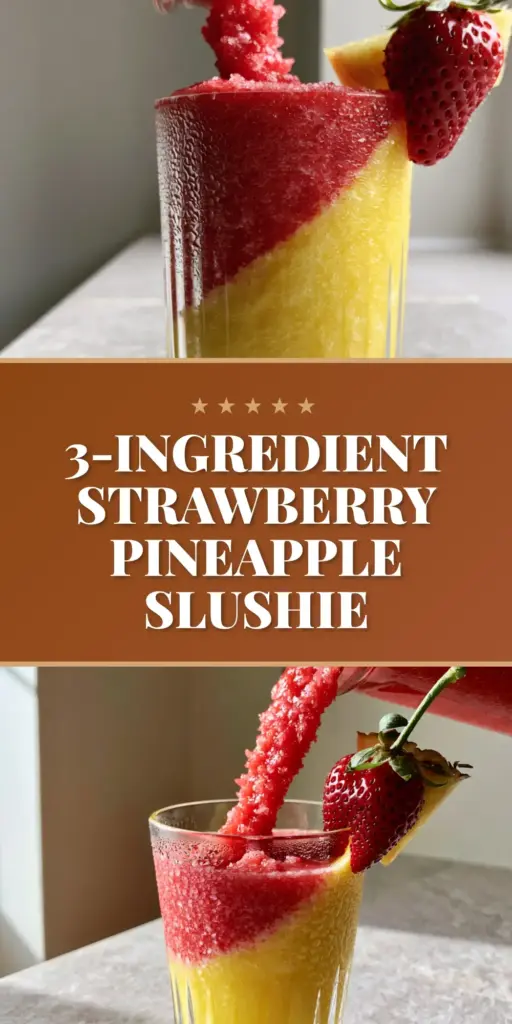
Did you master the perfect pineapple strawberry slushies layer? We want to see your creations! Save this recipe to your Summer Drinks board on Pinterest so you never lose it. If you made this, please leave a 5-star rating in the recipe card below and share a photo of your slushie in the comments. Happy blending!