No-Bake Christmas Oreo Lasagna is the quintessential holiday showstopper that requires absolutely zero oven time, making it the perfect solution for busy December afternoons. This stunning No-Bake Christmas Oreo Lasagna combines the crunch of dark chocolate cookies with a velvety peppermint-infused center, creating a festive masterpiece that looks like a professional pastry chef made it. Whether you are hosting a large gathering or just want a sweet treat for the family, this No-Bake Christmas Oreo Lasagna delivers maximum holiday cheer with minimal effort.
Why This Festive Dessert Will Be Your New Holiday Tradition
- Textural Perfection: Experience the satisfying crunch of crushed dark chocolate sandwich cookie crumbs paired with a smooth white cream cheese filling.
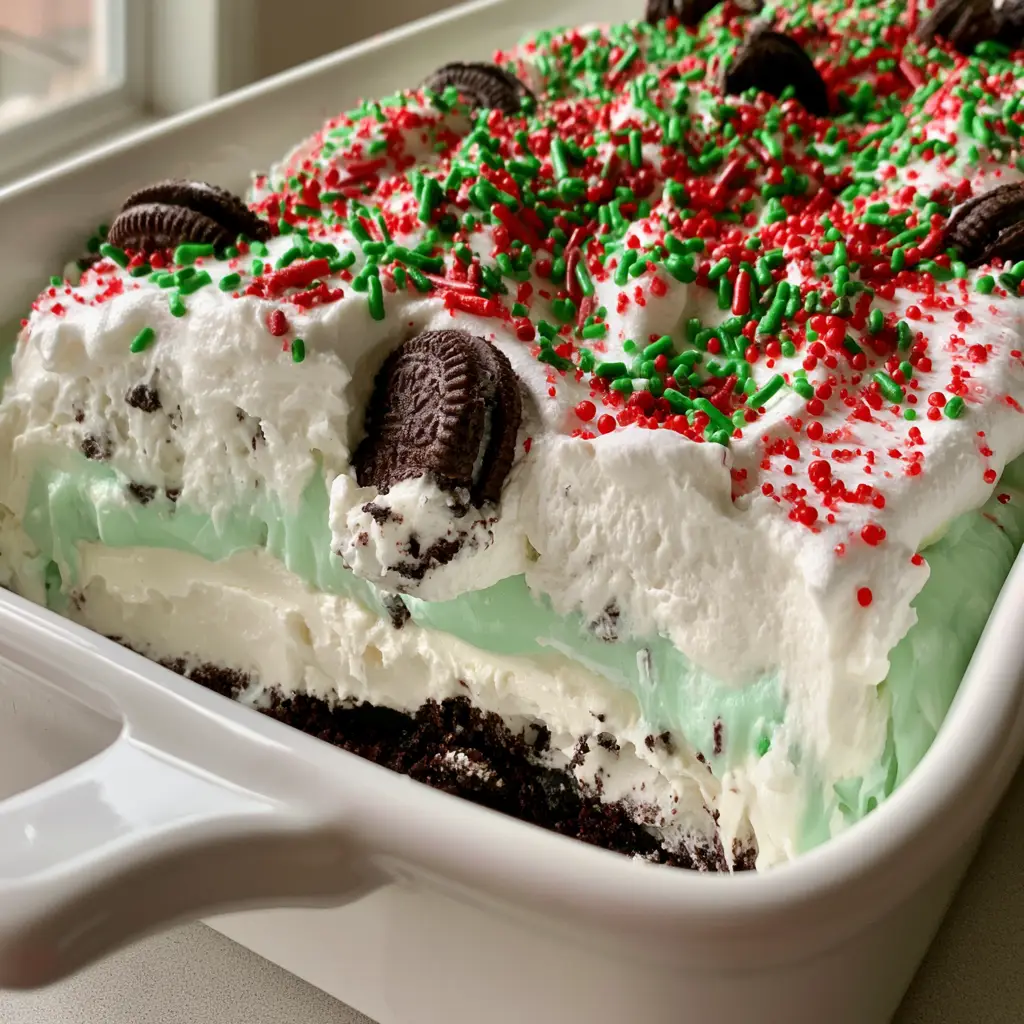
- Visual Showstopper: The pale mint-green pudding layer creates a striking contrast against the dark base and white topping, perfect for your holiday table.
- Stress-Free Preparation: Since this is a completely no-bake recipe, you save precious oven space for your Christmas cranberry meatballs.
- Flavor Harmony: The subtle hint of peppermint balances the rich chocolate foundation for a refreshing finish.
Essential Ingredients for the Perfect Christmas Dessert Lasagna
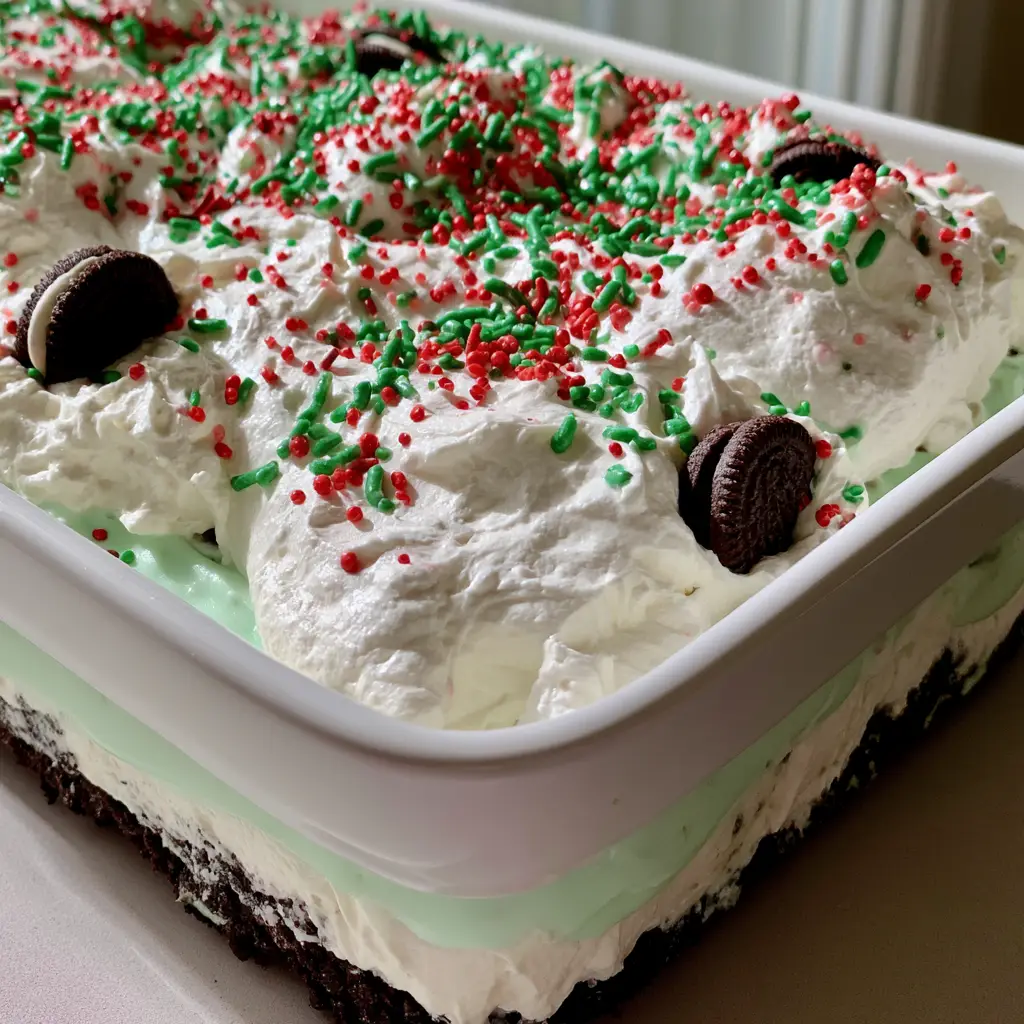
To achieve the precise look of our Visual Recipe Blueprint, you will need high-quality ingredients that hold their structure while maintaining a melt-in-your-mouth texture.
Chocolate Sandwich Cookies: You will need 36 standard Oreos for the base. These provide the bottom foundation of crushed dark chocolate sandwich cookie crumbs that stabilizes the entire dish.
Unsalted Butter: 6 tablespoons (85g) of melted butter acts as the “glue” for your crust. Boldly season with a pinch of salt if using unsalted butter to enhance the chocolate notes.
Cream Cheese: 8 ounces (225g) of brick-style cream cheese provides the thick middle layer of smooth white cream cheese filling. Ensure it is fully softened to avoid lumps.
Powdered Sugar: 1 cup (120g) sweetens the cream cheese layer without adding grittiness.
Whipped Topping: You will use 16 ounces (450g) in total, divided between the cream cheese layer and the top layer of fluffy white whipped topping.
Instant White Chocolate or Vanilla Pudding: Two boxes (3.4 oz / 96g each) create the structure for our pale mint-green pudding layer.
Whole Milk: 3 cups (720ml) of cold milk is required to set the pudding to a sliceable consistency.
Peppermint Extract and Green Food Coloring: 1/2 teaspoon of extract provides the flavor, while 1-2 drops of liquid green coloring achieve that specific pale mint-green hue.
Festive Garnishes: A mix of red and green jimmie sprinkles, tiny red sugar pearls, and whole mini chocolate sandwich cookies to embed in the top cream.
Step-By-Step Guide to Constructing Your Oreo Lasagna
The Foundation: Pressing the Cookie Crust
Start by pulsing your standard chocolate sandwich cookies in a food processor until they reach a fine, sandy texture. You want no large chunks remaining to ensure a clean side-profile slice later.
Stir in the 6 tablespoons (85g) of melted butter until the crumbs are evenly moistened. Press the mixture firmly into the bottom of a rectangular white ceramic baking dish (9×13 inch). Use the bottom of a measuring cup to pack it tight, then chill in the freezer for 10 minutes to set the base.
The Middle Layer: Fluffy White Cream Cheese Filling
In a large mixing bowl, beat the softened cream cheese until it is completely smooth and aerated. Sift in the powdered sugar and add 2 tablespoons (30ml) of milk, mixing until combined.
Gently fold in 8 ounces (225g) of the whipped topping. This creates that thick middle layer of smooth white cream cheese filling seen in the blueprint. Spread this evenly over the chilled cookie base using an offset spatula.
The Mint Layer: Pale Green Pudding Magic
In a separate bowl, whisk together the instant pudding mixes and 3 cups (720ml) of cold milk for 2 minutes until it begins to thicken. Stir in the peppermint extract and one drop of green food coloring.
Whisk until you achieve a pale mint-green color. Pour this immediately over the cream cheese layer, smoothing it to the edges. Let this sit for 5 minutes to firm up slightly before adding the final layer.
The Topping: Fluffy Clouds and Festive Sparkles
Spread the remaining 8 ounces (225g) of whipped topping over the pudding layer to create the top layer of fluffy white whipped topping. The surface should be smooth but have soft peaks for visual interest.
Now, for the artistry: Scatter the red and green jimmie sprinkles and tiny red sugar pearls across the top. Take your whole mini chocolate sandwich cookies and partially embed them into the cream, just like in our handheld smartphone photo reference.
Expert Tips for a Clean Side-Profile Slice
- The Chill Factor: For the most distinct physical layers, refrigerate the dessert for at least 4 hours, or ideally overnight. This allows the pudding to fully set.
- Hot Knife Technique: Dip a sharp knife into hot water and wipe it dry between every single cut. This prevents the layers from bleeding into each other.
- Avoid Over-Coloring: Add the green food coloring one drop at a time. The goal is a pale mint-green, not a neon emerald, to keep the aesthetic elegant.
- Whipping Success: If you prefer homemade whipped cream, ensure it is whipped to very stiff peaks so the lasagna doesn’t collapse under its own weight. It should be as stable as the cream used in a no-bake banana split cake.
How to Store and Serve Your Christmas Lasagna
This No-Bake Christmas Oreo Lasagna must be kept refrigerated until the moment of serving. The whipped topping and pudding layers will soften if left at room temperature for more than 30 minutes.
Storage: Cover the dish tightly with plastic wrap or a lid. It will stay fresh in the refrigerator for up to 4 days. The cookie crust will soften slightly over time, but the flavors will actually deepen.
Freezing: You can freeze this dessert for up to 2 weeks! Thaw it in the refrigerator for 4 hours before serving to maintain the perfect texture. This is a great “make-ahead” option, much like a lemon cream cheese dump cake.
What to Serve With Christmas Oreo Lasagna
Because this dessert is rich and creamy, it pairs beautifully with a hot cup of black coffee or a glass of cold milk. If you are serving this as part of a larger holiday spread, it complements savory dishes like Costco chicken bake or a hearty chicken bubble biscuit bake to balance the meal.
Frequently Asked Questions
Yes, this recipe is actually better when made a day ahead as it gives the layers time to set firmly and the flavors to meld together.
Absolutely! Using peppermint-flavored Oreos will enhance the minty flavor of the foundation layer and is a great seasonal substitution.
Yes, it freezes beautifully. Cover it tightly and freeze for up to 2 weeks. Thaw in the fridge for several hours before slicing for the best texture.
Use a white chocolate or vanilla instant pudding base. Add green food coloring one tiny drop at a time until the desired pale hue is reached.
This usually happens if the cream cheese is too cold. Ensure it is at room temperature before beating, and add the powdered sugar gradually.
The Complete No-Bake Christmas Oreo Lasagna Recipe
No-Bake Christmas Oreo Lasagna: The Ultimate Layered Holiday Dessert
Ingredients
Equipment
Method
- Combine Oreo crumbs and melted butter. Press firmly into a 9x13 dish and freeze for 10 minutes.
- Beat softened cream cheese and powdered sugar. Fold in 8oz of whipped topping and spread over the crust.
- Whisk pudding mix with milk, peppermint, and green coloring until thickened. Spread over the cream cheese layer.
- Spread remaining whipped topping over the top. Garnish with sprinkles and embed mini Oreos. Refrigerate for at least 4 hours.
Notes
Chill for a full 4-8 hours for the cleanest 'lasagna' slices.
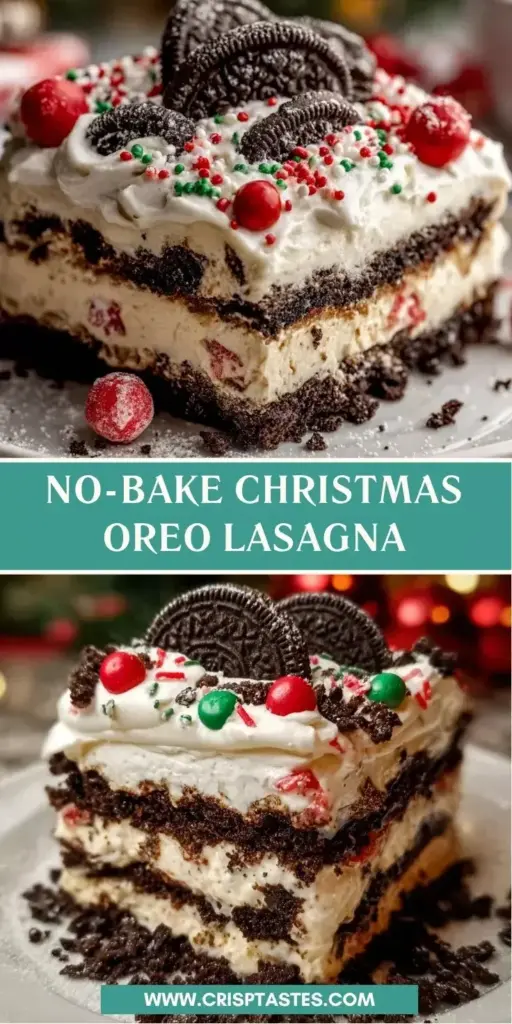
Save This Recipe to Pinterest!
Did you love the pale mint-green layers of this No-Bake Christmas Oreo Lasagna? Make sure to save this recipe to your Christmas Desserts or No-Bake Recipes board on Pinterest so you never lose it!
Follow evay_eats for more viral holiday inspirations. If you make this dish, please snap a photo and share it in the comments below—we love seeing your festive creations! Don’t forget to leave a 5-star rating if this became your new favorite holiday tradition.