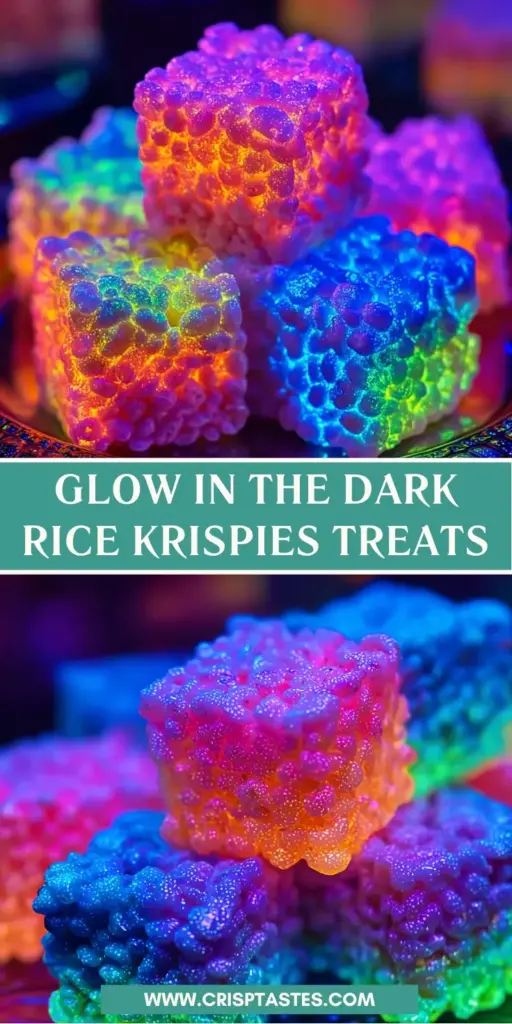
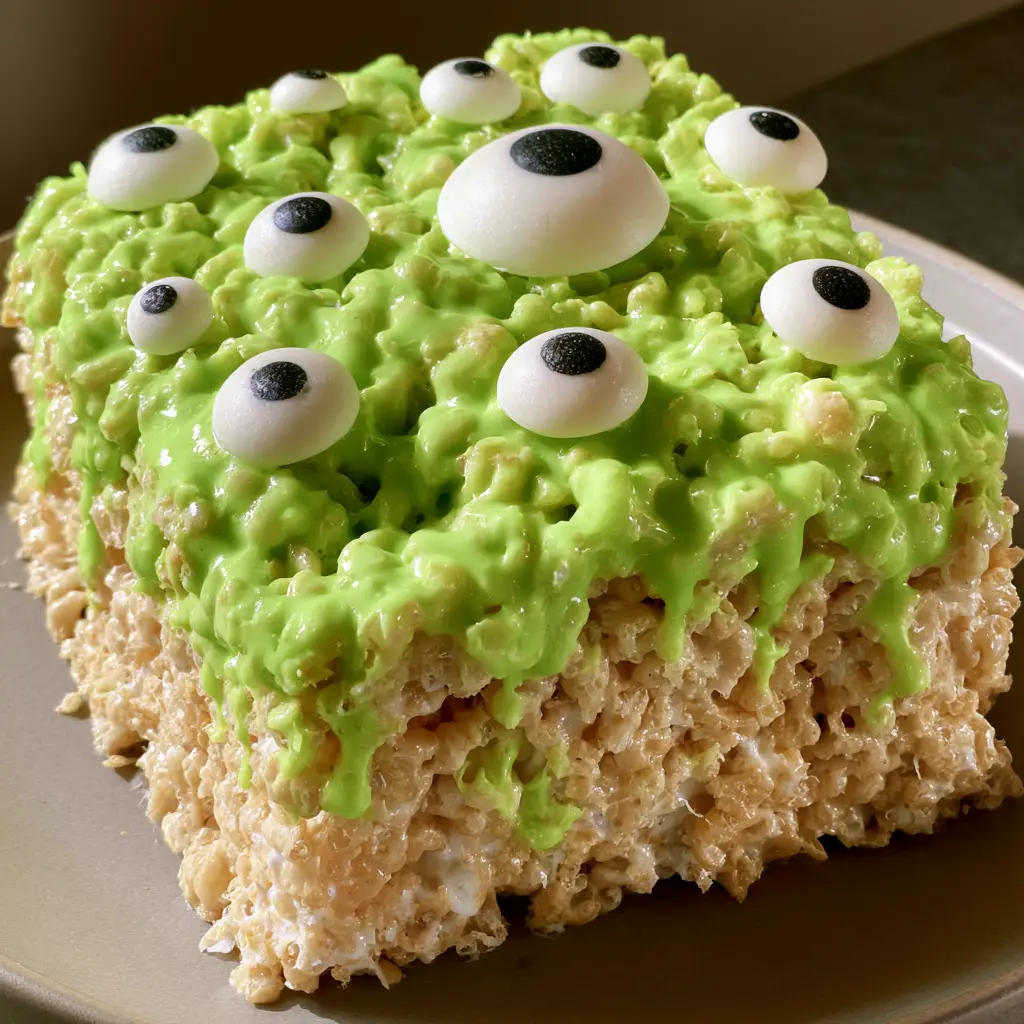
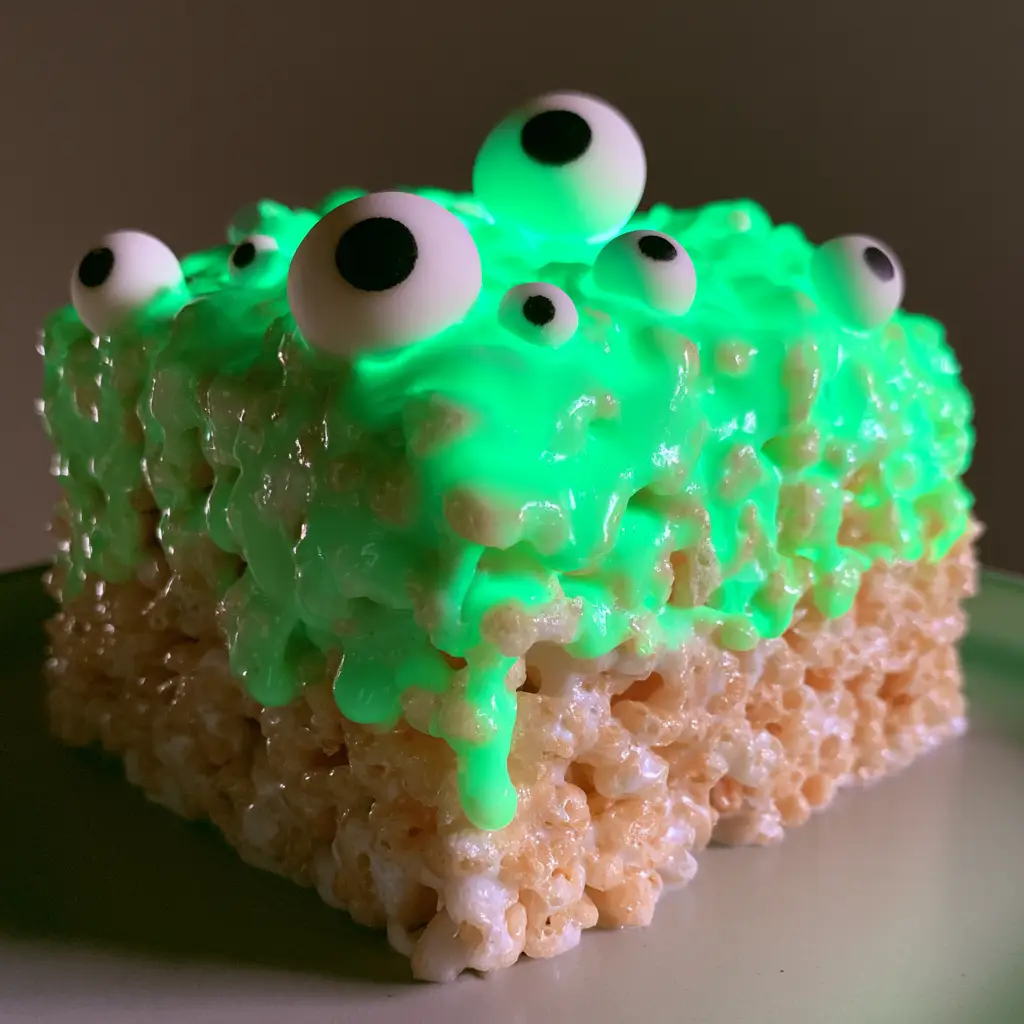
Glow in the Dark Rice Krispie Treats are the ultimate show-stopping dessert for Halloween parties, cosmic-themed birthdays, or any late-night celebration that needs a vibrant, spooky pop. These treats combine the classic, gooey marshmallow crunch we all love with a futuristic, neon green aesthetic that practically jumps off the plate. By pairing a thick, vibrant neon green glaze with various sizes of candy eyeballs, you create a treat that is as hauntingly beautiful as it is delicious.
Whether you are hosting a neighborhood bash or looking for a viral-worthy Pinterest snack, these Glow in the Dark Rice Krispie Treats deliver on every front. The contrast between the dark, textured cereal base and the glowing, pooled glaze creates a visual depth that looks professional yet is remarkably easy to achieve at home. Just like my DIY cotton candy glow jars, these treats rely on vibrant colors to create a magical atmosphere.
Why You Will Obsess Over These Spooky Neon Treats
- Ultra-Textured Base: We use a specific marshmallow-to-cereal ratio to ensure the base is chewy, not rock-hard, providing the perfect canvas for the glaze.
- Neon Visual Impact: The thick neon green glaze is designed to pool slightly in the crevices of the cereal, mimicking a radioactive or “slime” effect that looks incredible under blacklights.
- Multi-Dimensional Decor: Using white candy eyeballs of varying sizes adds a whimsical, creepy character that makes every square unique.
- High Contrast Plating: These treats are designed to be served on dark surfaces to make the neon green “glow” pop with maximum intensity.
The Science of the Perfect Glow in the Dark Rice Krispie Treats
To make these Glow in the Dark Rice Krispie Treats truly stand out, we need to focus on the quality of the ingredients. A standard treat is fine, but an elite treat requires specific ratios and techniques. If you enjoy the science of textured desserts, you might also love the unique profile of savory beet macarons.
Essential Ingredients for the Cereal Base
6 cups (180g) Puffed Rice Cereal: Ensure your cereal is fresh and crispy. Stale cereal will result in a muted crunch that ruins the experience.
10 oz (283g) Mini Marshmallows: Fresh marshmallows are non-negotiable. They contain more moisture, which leads to that iconic “cheese pull” texture when you bite into the treat.
4 tbsp (56g) Unsalted Butter: We use unsalted butter to control the seasoning. Browning the butter slightly adds a nutty depth that balances the sugar.
1/2 tsp (3g) Sea Salt: A pinch of salt is the “invisible ingredient” that prevents the treats from being cloyingly sweet.
Ingredients for the Neon Green “Glow” Glaze
1 cup (120g) Confectioners’ Sugar: This provides the structural base for the thick, pourable drizzle.
1-2 tbsp (15-30ml) Whole Milk: Added slowly to achieve a “thick lava” consistency that pools in the cereal crevices.
Neon Green Gel Food Coloring: Gel is superior to liquid coloring because it provides intense pigment without thinning out the glaze. For a true “glow,” look for UV-reactive food coloring or simply use the brightest neon gel available.
Assorted Candy Eyeballs: A mix of small, medium, and large eyeballs creates a more “organic” monster look.
Step-by-Step Instructions for Neon Perfection
1. Preparing the Cereal Foundation
Start by greasing a 9×9 inch (23x23cm) square baking pan with butter or lining it with parchment paper. In a large pot over low heat, melt the 4 tbsp (56g) of unsalted butter. Once melted, add 10 oz (283g) of mini marshmallows and the sea salt.
Stir constantly until the marshmallows are about 90% melted, then remove from heat. The residual heat will finish the job without overcooking the sugars, keeping the Glow in the Dark Rice Krispie Treats soft for days. Fold in the 6 cups (180g) of puffed rice cereal until every piece is coated in glistening marshmallow clouds.
2. The “Light Touch” Press
Transfer the mixture to your prepared pan. CRITICAL TIP: Do not pack the cereal down hard! Use a greased spatula or a piece of wax paper to gently pat the mixture into the corners. If you compress it too much, the treats will be hard to bite. You want those deep crevices so the neon glaze has places to pool and “glow.” Much like a lemon cream cheese dump cake, the texture comes from the way the ingredients settle naturally.
3. Mixing the Neon Green Radioactive Glaze
In a small bowl, whisk together the confectioners’ sugar and 1 tbsp (15ml) of milk. Add the neon green gel food coloring one drop at a time until you reach a vibrant, electric green. If the glaze is too thick, add the remaining milk drop by drop. It should be thick enough to hold its shape but fluid enough to drizzle and pool.
4. The Drizzle and Decorate Phase
Once the treats have cooled for at least 30 minutes, cut them into even squares. Use a spoon to generously drizzle the neon glaze over the top of each square. Allow it to run down the sides and settle into the textured rice gaps. While the glaze is still wet, press the white candy eyeballs into the green topping. Vary the placement—some squares might have a cluster of five small eyes, while others have one giant staring eye.
Expert Tips for Success
- Avoid the Microwave: While tempting, melting marshmallows in the microwave often leads to a rubbery texture. Stick to the stovetop for the best Glow in the Dark Rice Krispie Treats.
- Use Fresh Marshmallows: If your bag of marshmallows has been open for a month, throw it out. You need the moisture of a fresh bag for the perfect texture.
- Temperature Matters: Wait for the treats to cool completely before glazing. If the treats are warm, the glaze will thin out and disappear into the cereal rather than pooling on top.
- Blacklight Enhancement: If you want them to literally glow, serve them under a UV blacklight. The neon green pigment will fluoresce, creating a stunning visual effect.
Storage, Reheating & Freezing
Storage: Store your Glow in the Dark Rice Krispie Treats in an airtight container at room temperature for up to 3 days. Place parchment paper between layers to prevent the eyeballs and glaze from sticking.
Freezing: You can freeze these for up to 6 weeks. However, I recommend freezing the base treats and adding the neon glaze and candy eyes after thawing to ensure the decorations look fresh and vibrant.
What to Serve With This
These treats are the star of the show, but they pair beautifully with other party favorites. If you’re hosting a full dinner before the “glow” party, consider a hearty french onion rice or a quick ground beef and rice skillet to keep the rice theme going. For a spooky drink, serve alongside a dark purple grape punch to contrast the neon green.
Frequently Asked Questions
You can, but the texture will be much softer and less ‘chewy.’ We recommend using fresh mini marshmallows for the best structural integrity to support the heavy neon glaze.
To get a true ‘glow’ effect as seen in photos, you should use a UV blacklight. The neon green food gel will fluoresce under UV light. For a natural glow without a blacklight, you can substitute part of the milk in the glaze with tonic water (which contains quinine), though the glow will be faint and blue-ish.
Gel food coloring is significantly better than liquid. Brands like Americolor or Wilton ‘Electric Green’ provide the high pigment density needed to make the glaze look vibrant and radioactive.
Treats usually turn out hard because the marshmallows were overcooked or the cereal was packed too tightly into the pan. Always use low heat and a gentle touch when pressing them into the dish.
The Ultimate Glow in the Dark Rice Krispie Treats Recipe
Glow in the Dark Rice Krispie Treats with Neon Green Glaze
Ingredients
Equipment
Method
- Melt butter in a large pot over low heat. Add marshmallows and salt, stirring until 90% melted. Remove from heat.
- Fold in the puffed rice cereal until completely coated in the marshmallow mixture.
- Gently press the mixture into a greased 9x9 pan. Do not pack tightly. Let cool for 30 minutes.
- Whisk confectioners' sugar, milk, and neon green gel coloring until a thick, pourable glaze forms.
- Cut treats into squares. Drizzle with neon glaze and press candy eyeballs of varying sizes into the wet glaze.
Notes
Never use old marshmallows as they make the treats too hard.
Share the Spooky Glow!
I can’t wait to see how your Glow in the Dark Rice Krispie Treats turn out! If you make these for your next party, please save this recipe to your Halloween or Dessert board on Pinterest so you can find it every year.
Follow evay_eats for more highly visual, viral-ready recipes. If you loved the neon vibe, leave a 5-star rating below and upload a photo of your glowing creations in the comments—I love seeing your “monsters” come to life!