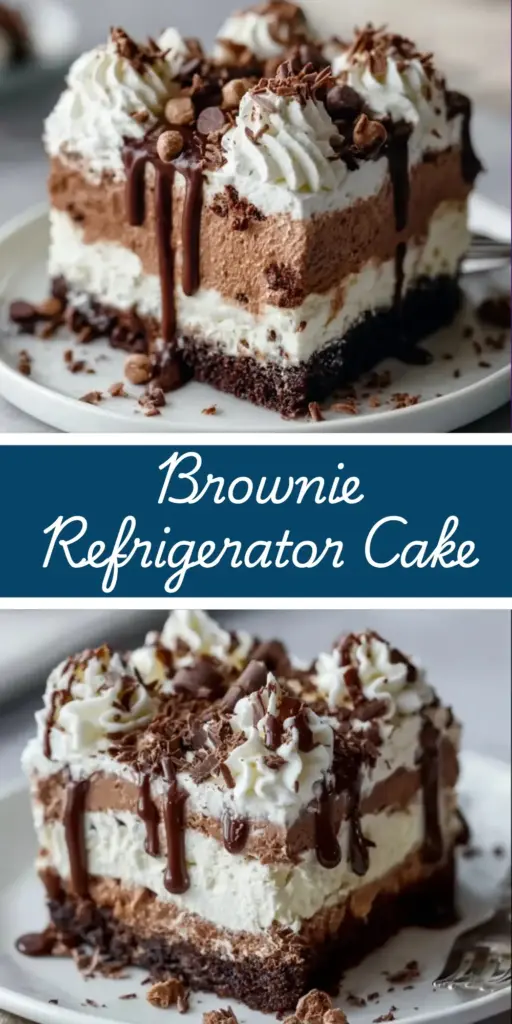
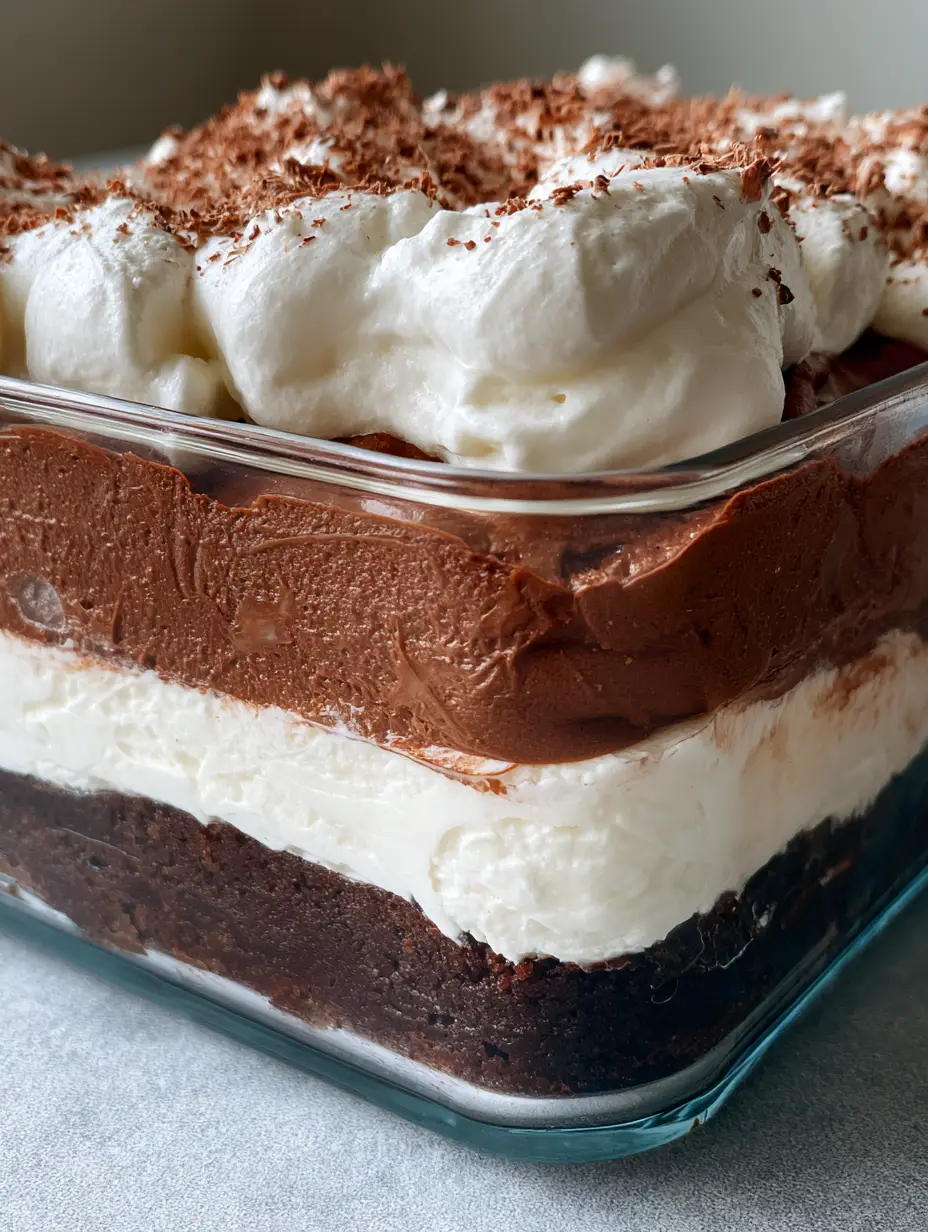
This No-Bake Brownie Layer Cake is the ultimate show-stopping dessert for anyone who craves deep, dark chocolate but wants to keep the oven off. By combining a dense chocolate foundation with airy mousse and silky cream, this dessert delivers a professional-grade aesthetic with minimal effort. Whether you are hosting a summer party or just need a decadent weekend treat, this No-Bake Brownie Layer Cake satisfies every sweet tooth with its four distinct, high-contrast layers.
Every bite offers a symphony of textures, from the fudgy bite of the bottom brownie layer to the cloud-like finish of the whipped cream topping. Because it is served in a clear glass dish, the visual appeal is just as impressive as the flavor profile. This is the kind of recipe that stops the scroll on Pinterest and becomes an instant family favorite.
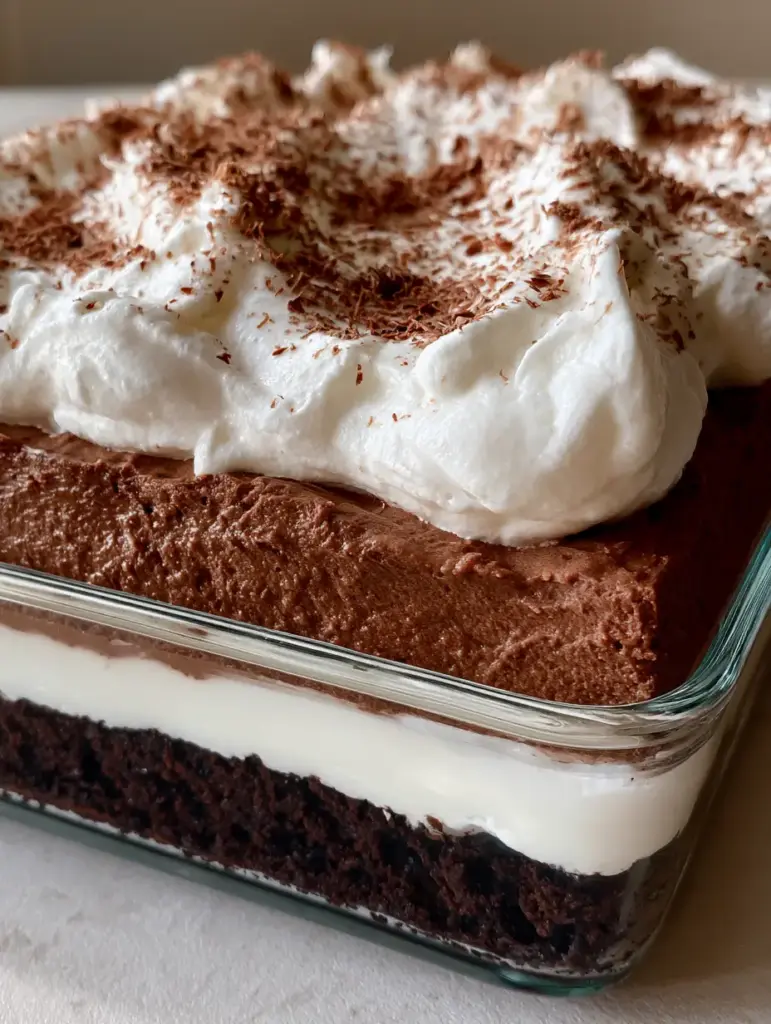
Why You Will Love This Layered Chocolate Masterpiece
- Perfect Visual Contrast: The stark white cream cheese and whipped cream layers pop against the rich, dark chocolate brownie and mousse levels.
- No-Oven Required: Skip the heat and the stress; this entire No-Bake Brownie Layer Cake sets perfectly in the refrigerator.
- Make-Ahead Friendly: This dessert actually tastes better after the layers have had time to meld, making it the perfect party prep recipe.
- Textural Harmony: You get dense, creamy, mousse-like, and fluffy textures in every single forkful.
The Architecture of the No-Bake Brownie Layer Cake
To achieve the “Forensic Visual Accuracy” seen in professional food photography, we need specific components that maintain their shape. Here is what you will need to gather for your No-Bake Brownie Layer Cake.
The Fudgy Brownie Foundation
3 cups (300g) Chocolate Wafer Cookies: We use finely crushed wafers to create the “dense, dark chocolate brownie” look described in the visual blueprint. Unlike graham crackers, dark chocolate wafers provide that midnight-black color.
1/2 cup (115g) Unsalted Butter: Melted butter acts as the binder, ensuring the base holds together when sliced.
2 tbsp (30ml) Dutch-Process Cocoa Powder: This intensifies the darkness of the base layer to match the visual requirement of a “dense, dark chocolate” foundation.
The Silky White Cream Cheese Layer
8 oz (225g) Full-Fat Cream Cheese: Ensure this is at room temperature so the layer is “thick and smooth” without any lumps.
1 cup (120g) Powdered Sugar: Adds sweetness and helps stabilize the cream cheese so the layers stay distinct.
1 tsp (5ml) Vanilla Extract: Use clear vanilla if you want the layer to stay snowy white.
The Rich Dark Brown Chocolate Mousse
2 cups (475ml) Heavy Whipping Cream: This will be whipped into stiff peaks to create the mousse volume.
1 cup (175g) Dark Chocolate Chips: Melted and slightly cooled, these provide the “rich, dark brown” color that distinguishes the mousse from the base.
1/4 cup (30g) Cocoa Powder: Sifted in to deepen the chocolate flavor and stabilize the mousse.
The Voluminous Whipped Topping & Garnish
1.5 cups (350ml) Heavy Whipping Cream: This creates the “voluminous layer of fluffy white whipped cream” that sits at the very top.
1/4 cup (30g) Powdered Sugar: For light sweetness.
1 block (approx 50g) Dark Chocolate: For the “light dusting of fine chocolate shavings” used as the final touch.
If you love layered treats, you might also enjoy this lemon cream cheese dump cake for a citrusy twist, or perhaps these coffee brownies for your next caffeine-infused baking session.
Step-By-Step: Constructing Your No-Bake Brownie Layer Cake
Step 1: Pressing the Dark Brownie Base
In a large bowl, combine your finely crushed chocolate wafer crumbs, melted butter, and Dutch-process cocoa powder. Stir until the mixture resembles wet sand.
Transfer the mixture to a 9×13 inch (23x33cm) clear rectangular glass dish. Visual Cue: Use the bottom of a flat measuring cup to press the mixture firmly and evenly. It should look like a solid, dark chocolate slab at the bottom of the glass.
Step 2: The Thick White Cream Cheese Layer
In a separate bowl, beat the softened cream cheese, powdered sugar, and vanilla until completely smooth.
Carefully dollop the mixture over the brownie base. Use an offset spatula to spread it to the very edges of the glass. Visual Cue: You want a razor-sharp white line visible through the glass dish, creating a high-contrast transition from the dark base.
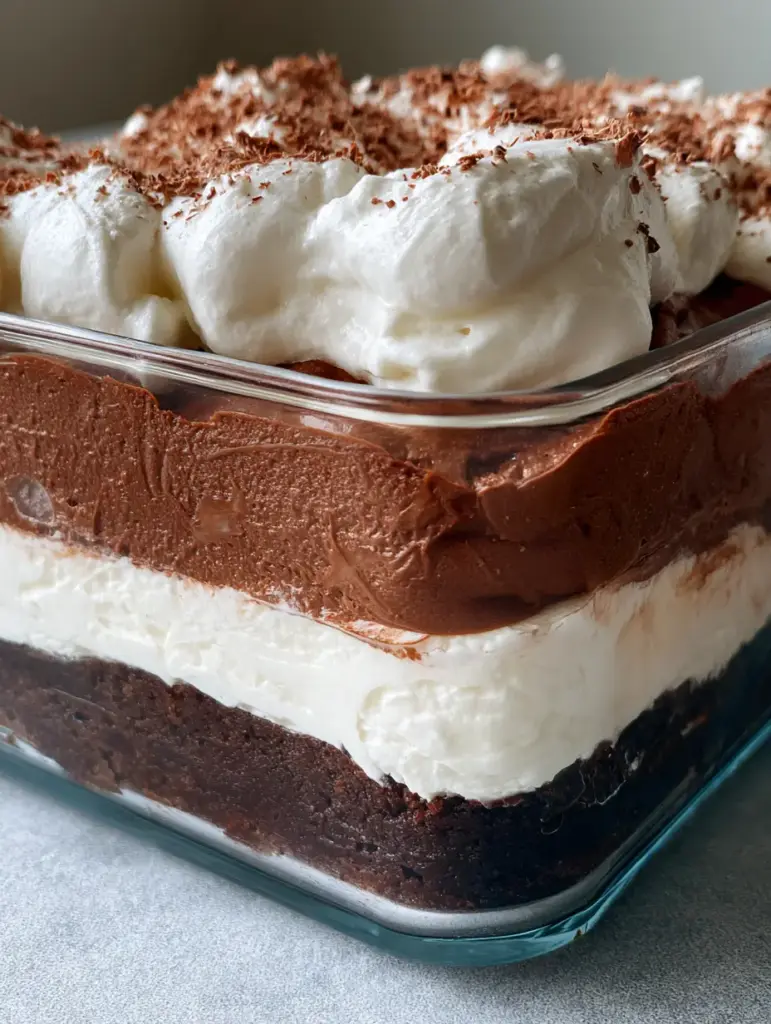
Step 3: Folding the Dark Chocolate Mousse
Whip 2 cups of heavy cream until stiff peaks form. In a small bowl, melt your dark chocolate chips and let them cool for 2 minutes. Fold the melted chocolate and cocoa powder into the whipped cream gently.
Spread this “rich, dark brown” mousse over the cream cheese layer. Visual & Sensory Cue: The mousse should feel airy yet look significantly darker than the cream cheese layer below it. Ensure the top is leveled off before the final stage.
Step 4: The Fluffy Whipped Cream Peak
Whip the remaining heavy cream and powdered sugar until voluminous and holdable. Spread this as the final layer.
Visual Cue: Do not smooth this layer perfectly; leave small peaks and swirls to give it that “voluminous, fluffy” handheld smartphone photo aesthetic.
While you wait for this to set, check out our pecan upside down cake for your next holiday gathering.
Step 5: The Finishing Shavings
Using a microplane or a fine grater, grate the dark chocolate block directly over the whipped cream. Visual Cue: This should be a “light dusting,” allowing the white of the whipped cream to still shine through the fine chocolate specks.
Expert Tips for the Perfect Layered Dessert
- Chill Between Layers: If you have time, pop the dish in the freezer for 10 minutes between adding the cream cheese and the mousse. This prevents the layers from bleeding into each other.
- Clean Slices: To get those perfect Pinterest-ready squares, wipe your knife with a warm, damp cloth between every single cut.
- Room Temp Cream Cheese: Never use cold cream cheese, or you will end up with tiny white lumps in your beautiful white layer.
- Stabilize the Mousse: Ensure your melted chocolate isn’t hot when folding it into the cream, or the mousse will deflate.
Storage, Reheating & Freezing
To Store: Cover the glass dish tightly with plastic wrap or a fitted lid. This No-Bake Brownie Layer Cake will stay fresh and delicious in the refrigerator for up to 4 days.
To Freeze: You can freeze this dessert for up to 1 month. However, for the best “handheld smartphone photo” quality, it is best eaten within the first 48 hours of assembly. Thaw in the fridge for 4 hours before serving.
What to Serve With This Dessert
Since this No-Bake Brownie Layer Cake is incredibly rich, it pairs beautifully with a cup of strong black coffee or a glass of cold milk. If you are serving this as part of a larger spread, consider balancing the sweetness with savory options like ground beef quesadillas or a light avocado egg salad.
Frequently Asked Questions
Yes! Simply swap the chocolate wafer cookies for your favorite gluten-free chocolate cookie brand to make the base entirely gluten-free.
Since this is a no-bake recipe, store-bought mix isn’t recommended as it requires baking. Instead, use the crushed wafer and butter method for a dense, fudge-like base that sets in the fridge.
The secret is to chill the dish for 10-15 minutes between each layer and to use an offset spatula to push the fillings all the way to the edges of the glass.
For the cleanest slices, let the No-Bake Brownie Layer Cake set in the refrigerator for at least 4 to 6 hours, or ideally overnight.
The Official No-Bake Brownie Layer Cake Recipe Card
No-Bake Brownie Layer Cake: The Ultimate Triple Chocolate Lasagna
Ingredients
Equipment
Method
- Mix crushed chocolate wafers, melted butter, and cocoa powder. Press firmly into the bottom of a 9x13 inch clear glass dish to create a dense base.
- Beat cream cheese, 1 cup powdered sugar, and vanilla until smooth. Spread evenly over the brownie base.
- Whip 2 cups heavy cream to stiff peaks. Fold in melted dark chocolate. Spread over the white layer.
- Whip remaining 1.5 cups heavy cream with powdered sugar. Spread voluminously over the mousse and finish with chocolate shavings.
Notes
Use a hot, wet knife to cut clean slices.
Save This Recipe for Later!
If you enjoyed this No-Bake Brownie Layer Cake, please click the Pin button to save it to your favorite Dessert board on Pinterest! Following evay_eats helps us bring you more high-quality recipes. Did you make this? Upload a photo in the comments below—we love seeing your distinct layers! Don’t forget to leave a 5-star rating if this satisfied your chocolate cravings!