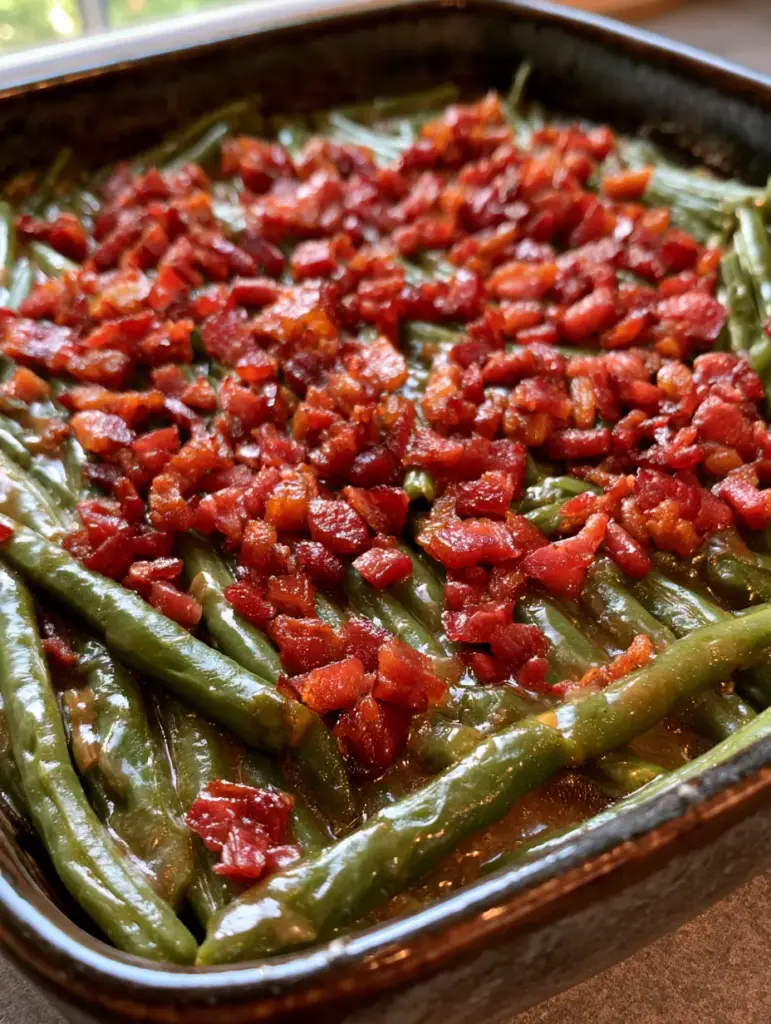
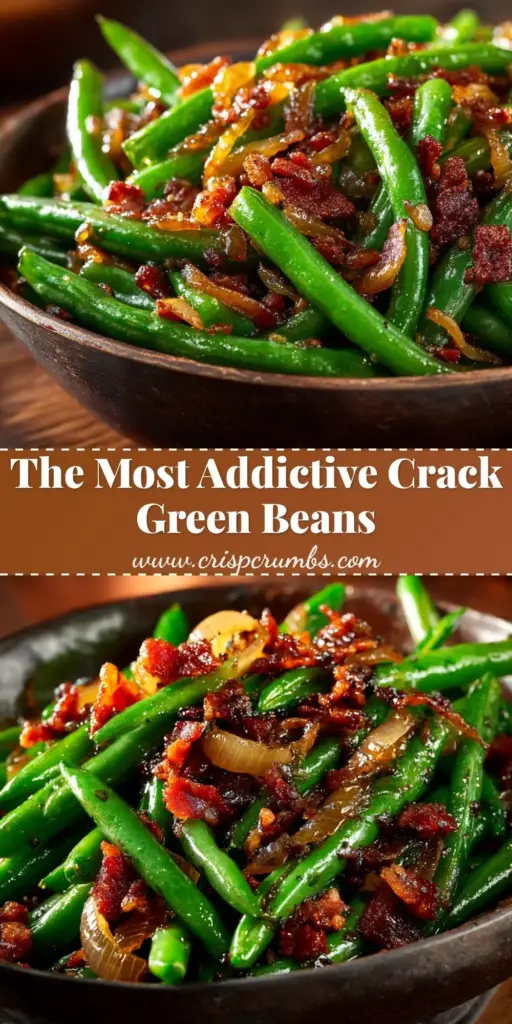
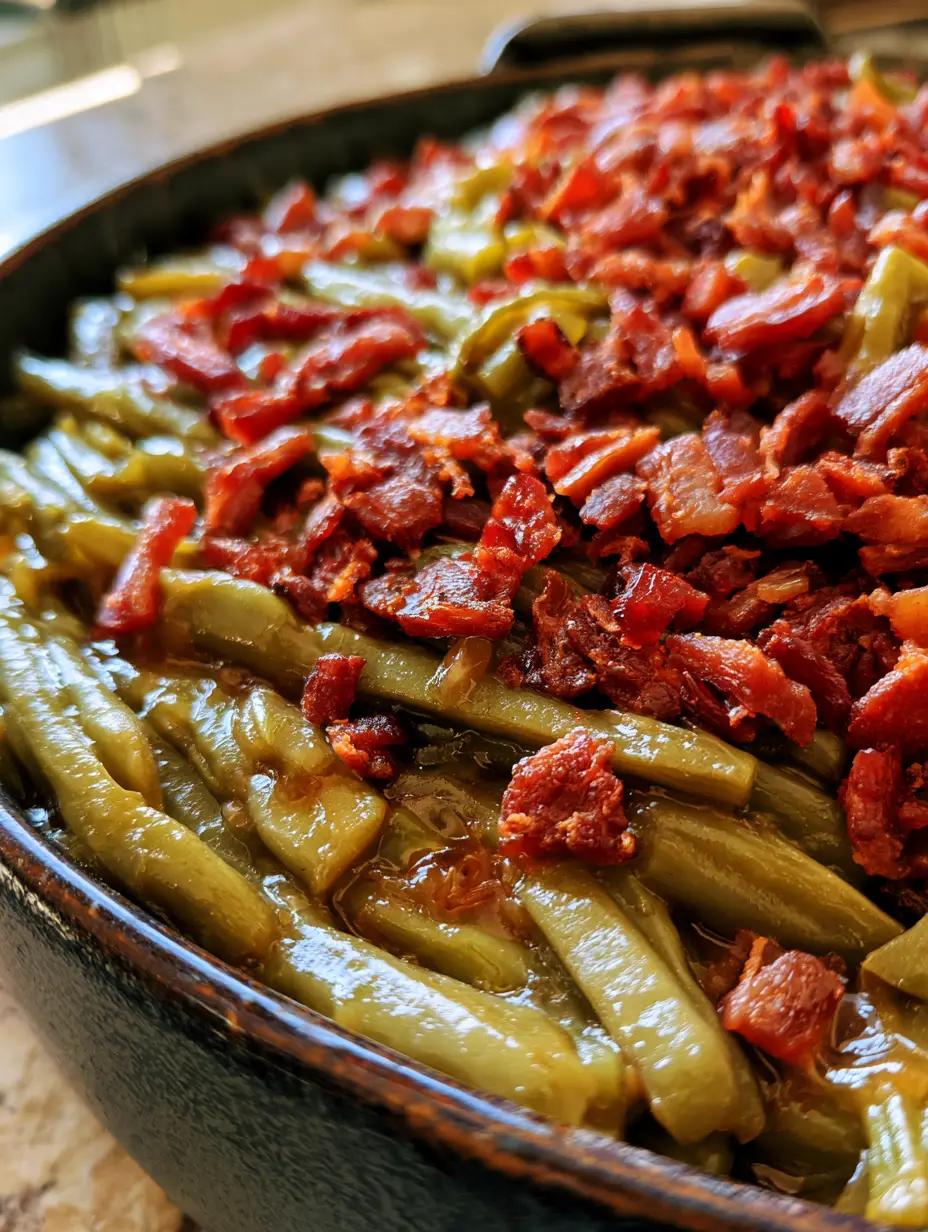
Looking for a side dish that steals the show? These Crack Green Beans are exactly what your dinner table has been missing. Imagine tender, whole green beans blanketed in a thick, glossy, translucent brown sugar and soy glaze that clings to every bite. Topped with a mountain of crispy, deep reddish-brown bacon, this dish balances sweet, salty, and savory in a way that is truly addictive—earning them the name “crack” beans.
Whether you are preparing a holiday feast or a simple weeknight meal, this recipe transforms a humble vegetable into a gourmet experience. The secret lies in the syrupy sauce that pools in the crevices of your baking dish, ensuring no bean is left un-glazed. If you’ve enjoyed my Honey BBQ Chicken and Rice, you already know how a perfect balance of sweet and savory can elevate a meal.
Pinterest users are obsessed with this recipe for a reason: it’s visually stunning and flavor-packed. The contrast between the vibrant green beans and the dark, mahogany-toned glaze makes it a centerpiece-worthy side. Let’s dive into how to create this salty-sweet masterpiece that will have everyone asking for seconds (and thirds).
Why These Crack Green Beans Are Pure Magic
- The Ultimate Texture Contrast: You get tender, snappy beans paired with ultra-crispy, irregular pieces of salty bacon.
- A Glossy, Syrupy Finish: The brown sugar and soy sauce reduce into a translucent glaze that looks professional and tastes even better.
- True One-Dish Ease: While we prep the sauce separately, the magic happens in a single dark rectangular baking dish for easy cleanup.
- Massive Umami Hit: The soy sauce provides a deep savory backbone that cuts right through the sweetness of the sugar.
If you love side dishes that lean into bold flavors, you should also check out my Cheesy Scalloped Potatoes for the ultimate comfort food pairing.
Essential Ingredients for the Perfect Glaze
Fresh Green Beans: Use 1.5 lbs (680g) of whole green beans. Trim the ends but leave them whole for that classic “rustic” look seen in the photos. Fresh beans provide a much better snap than canned versions.
Thick-Cut Bacon: You’ll need 8-10 slices (225g) of bacon. We want to fry these until they reach a deep reddish-brown color, providing the perfect salty crunch to top the Crack Green Beans.
Light Brown Sugar: 1/2 cup (100g) of brown sugar creates the base of our syrup. It caramelizes beautifully in the oven, creating that “crack” factor.
Low-Sodium Soy Sauce: 1/4 cup (60ml) adds the necessary salt and deep color. Using low-sodium allows you to control the saltiness more effectively.
Unsalted Butter: 1/4 cup (57g) of melted butter adds fat and shine, helping the glaze emulsify so it doesn’t separate during the baking process.
Garlic Powder & Onion Powder: 1 teaspoon (5g) each. These “invisible” seasonings provide a savory aromatic base without the risk of burnt fresh garlic bits.
How to Make Addictive Crack Green Beans
1. Prepping the Beans and Bacon
Start by preheating your oven to 350°F (175°C). While the oven warms, wash your green beans and pat them completely dry. This is crucial—any excess water will thin out your glaze and prevent it from becoming syrupy.
In a large skillet over medium heat, fry your bacon slices until they are very crispy. We are looking for a deep reddish-brown hue. Once done, drain them on paper towels. Do not chop them perfectly; irregular, small pieces provide a better texture for the topping.
2. Whisking the Signature “Crack” Sauce
In a medium microwave-safe bowl, melt your butter. Whisk in the brown sugar, soy sauce, garlic powder, and onion powder. Continue whisking until the sugar has mostly dissolved and the mixture looks like glossy, liquid mahogany.
This sauce is the heart of the Crack Green Beans. It should feel slightly thickened even before it hits the oven. The smell at this stage—sweet, salty, and buttery—is incredible.
3. The Assembly and Baking Process
Place your green beans into a dark rectangular baking dish. Arrange them so they lie relatively flat. Pour the soy-sugar mixture evenly over the beans. Use tongs to toss the beans, ensuring every single one is thoroughly coated in the translucent brown glaze.
Place the dish in the oven and bake for 30-35 minutes. Halfway through, give the beans a gentle toss. You will notice the sauce beginning to bubble and thicken, settling into the crevices between the beans.
4. The Final Crispy Topping
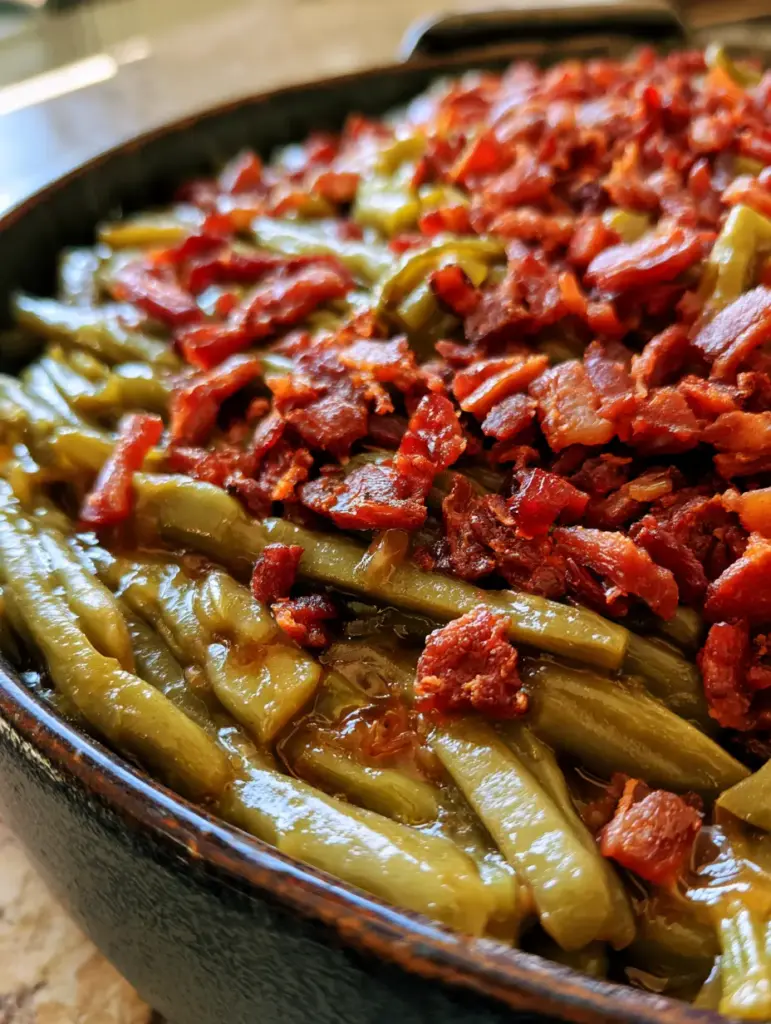
Remove the dish from the oven. The beans should be tender, and the sauce should be syrupy. Now, scatter that heavy layer of crispy bacon pieces across the top. The heat from the beans will help the bacon adhere to the glaze.
For the best presentation, serve these in a rustic dark ceramic vessel. The dark background makes the glossy green beans and the reddish-brown bacon pop, exactly like the authentic food photography style Pinterest loves.
Expert Tips for Recipe Success
- Dry the Beans Thoroughly: Use a kitchen towel to squeeze moisture out of the beans after washing. Water is the enemy of a thick glaze.
- Don’t Overcook the Bacon Initially: While you want it crispy, remember it will sit on hot beans. Fry it until just before it becomes brittle.
- The Whisking Secret: If your glaze looks like it’s separating, add a teaspoon of warm water and whisk vigorously to re-emulsify the butter and sugar.
- Baking Dish Choice: A dark ceramic or metal dish absorbs heat differently than glass, helping the sugars caramelize faster for that deep brown color.
Pair these beans with my Oven Baked Chicken Drumsticks for a complete meal that feels like Sunday dinner any night of the week.
Storage, Reheating, and Freezing
Storage: Keep leftover Crack Green Beans in an airtight container in the refrigerator for up to 3 days. Note that the bacon will lose its crunch once refrigerated.
Reheating: For best results, reheat in the oven at 350°F (175°C) for 10 minutes. This helps the glaze loosen up and become glossy again. Avoid the microwave if possible, as it can make the beans mushy.
Freezing: I do not recommend freezing this dish. The texture of the green beans changes significantly when frozen and thawed, and the sugar-based glaze can become watery.
What to Serve With Crack Green Beans
These beans are a versatile side dish that complements almost any protein. They are a staple for Thanksgiving or Christmas alongside a roasted turkey or glazed ham. For a standard weeknight, they pair beautifully with grilled salmon or a thick-cut pork chop.
If you are looking for more vegetable-forward sides or unique flavor profiles, try my Strawberry Jalapeño Cowboy Candy for another sweet-and-heat experience.
Frequently Asked Questions
You can prep the beans and the sauce ahead of time, but for the best results, bake them fresh and add the bacon right before serving to keep it crispy.
While you can use canned beans, fresh or frozen (thawed and dried) green beans provide a much better snap and texture that holds up to the thick glaze.
Ensure your beans are bone-dry before adding the sauce. The glaze will also thicken naturally as it cools slightly after coming out of the oven.
It can be! Simply swap the soy sauce for Tamari or coconut aminos to make these Crack Green Beans gluten-free.
The Ultimate Crack Green Beans Recipe
Crack Green Beans with Crispy Bacon and Brown Sugar Glaze
Ingredients
Equipment
Method
- Preheat oven to 350°F (175°C). Fry bacon in a skillet until deep reddish-brown and crispy. Drain on paper towels and crumble into irregular pieces.
- Whisk melted butter, brown sugar, soy sauce, garlic powder, and onion powder in a bowl until glossy and translucent.
- Place dry green beans in a dark rectangular baking dish. Pour the glaze over and toss with tongs until every bean is coated.
- Bake for 30-35 minutes, tossing halfway through, until the sauce is syrupy and visible in the crevices.
- Remove from oven and immediately top with the crispy bacon pieces. Serve warm in a rustic ceramic dish.
Notes
Use a dark baking dish to help the sugars caramelize more effectively.
Join the Community & Save!
Did you make these Crack Green Beans? I want to see how they turned out! Please save this recipe to your favorite Pinterest board so you never lose it. If you loved the glossy glaze and crispy bacon, leave a 5-star rating in the recipe card above.
Don’t forget to follow evay_eats for more addictive recipes and handheld food photography tips. Post a photo of your dish in the comments—I love seeing your rustic kitchen creations!