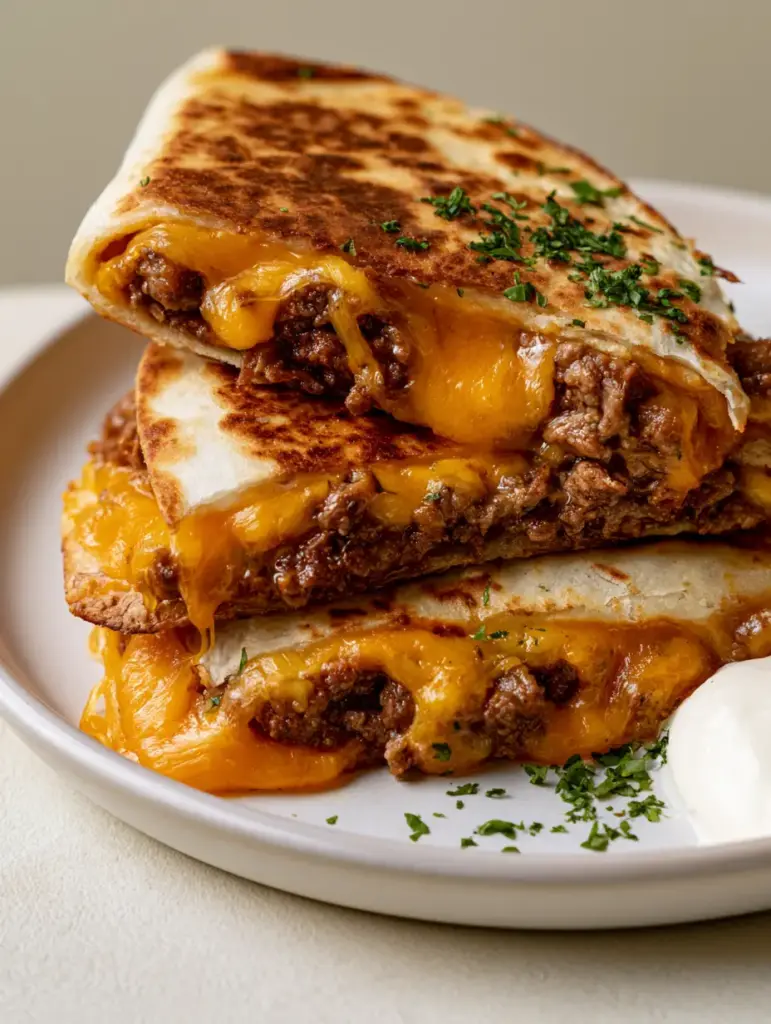
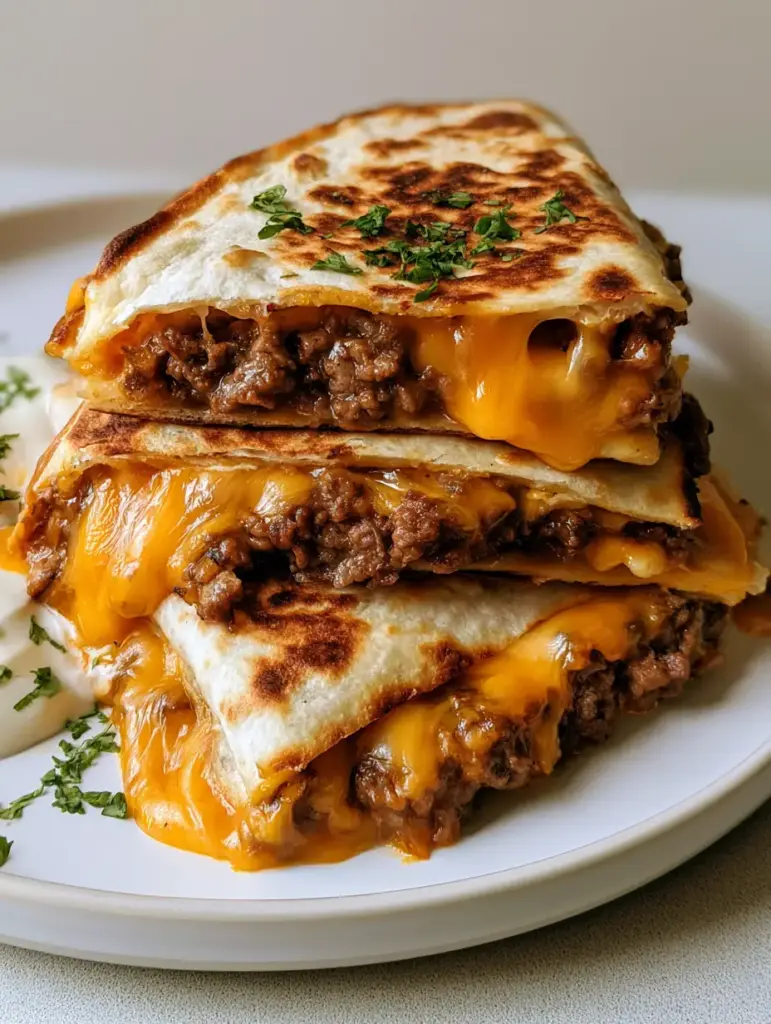
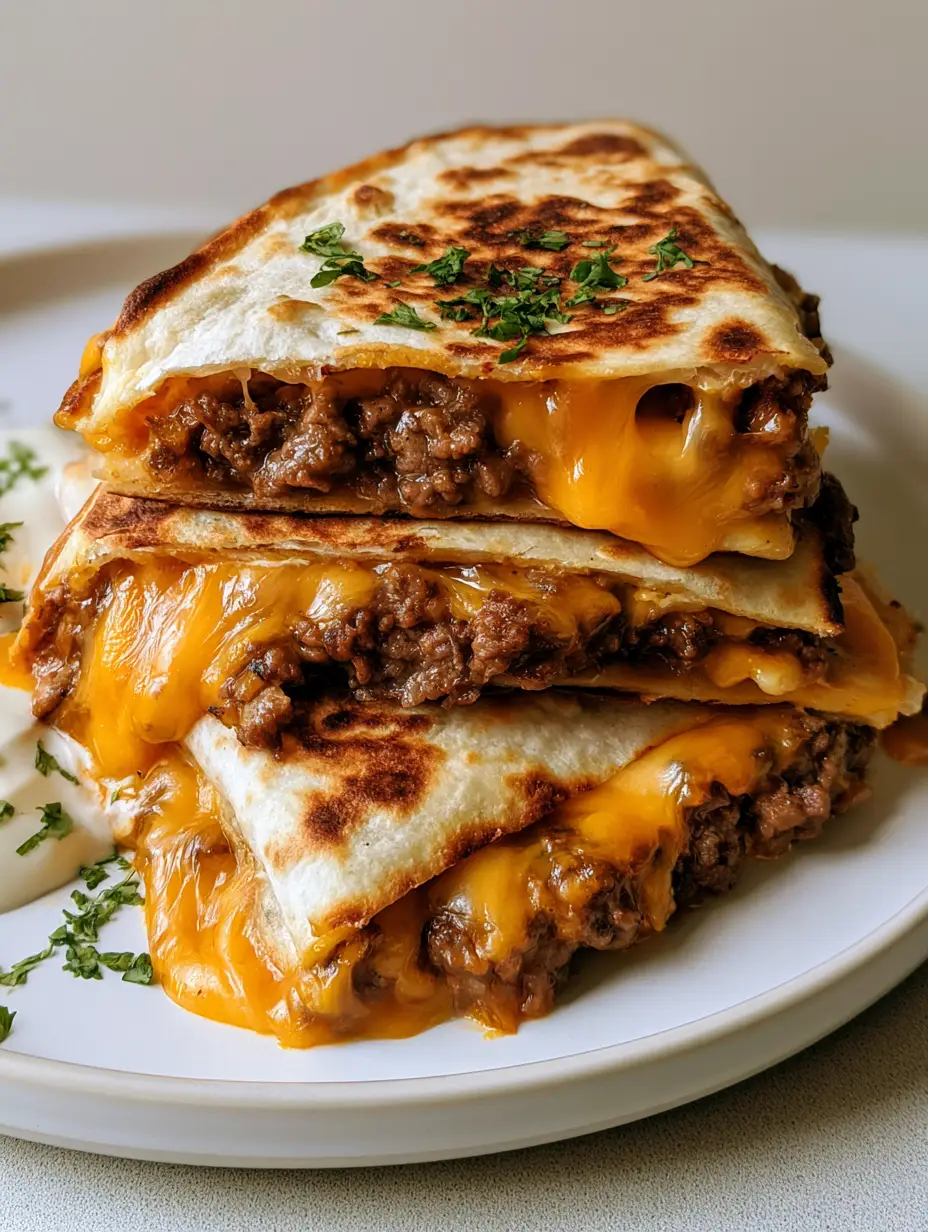
Ground Beef Quesadillas are the ultimate weeknight savior when you need a meal that is fast, incredibly satisfying, and visually stunning. Imagine a stack of three toasted flour tortilla wedges sitting on a plain white ceramic plate, their edges blistered to golden-brown perfection. As you lift a wedge, a thick layer of savory, browned ground beef crumbles and gooey orange cheddar cheese begins to ooze from the sides, creating that iconic cheese pull every home cook dreams of. This recipe delivers a crispy texture that contrasts perfectly with the juicy, seasoned meat, topped with a vibrant sprinkle of fresh cilantro and a side of cool sour cream.
Why You Will Crave These Cheesy Ground Beef Quesadillas
- The Ultimate Crunch: We focus on high-heat searing to ensure every flour tortilla develops those signature golden-brown toasted spots.
- Savory Meat Filling: No bland meat here; our ground beef is browned until deeply caramelized and seasoned for maximum impact.
- Epic Cheese Ooze: Using sharp orange cheddar ensures a bold flavor and a melt-factor that overflows from the crispy edges.
- Perfectly Balanced: The rich, salty beef and cheese are brightened by a sprinkling of finely chopped fresh green cilantro and smooth sour cream.
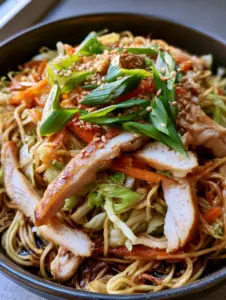
If you love working with flavorful beef recipes, you should also check out my Mongolian ground beef noodles for another quick weeknight win, or try this comforting creamy beef pasta for a hands-off meal.
The Essential Ingredients for Success
Creating the perfect Ground Beef Quesadillas requires a balance of high-quality fats and aromatic spices. Here is what you will need to gather:
The Protein and Tortillas
- 1 lb (454g) Lean Ground Beef: I recommend 85/15 or 90/10 fat content. This provides enough fat to brown the meat beautifully without making the tortillas greasy.
- 4-6 Large Flour Tortillas: Flour tortillas provide the best structural integrity and blistering capabilities compared to corn.
- 2 cups (226g) Sharp Orange Cheddar Cheese: Freshly grated cheese melts significantly better than pre-shredded bags, which are coated in starch.
The Seasoning and Aromatics
- 1 tbsp (15ml) Olive Oil: To help sear the beef and prevent the tortillas from sticking to the pan.
- 1 tsp (5g) Smoked Paprika: Adds a hint of woodsy depth to the savory beef crumbles.
- 1 tsp (5g) Cumin: Provides the earthy, classic taco-style aroma that defines a great quesadilla.
- 1/2 tsp (2.5g) Garlic Powder & Onion Powder: Essential for a well-rounded savory profile.
- Salt and Black Pepper: To taste. Never skip seasoning the meat during the browning process!
Garnishes and Sides
- Fresh Cilantro: Finely chopped to add a burst of color and a fresh, citrusy finish.
- Sour Cream: A small side of smooth white sour cream provides the necessary acidity to cut through the richness of the cheese.
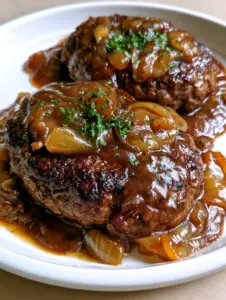
For those looking to lighten things up later in the week, my turkey zucchini bake is a fantastic alternative that uses similar savory notes.
How to Make Ground Beef Quesadillas Step-by-Step
1. Searing the Savory Beef Crumbles
Start by heating your olive oil in a large skillet over medium-high heat. Add the 1 lb (454g) of ground beef. Use a wooden spoon to break the meat into small, uniform crumbles.
Visual Cue: You want to cook the beef until it is no longer pink and has developed a deep, savory brown color. This caramelization is where all the flavor lives! Drain any excess grease to keep your tortillas crispy later.
Stir in your cumin, paprika, garlic powder, onion powder, salt, and pepper. Let the spices toast with the meat for 1-2 minutes until fragrant.
2. Preparing the Tortilla Base
Wipe your skillet clean or use a fresh non-stick pan. Lightly brush one side of a flour tortilla with a tiny bit of oil or butter. Place the tortilla, oiled side down, in the pan over medium heat.
Immediately sprinkle a generous layer of shredded orange cheddar over the entire surface. The cheese acts as the “glue” that holds the Ground Beef Quesadillas together.
3. The Filling and Folding
Spread about 1/2 cup (approx. 100g) of the seasoned beef crumbles over one-half of the tortilla. Add another light layer of cheese on top of the beef—this ensures the top of the tortilla sticks to the filling.
Carefully fold the tortilla in half using a spatula, creating a half-moon shape.
4. Achieving the Golden-Brown Blister
Press down firmly with your spatula. Cook for 2-3 minutes per side.
Sensory Cue: You are looking for golden-brown toasted spots and a distinct “crunch” sound when you tap the surface with your spatula. The cheese should be oozing from the edges and completely melted.
Expert Tips for the Perfect Pinterest-Worthy Stack
- Don’t Overfill: It is tempting to pile on the beef, but too much filling will cause the quesadilla to fall apart when flipping. Keep the layer of beef even and thin.
- Medium Heat is Key: If the heat is too high, the tortilla will burn before the cheese inside has fully melted. Low and slow ensures that gooey orange cheddar center.
- Rest Before Cutting: Let the Ground Beef Quesadillas sit for 60 seconds before slicing into wedges. This allows the cheese to set slightly so the filling doesn’t slide out.
- The Grater Matters: Always grate your own cheese. The Visual Recipe Blueprint calls for gooey cheese, and pre-shredded cheese simply won’t give you that professional “ooze.”
If you’re hosting a party, these pair beautifully with Greek turkey meatballs for a diverse appetizer spread!
Storage, Reheating, and Freezing
Storing: Place leftover wedges in an airtight container in the refrigerator for up to 3 days.
Reheating: To maintain the crispy texture, avoid the microwave! Reheat in a dry skillet over medium heat for 2 minutes per side, or place in an air fryer at 350°F (175°C) for 3-4 minutes.
Freezing: You can freeze the cooked beef filling separately, or freeze the assembled (but uncooked) quesadillas separated by parchment paper in a freezer bag for up to 2 months.
What to Serve With Ground Beef Quesadillas
While these are a complete meal on their own, you can elevate the experience by serving them with:
- Mexican Street Corn (Elote): The creamy, charred corn complements the crispy tortilla.
- Fresh Pico de Gallo: The acidity of the tomatoes and lime juice balances the savory beef.
- Avocado Fries: For an extra dose of healthy fats and crunch.
For a sweet finish after this savory meal, try my easy flourless nut cookies for a healthy-ish dessert.
Frequently Asked Questions
Absolutely. You can cook and season the ground beef crumbles up to 3 days in advance. Just store them in the fridge and assemble the quesadillas right before you are ready to eat.
Yes, but flour tortillas are preferred for this recipe as they are more pliable, easier to fold without breaking, and achieve a better toasted, golden-brown texture.
Ensure the ground beef is well-drained of excess fat before filling the tortilla, and cook the quesadilla in a dry pan or with very minimal oil over medium heat to blister the surface.
Avoid the microwave! Reheat leftovers in a skillet over medium heat for 2-3 minutes per side, or use an air fryer at 350°F until the cheese is melted and the tortilla is crisp.
Sharp orange cheddar is the best choice because it provides a bold flavor and excellent melting properties (the ‘ooze’). Always grate it fresh from a block for the best results.
The Best Ground Beef Quesadillas Recipe Card
Ground Beef Quesadillas: Extra Crispy and Cheesy (20-Minute Dinner)
Ingredients
Equipment
Method
- Heat oil in a skillet over medium-high heat. Add ground beef and cook until browned and crumbled, about 7-8 minutes.
- Stir in cumin, paprika, garlic powder, onion powder, salt, and pepper. Cook for 1-2 minutes until fragrant. Remove from pan and drain fat.
- Place a tortilla in a clean skillet. Sprinkle half with cheese, then beef crumbles, then more cheese.
- Fold the tortilla and cook for 2-3 minutes per side until the tortilla is golden-brown with toasted spots and the cheese is oozing.
Notes
Don't crowd the pan; cook one or two quesadillas at a time.
Save This Recipe for Later!
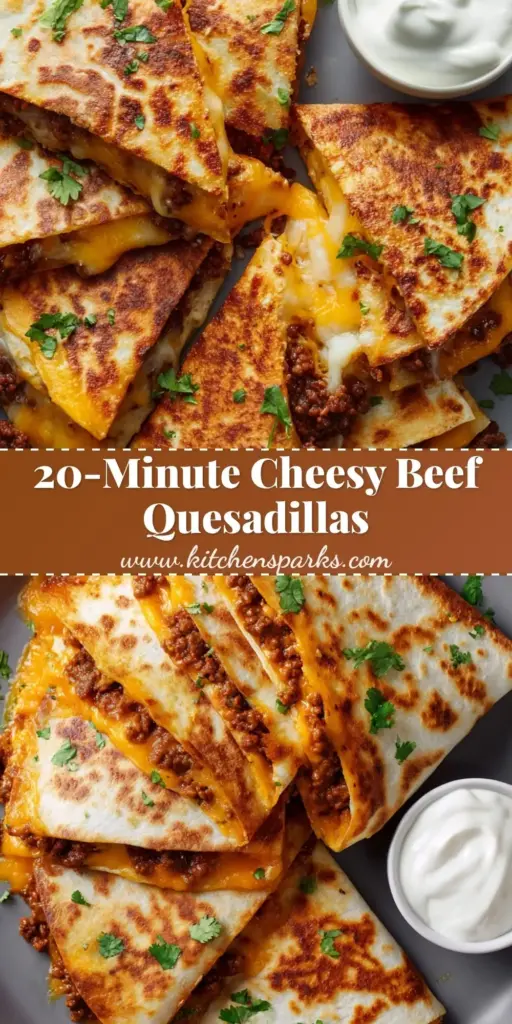
Do you love an extra cheesy, crispy dinner? Make sure to save these Ground Beef Quesadillas to your favorite Pinterest board! We love seeing your kitchen creations—if you make this recipe, please share a photo in the comments below and give us a 5-star rating. Follow evay_eats for more mouthwatering, easy-to-follow recipes every week!