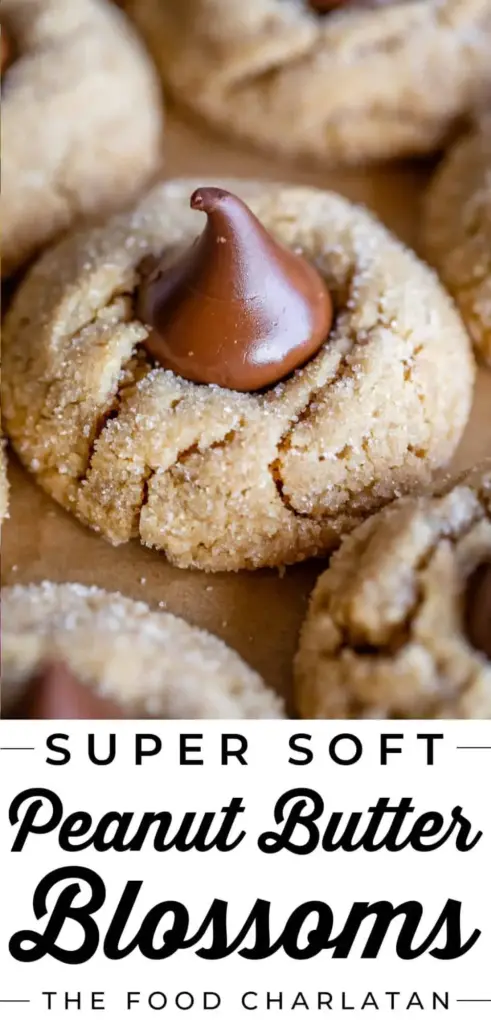
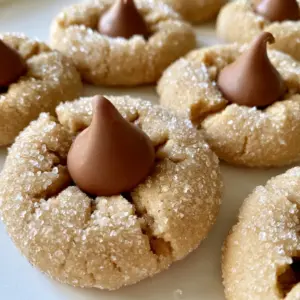
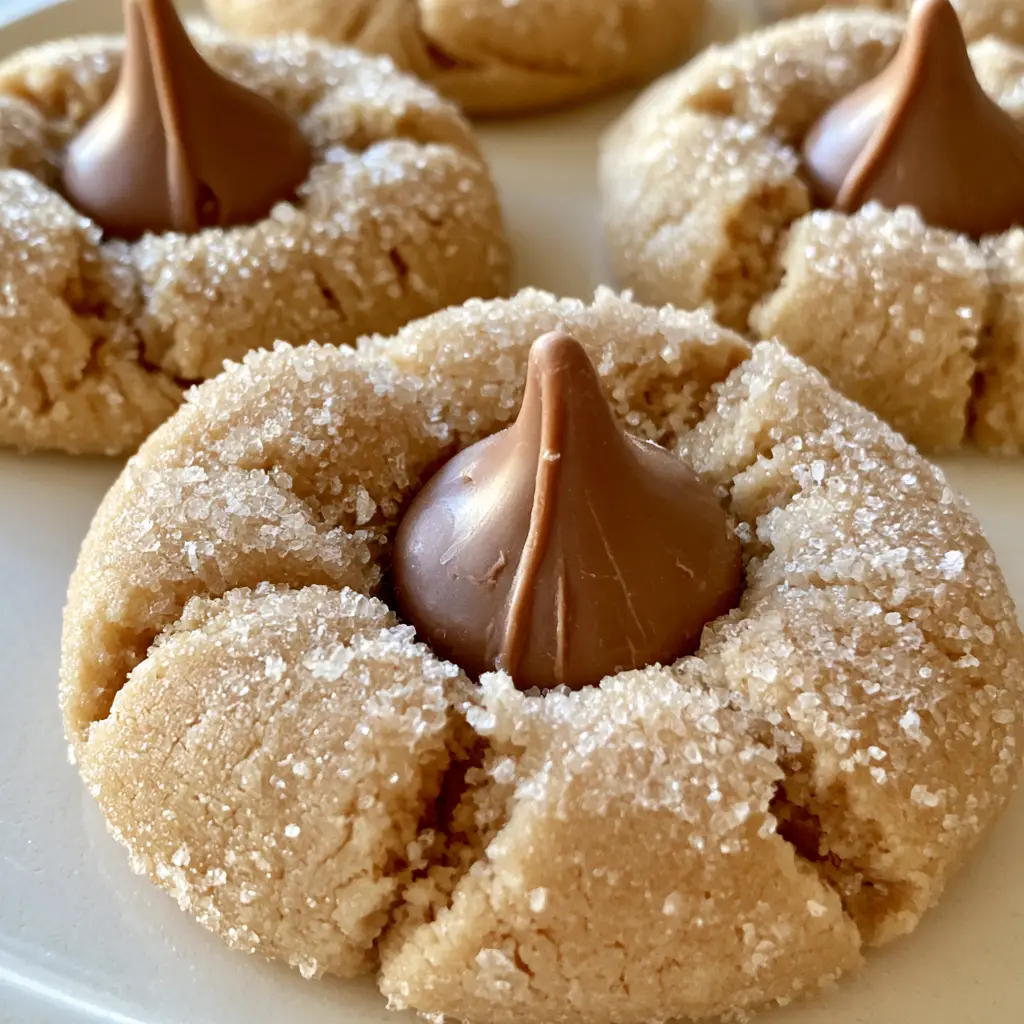
Peanut Butter Blossoms are the undisputed royalty of the cookie exchange, offering a nostalgic blend of salty-sweet dough and rich milk chocolate. These iconic treats feature a thick, round peanut butter base with a soft, slightly cracked texture that melts in your mouth. Coated in a heavy layer of fine granulated sugar crystals that sparkle under the light, every bite provides a satisfying crunch before hitting the tender center. Whether you are a seasoned baker or a beginner, this evay_eats approved recipe ensures a perfect result every single time.
The magic of a true blossom cookie lies in the contrast of textures. You want a light golden tan color on the cookie base, paired with a solid milk chocolate kiss candy pressed firmly into the center. This action creates those signature radiating cracks around the chocolate that signify a perfectly baked dough. If you’ve been looking for a dessert that looks as good as it tastes on your Pinterest feed, this is the one.
Why These Peanut Butter Blossoms Are a Total Game Changer
- Perfect Visual Cracks: The dough is engineered to create those beautiful, radiating fissures the moment you press the chocolate home.
- Crystalline Texture: A heavy coating of granulated sugar provides a professional, sparkly finish that mimics high-end bakery cookies.
- Ideal Ratio: We’ve balanced the fats to ensure the cookies stay thick and round rather than spreading into flat pancakes.
- Pinterest-Ready Aesthetic: With their light golden tan hue and matte chocolate centers, these cookies are a visual masterpiece for your social grid.
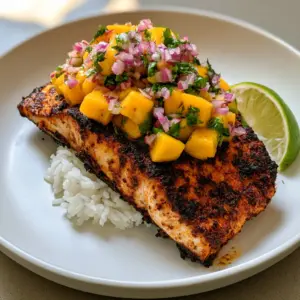
When you are planning a full meal, these cookies serve as the perfect sweet ending. After enjoying a savory dinner of creamy Rotel pasta (coming soon) or perhaps some zesty ranch chicken thighs, these blossoms provide that necessary chocolate hit. They are also rugged enough to be packed in a lunchbox alongside leftovers of air fryer mahi mahi.
The Essential Ingredients for Cookie Perfection
Creating the perfect Peanut Butter Blossoms requires more than just mixing ingredients; it requires understanding their roles. Each component in this list serves a specific culinary purpose to achieve that soft, slightly cracked texture.
Unsalted Butter: 1/2 cup (113g) at room temperature. Butter provides the fat needed for a tender crumb and a rich, buttery flavor that complements the saltiness of the peanuts.
Creamy Peanut Butter: 1/2 cup (128g). Use a standard commercial brand (like Jif or Skippy) rather than natural oil-separated varieties to ensure the thick, round structure of the cookie holds up in the oven.
Granulated White Sugar: 1/2 cup (100g) for the dough, plus extra for rolling. This sugar adds sweetness and helps the edges crisp up, while the rolling sugar creates the sparkling crystalline texture.
Light Brown Sugar: 1/2 cup (100g) packed. The molasses in brown sugar provides moisture and chewiness, ensuring the cookie isn’t dry or crumbly.
Large Egg: 1 (50g). The egg acts as the primary binder, providing structure so the milk chocolate kiss doesn’t cause the cookie to fall apart when pressed.
Vanilla Extract: 1 teaspoon (5ml). A high-quality extract enhances the chocolate and peanut butter flavors, adding depth to the aroma.
All-Purpose Flour: 1 & 1/2 cups (190g). This provides the gluten framework. Measuring by weight is highly recommended to avoid a “cakey” cookie.
Baking Soda: 1 teaspoon (5g). This leavening agent reacts with the acidic brown sugar to create lift and those radiating cracks.
Kosher Salt: 1/2 teaspoon (3g). Salt is the “invisible” hero that cuts through the sugar and makes the peanut flavor pop.
Milk Chocolate Kisses: 36 pieces. The iconic crown of the Peanut Butter Blossoms. Ensure they are unwrapped and ready before the cookies leave the oven.
How to Bake the Perfect Peanut Butter Blossoms
Follow these steps carefully to replicate the Visual Recipe Blueprint exactly. We are aiming for a light golden tan color and a professional, sparkly finish.
Step 1: Creaming for Aeration and Structure
In a large bowl or stand mixer, combine 1/2 cup (113g) of softened butter with 1/2 cup (128g) of creamy peanut butter, 1/2 cup (100g) of granulated sugar, and 1/2 cup (100g) of brown sugar. Beat on medium-high speed for at least 2-3 minutes. You are looking for the mixture to become pale and fluffy, which incorporates air for a soft texture.
Step 2: Incorporating the Binder
Add the egg and 1 teaspoon (5ml) of vanilla extract. Beat again until fully combined, scraping down the sides of the bowl. This ensures the fat and water-based ingredients are properly emulsified, preventing the Peanut Butter Blossoms from becoming greasy.
Step 3: Whisking the Dry Ingredients
In a separate bowl, whisk together 1 & 1/2 cups (190g) of all-purpose flour, 1 teaspoon (5g) of baking soda, and 1/2 teaspoon (3g) of salt. Gradually add the dry mixture to the wet ingredients while mixing on low speed. Stop mixing as soon as the last streak of flour disappears to avoid overworking the gluten.
Step 4: The Crystalline Sugar Coating
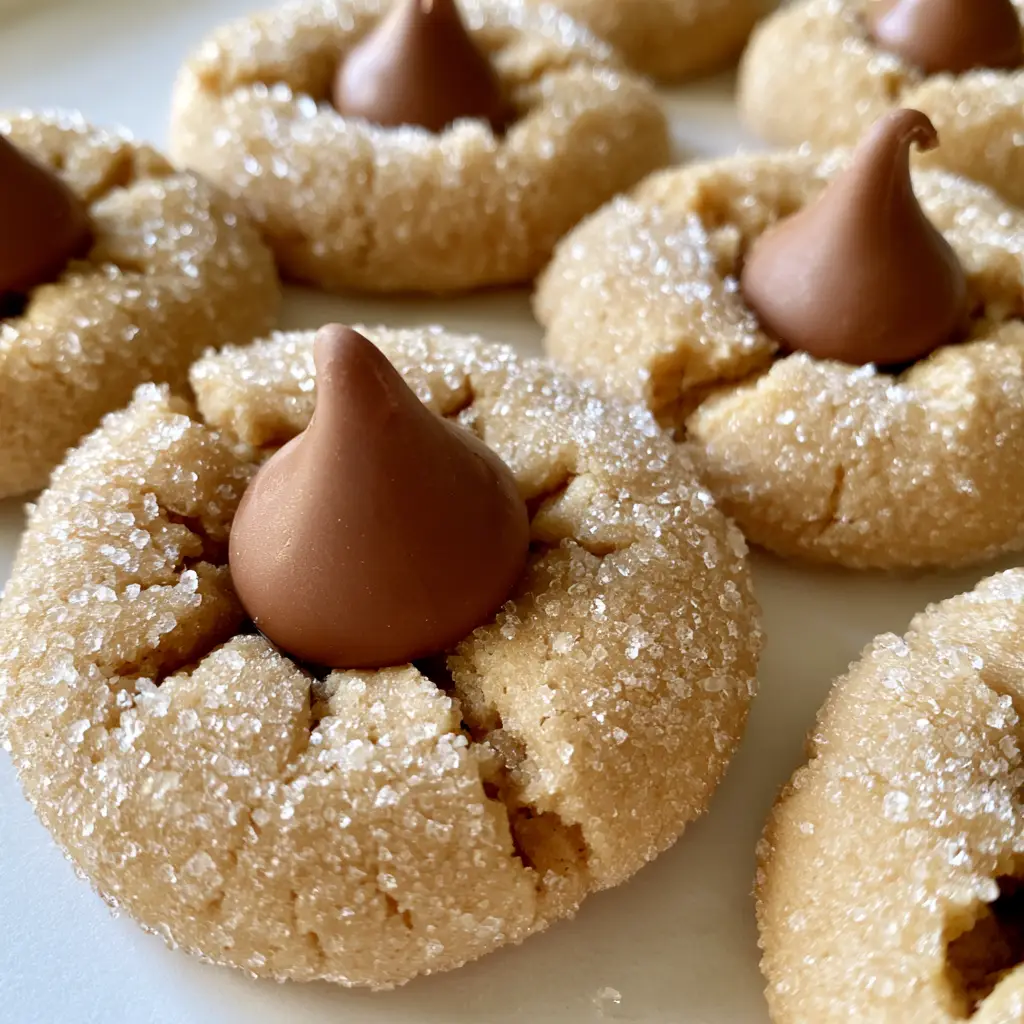
Scoop about 1 tablespoon (approximately 25g) of dough and roll it between your palms to form a thick, round ball. Immediately drop the ball into a bowl of granulated sugar. Roll until heavily coated with sugar crystals. This is what creates that sparkling, unedited smartphone photo look mentioned in our prompt.
Step 5: The Precision Bake
Place the balls 2 inches (5cm) apart on a parchment-lined baking sheet. Bake at 375°F (190°C) for 8 to 10 minutes. Visual Cue: The cookies are done when they are a light golden tan color and have just begun to puff up, but the centers still look slightly underdone.
Step 6: The Iconic Chocolate Press
Remove the cookies from the oven and immediately press a milk chocolate kiss into the center of each. Sensory Cue: You should feel a slight resistance as the chocolate displaces the dough, creating small radiating cracks around the base. The heat from the cookie will slightly soften the bottom of the chocolate, “gluing” it in place.
Allow the cookies to cool on the baking sheet for 5 minutes before transferring them to a wire rack. This allows the soft, slightly cracked texture to set without the cookie breaking.
Expert Tips for Success
- Don’t Overbake: If the cookies turn dark brown, they will be hard rather than soft. Aim for that light golden tan.
- Chill the Dough: If your kitchen is warm, chill the rolled balls for 15 minutes before baking to ensure they stay thick and round.
- Freeze the Kisses: If you want the chocolate to hold its shape perfectly without melting into a puddle, pop the unwrapped kisses in the freezer for 20 minutes before pressing them.
- Fresh Baking Soda: Ensure your leavening agent is fresh to get those beautiful radiating cracks.
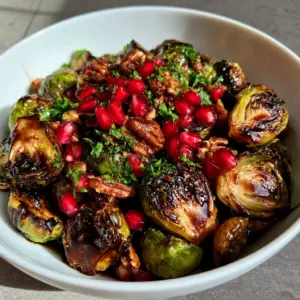
For a complete dinner party spread, consider serving these alongside honey balsamic brussels sprouts for a balance of savory, acidic, and sweet flavors.
Storage, Reheating, and Freezing
To Store: Keep your Peanut Butter Blossoms in an airtight container at room temperature for up to 5 days. Layer them with parchment paper to prevent the chocolate kisses from smudging.
To Freeze: You can freeze the baked cookies for up to 3 months. However, the chocolate may develop a “bloom” (white streaks). For best results, freeze the dough balls (without the sugar coating) and bake from frozen, adding the sugar and chocolate fresh.
What to Serve With Peanut Butter Blossoms
These cookies are incredibly versatile. They pair beautifully with a cold glass of milk, a hot cup of coffee, or even a glass of dessert wine. If you are hosting a holiday party, they look stunning on a platter next to colorful fruit or dark chocolate bark. Because they are so rich, they act as the perfect palate cleanser after a meal of hearty air fryer mahi mahi.
Frequently Asked Questions
Yes! You can refrigerate the dough for up to 48 hours. Just let it sit at room temperature for 15 minutes before rolling in sugar to ensure the crystals stick properly.
It is not recommended. Natural peanut butter that requires stirring often lacks the stabilizers needed to keep the cookie ‘thick and round.’ Standard creamy peanut butter provides the best structural results.
To keep the kisses from melting completely, you can freeze them for 20-30 minutes before baking. Press them into the cookies immediately after they come out of the oven, then let them cool undisturbed.
Cracking is actually desirable in this recipe! The cracks occur when the milk chocolate kiss is pressed into the warm, slightly set dough, creating that iconic ‘blossom’ look. If they crack too much and fall apart, the dough may have too much flour.
Rolling the dough in sugar provides a crystalline texture and a sweet crunch that contrasts with the soft cookie. It also helps create the sparkling visual aesthetic that makes these cookies so famous.
The Ultimate Peanut Butter Blossoms Recipe Card
Peanut Butter Blossoms: The Ultimate Soft and Chewy Classic Cookie
Ingredients
Equipment
Method
- Beat the softened butter, peanut butter, granulated sugar, and brown sugar together in a large bowl until light and fluffy, about 2-3 minutes.
- Mix in the egg and vanilla extract until fully incorporated.
- Whisk the flour, baking soda, and salt in a separate bowl. Gradually add to the wet mixture, mixing until just combined.
- Shape the dough into 1-inch balls (about 1 tablespoon each). Roll each ball in granulated sugar until heavily coated with sparkling crystals.
- Place balls 2 inches apart on a baking sheet. Bake at 375°F (190°C) for 8-10 minutes until light golden tan.
- Immediately after removing from the oven, press a chocolate kiss into the center of each cookie, creating radiating cracks. Cool on a wire rack.
Notes
Tip: If your chocolate kisses are melting too much, freeze them for 20 minutes before pressing them into the hot cookies.
Save This Recipe for Later!
Love this evay_eats recipe? Make sure to save it to your favorite Pinterest board so you never lose it! These Peanut Butter Blossoms are a guaranteed hit at any gathering. If you make them, please share a photo in the comments below or tag us on social media—we love seeing those radiating cracks and sparkling sugar crystals! Don’t forget to leave a 5-star rating if these are the best blossoms you’ve ever had.