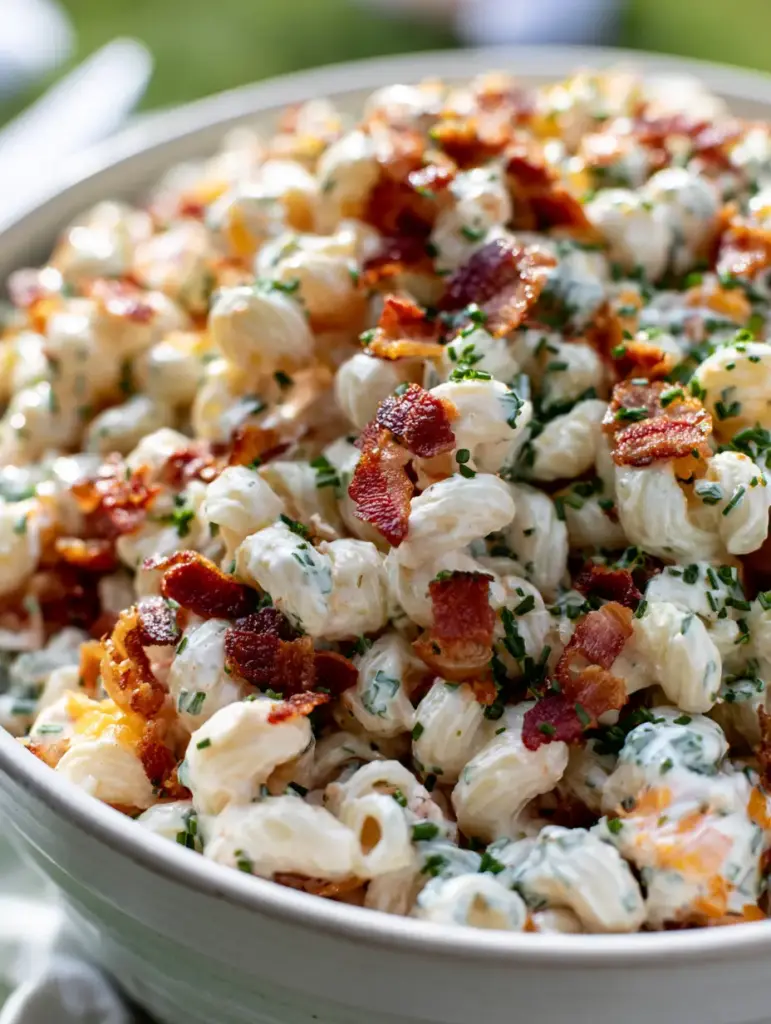
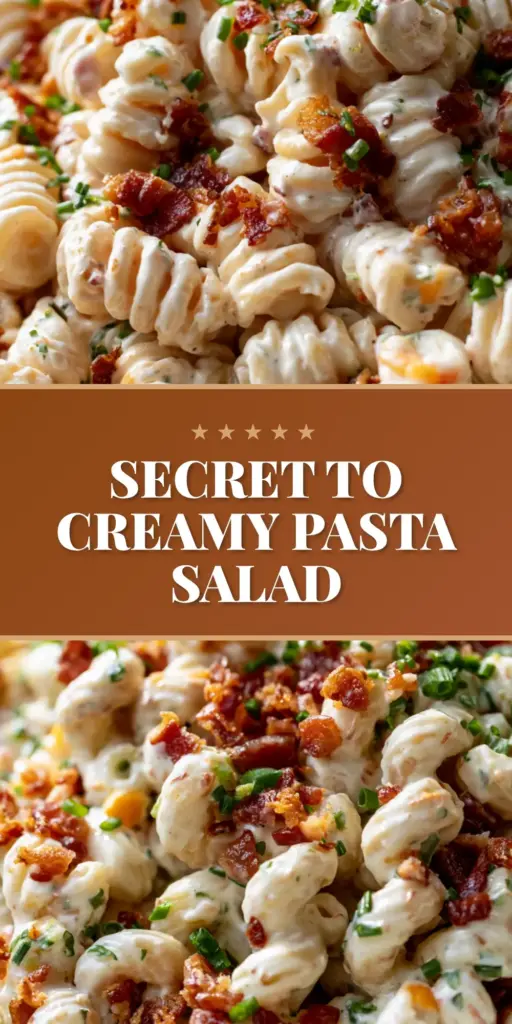
There is nothing quite like a ranch pasta salad that achieves the perfect balance of creamy, crunchy, and savory. Imagine al dente rotini spirals, each meticulously coated in a thick, velvety, glossy white ranch dressing that pools slightly in the curves of the pasta. This isn’t just a side dish; it’s a masterclass in texture and visual appeal, designed to be the star of every summer gathering.
The secret to this specific recipe lies in the contrast between the dark mahogany, double-smoked bacon and the vibrant, pop-in-your-mouth green peas. When you dive into a bowl of this bacon ranch pasta salad, you aren’t just eating; you’re experiencing a thoughtfully engineered culinary workflow that ensures every bite is as visually stunning as it is delicious.
Whether you are preparing for a backyard BBQ or a simple weeknight meal, this recipe delivers on the promise of an authentic food blogger aesthetic. We focus on the high-angle, lush presentation seen in artisan stoneware, where a heavy dusting of cracked black pepper and a generous spray of bright green chives elevate a humble classic into a gourmet experience.
Why This Creamy Ranch Pasta Recipe Stands Out
- Structural Integrity: Using rotini ensures the thick ranch dressing has plenty of surface area to cling to, preventing a “soupy” bottom.
- Textural Contrast: The marriage of crispy smoked bacon crumbles against the soft, tender peas and firm shredded cheddar creates a dynamic mouthfeel.
- Visual Vibrancy: The pop of orange cheddar against the bright green chives and halved cherry tomatoes provides a professional, high-contrast look.
- Glossy Finish: By managing the temperature of the pasta before dressing, we ensure the ranch stays velvety and glossy rather than being absorbed and turning dry.
The Essential Components for a Lush Pasta Base
To achieve the results described in our visual blueprint, we must select ingredients that offer both structural support and intense flavor. Here is what you will need for the ultimate ranch pasta salad experience.
The Foundation and The Crunch
Rotini Pasta: 1 lb (454g) of dried rotini is the ideal vessel. Its corkscrew shape is scientifically superior for “trapping” thick dressings, ensuring no noodle is left dry.
Double-Smoked Bacon: 8 oz (227g) of thick-cut bacon provides the “mahogany” visual cue and a deep, smoky saltiness. We will sear this until it reaches a brittle, crispy state that holds up against the moisture of the dressing.
Sharp Cheddar Cheese: 1.5 cups (170g) of finely shredded sharp orange cheddar adds a necessary bite. Finely shredding it yourself ensures it distributes evenly and provides that beautiful orange fleck throughout the dish.
The Fresh and The Vibrant
Bright Green Peas: 1 cup (150g) of frozen-thawed peas provides a sweet, fresh pop. These should be patted dry after thawing to prevent excess water from thinning our glossy dressing.
Cherry Tomatoes: 1 cup (150g) of halved cherry tomatoes introduces a juicy acidity. The red hue acts as a visual anchor against the white dressing and green herbs.
Fresh Chives: 1/4 cup (10g) of chopped fresh chives offers a mild onion finish. This is our primary garnish, providing the “bright green spray” seen in professional food photography.
The Glossy Emulsion
High-Quality Ranch Dressing: 1.5 cups (360ml) of thick, premium ranch dressing. Look for a brand that uses a high oil-to-buttermilk ratio to ensure that “velvety” finish that pools in the pasta spirals.
Cracked Black Pepper: 1 tsp (2g) of freshly cracked peppercorns. This provides the “heavy dusting” effect and a woody heat that cuts through the creaminess of the dairy.
Professional Equipment for the Perfect Toss
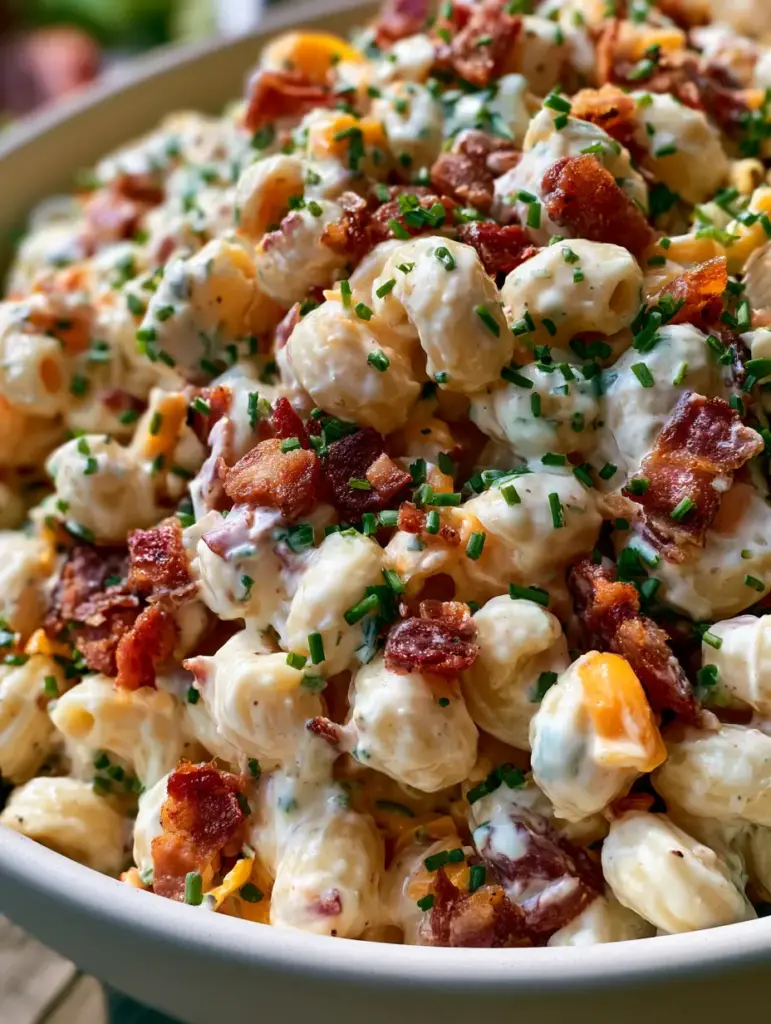
To recreate the artisan stoneware look, you need the right tools to handle the volume and preserve the delicate textures of the ingredients. A large stainless steel or glass mixing bowl is essential for the initial toss to avoid smashing the rotini.
A high-quality chef’s knife is required for the precision chopping of the chives and the clean halving of the cherry tomatoes. For the bacon, a heavy-bottomed cast iron skillet is recommended to achieve that deep mahogany color and even crispness without burning the fat.
Finally, for the final presentation, an artisan stoneware bowl with a matte finish will provide the neutral, textured background that makes the colors of the peas and cheddar truly sing under soft, natural light.
Step-by-Step Instructions for Culinary Success
Preparing the Rotini Foundation
Bring a large pot of heavily salted water (about 1 tbsp (15g) of salt per 4 quarts (3.8L) of water) to a rolling boil. Add the rotini and cook until exactly al dente—usually 1 minute less than the package instructions suggest.
Drain the pasta and immediately rinse with cold water to stop the cooking process and remove excess starch. This step is critical; if the pasta is warm, it will absorb the dressing, losing that “glossy” pooled look we are aiming for in a creamy pasta salad.
Searing the Mahogany Bacon
Place your thick-cut bacon in a cold skillet and turn the heat to medium. Cooking bacon starting from a cold pan allows the fat to render slowly, resulting in a more uniform crispness.
Fry until the bacon bits are a dark mahogany color and completely crispy. Remove with a slotted spoon and drain on paper towels. Once cooled, crumble into small, uniform bits that will be easy to distribute through the summer pasta salad.
The Assembly and The Fold
In your large mixing bowl, combine the cold rotini, thawed peas, halved cherry tomatoes, and shredded cheddar. Pour the 1.5 cups (360ml) of ranch dressing over the top.
Using a large silicone spatula, gently fold the ingredients together. You are looking for a visual cue where the dressing is thick enough to coat the spirals but fluid enough to pool slightly in the curves. If the dressing is too thick, add 1 tbsp (15ml) of whole milk at a time until the desired gloss is achieved.
The Final Garnish and Presentation
Transfer the mixture into your artisan stoneware bowl. Top with the crispy bacon crumbles—adding them last ensures they stay crunchy. Finish with a heavy dusting of cracked black pepper and a generous spray of chopped chives across the surface.
Expert Tips for the Ultimate Ranch Pasta Salad
- The Cooling Rule: Never dress warm pasta. The heat breaks the emulsion of the ranch dressing, leaving you with a greasy, oily mess rather than a velvety sauce.
- Pea Prep: If using frozen peas, simply place them in a colander and run cold water over them for 30 seconds. They will thaw perfectly without becoming mushy or wrinkled.
- Bacon Timing: Only add the bacon crumbles right before serving. Even the crispiest bacon will eventually soften when sitting in a creamy dressing for hours.
- Pepper Texture: Use a coarse grind for your black pepper. The larger flakes provide a better visual contrast against the white ranch than fine table pepper.
Storage and Make-Ahead Advice
This pasta salad is best served within 2-4 hours of assembly to maintain the “glossy” appearance and bacon crunch. However, it can be stored in an airtight container in the refrigerator for up to 3 days.
If you find the pasta has absorbed the dressing overnight, simply stir in an extra 2-3 tbsp (30-45ml) of ranch dressing or a splash of buttermilk before serving to revive the texture. Do not freeze this dish, as the mayo-based dressing will separate and the vegetables will lose their structural integrity.
Pairing Suggestions for a Summer Feast
This hearty side pairs beautifully with grilled proteins. It is the perfect companion to a BLT pasta salad theme or served alongside grilled chicken and corn on the cob. For a full spread, consider adding an Italian pasta salad recipe to the table to offer your guests both creamy and vinaigrette-based options.
If you are looking for more vegetable-forward sides, a fresh corn salad or a light watermelon feta salad provides a refreshing counterpoint to the rich, savory notes of the ranch and bacon.
Frequently Asked Questions
You can prep the components (cook pasta, fry bacon, chop veggies) a day ahead. However, for the best visual appeal and texture, toss the ingredients with the dressing no more than 4 hours before serving.
Yes, but look for a ‘thick’ or ‘creamy’ variety rather than a light or ‘pourable’ one. A higher fat content ensures the dressing pools in the pasta curves rather than running to the bottom of the bowl.
The key is to rinse the cooked pasta in cold water until completely chilled. This removes excess starch and prevents the heat from drawing the moisture of the dressing into the noodle, keeping the sauce glossy on the outside.
Bacon naturally loses its crunch when exposed to moisture. To ensure a professional result, sear the bacon until mahogany dark and add the crumbles only moments before serving the dish.
The Ultimate Ranch Pasta Salad Recipe
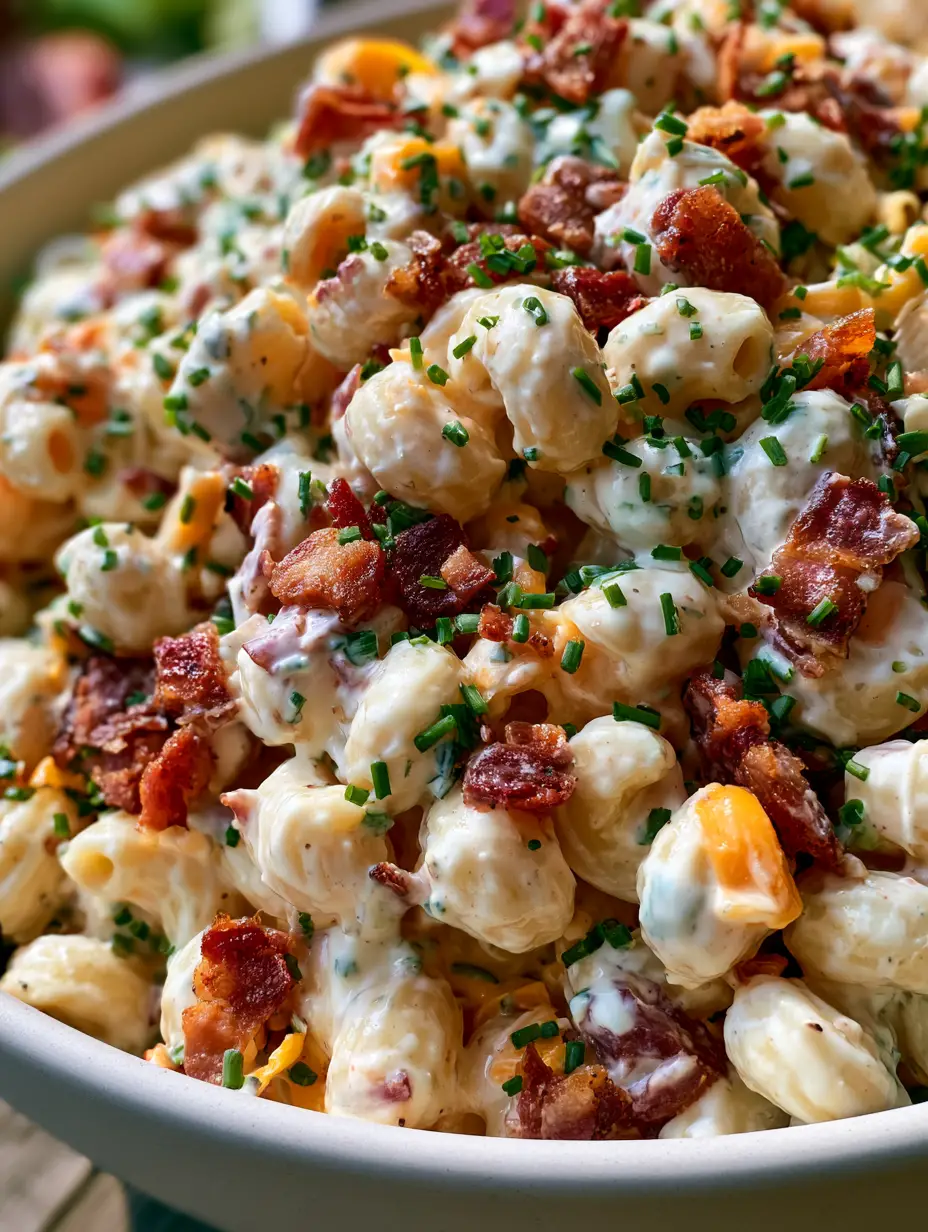
Ranch Pasta Salad with Crispy Smoked Bacon and Sharp Cheddar
Ingredients
Equipment
Method
- Boil the rotini in salted water until al dente. Rinse immediately with cold water and drain thoroughly to ensure a glossy dressing finish.
- Cook bacon in a skillet over medium heat until it reaches a dark mahogany color and is extremely crispy. Crumble into bits once cooled.
- In a large bowl, toss the cold pasta with the thawed peas, halved tomatoes, and shredded cheddar.
- Pour the ranch dressing over the mixture and fold gently until every spiral is coated and the sauce pools slightly.
- Transfer to a serving bowl. Top with the crispy bacon, a heavy dusting of cracked black pepper, and chopped chives.
Notes
Add bacon crumbles just before serving to maintain their mahogany crunch.
Join the Culinary Conversation
We hope this ranch pasta salad becomes a staple at your dinner table. The combination of mahogany smoked bacon and velvety ranch is a crowd-pleaser that never goes out of style. If you enjoyed this recipe, please leave a comment below and share your results! Don’t forget to save this lush visual guide to your favorite boards on Pinterest so you can find it whenever the craving for a creamy, crispy salad strikes.