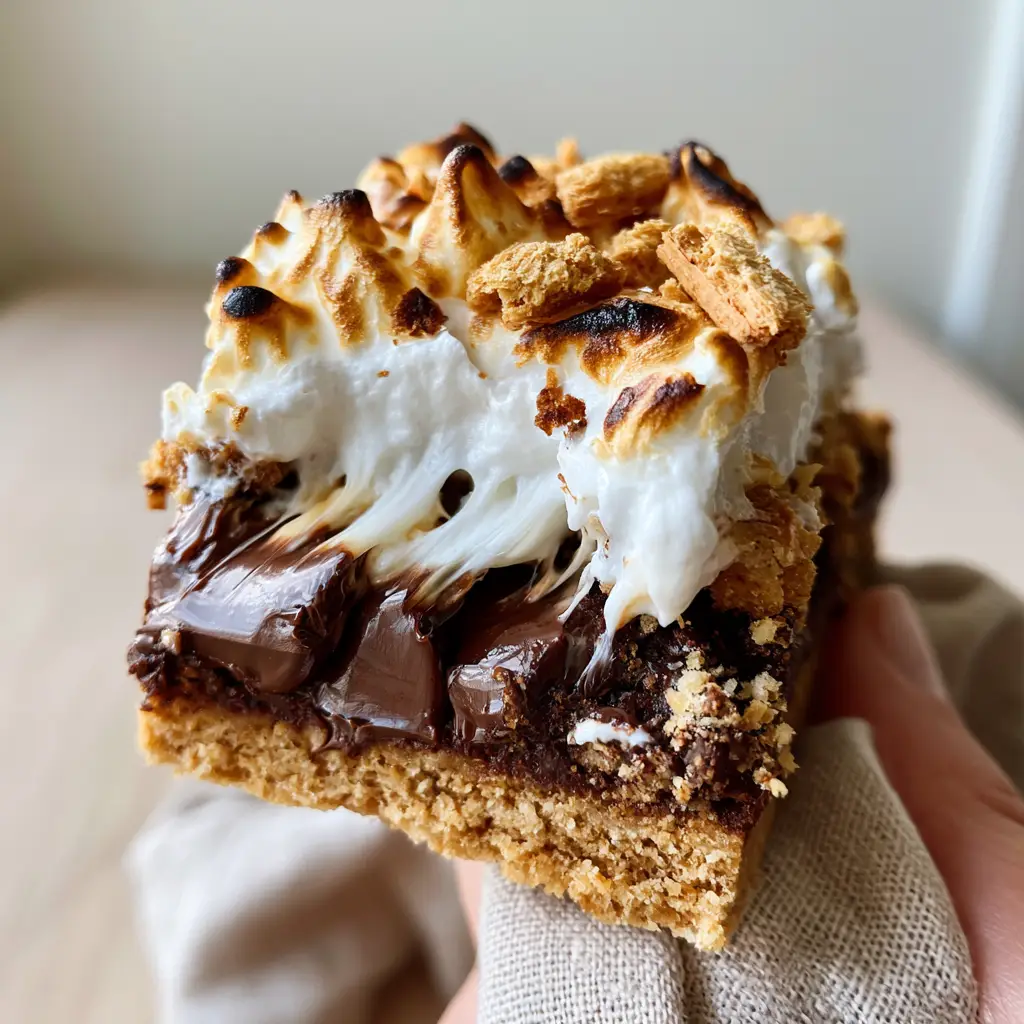
If you are looking for the ultimate crowd-pleasing dessert, these s’more bars are about to become your new obsession. Imagine the nostalgia of a campfire night captured in a thick, buttery handheld treat. We are talking about a golden-brown graham cracker crust, layers of glossy melted semi-sweet chocolate chunks, and a mountain of billowy marshmallow fluff with perfectly charred golden peaks.
Forget the messy campfire sticks and the uneven melting. These s’more bars deliver that iconic flavor profile with a sophisticated, bakery-style finish. Whether you are hosting a summer BBQ or just craving a cozy indoor treat, this recipe is designed to impress with its stretchy, gooey marshmallow center and crisp graham cracker shards.
Every bite of these s’more bars offers a symphony of textures. You get the crunch of the buttery base, the snap of premium chocolate, and the cloud-like sweetness of the toasted topping. If you love classic summer treats, you might also want to try our chewy s’mores cookie bars for a slightly different take on this flavor profile.
Why You Will Love This Gooey Dessert
- The Ultimate Texture Play: A crisp, buttery crust meets a stretchy, molten marshmallow center.
- No Campfire Required: Get those perfectly toasted, charred campfire-gold peaks right in your oven.
- High-Quality Chocolate: Using semi-sweet chocolate chunks ensures a rich flavor that isn’t overly sugary.
- Perfect for Sharing: These bars slice beautifully, making them ideal for parties alongside a zesty cowboy corn dip.
The Secret Ingredients for Bakery-Style Bars
Creating the perfect s’more bars requires a balance of pantry staples and specific textures. Here is what you will need to achieve that professional look and taste.
Graham Cracker Crumbs: You will need 1.5 cups (180g) of finely pulsed crumbs. This forms the foundation of our buttery graham cracker crust. Ensure they are pulsed finely so the crust doesn’t crumble when sliced.
Unsalted Butter: 1/2 cup (113g) of melted butter binds the crust. Using unsalted butter allows you to control the seasoning perfectly.
Semi-Sweet Chocolate Chunks: 2 cups (340g) of thick, glossy chocolate chunks. Chunks provide better “pools” of chocolate than standard chips.
Marshmallow Fluff: One 7.5 oz (213g) jar of billowy marshmallow fluff. Fluff creates that iconic stretchy, gooey center that stays soft even after cooling.
Extra Graham Crackers: Keep a few extra sheets to create those small shards of crisp graham crackers for the topping. It adds a professional visual touch.
Fine Sea Salt: Just a pinch to balance the sweetness of the marshmallow and chocolate.
Building the Perfect Graham Cracker Foundation
The base of these s’more bars must be sturdy enough to hold the heavy toppings but tender enough to melt in your mouth. Start by preheating your oven to 350°F (175°C).
In a medium bowl, combine your graham cracker crumbs, melted butter, and a pinch of salt. Stir until the mixture looks like wet sand. Line an 8×8 inch (20×20 cm) pan with parchment paper, leaving an overhang for easy removal.
Press the mixture firmly into the bottom of the pan. Pro Tip: Use the bottom of a flat measuring cup to pack the crumbs tightly. Bake for 8-10 minutes until just golden and fragrant. This prevents a soggy bottom!
Layering the Chocolate and Marshmallow Clouds
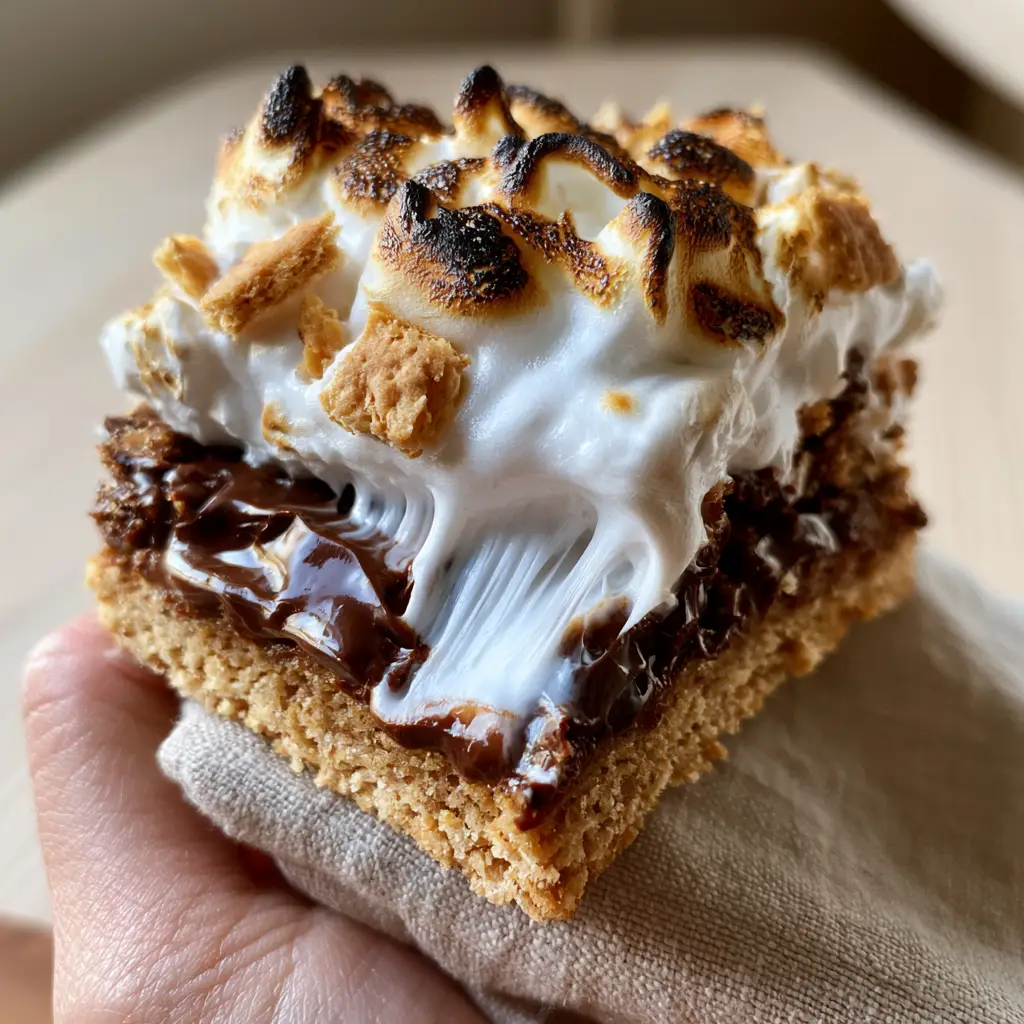
Once your crust is par-baked, it is time for the layers. While the crust is still warm, sprinkle your semi-sweet chocolate chunks evenly across the surface. The residual heat will start the melting process, creating that glossy finish we want.
Now, for the showstopper: the marshmallow fluff. Dollop the fluff over the chocolate. Use a spatula dipped in warm water to spread it gently. You want to create billowy peaks and valleys—don’t smooth it out completely!
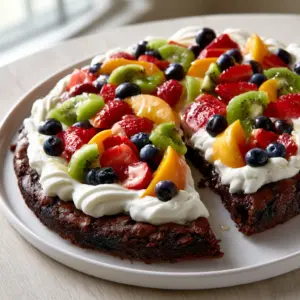
Press your crushed graham cracker topping into the fluff. These shards provide a beautiful contrast to the soft marshmallow. If you are serving these at a summer party, they pair excellently with mini fruit pizzas for a varied dessert spread.
Achieving the Perfect Charred Golden Peaks
To get that authentic charred golden marshmallow look, you have two options. You can return the pan to the oven for 5-7 minutes, or for the best results, switch your oven to the Broil setting.
Watch closely! Under the broiler, the marshmallow will go from white to perfectly toasted campfire-gold in seconds. Stay by the oven door. You are looking for those dark, caramelized edges that signal deep flavor.
Once charred, remove the pan immediately. The chocolate will be molten, and the marshmallow will be at its peak stretchiness. This is the moment for that handheld smartphone photo—the texture is most photogenic when warm.
Expert Tips for Success
- Wet Your Tools: Marshmallow fluff is incredibly sticky. Dip your spoon or offset spatula in hot water before spreading to keep it from pulling up the chocolate.
- Chill for Clean Cuts: If you want perfectly square s’more bars, let them cool completely, then chill in the fridge for 2 hours before slicing with a hot knife.
- Don’t Overbake: The fluff can become tough if left in the oven too long. Focus on the broiler for the color rather than a long bake time.
- Salt is Key: A tiny sprinkle of flaky sea salt over the finished bars cuts through the sugar and elevates the dark chocolate chunks.
How to Store and Reheat
These s’more bars are best enjoyed within 24 hours for the ultimate marshmallow texture. However, you can store them in an airtight container at room temperature for up to 3 days.
Do not refrigerate them long-term, as the crust can become hard and the marshmallow may lose its fluffiness. If you need to refresh them, a quick 10-second blast in the microwave will bring back that gooey marshmallow center.
Planning a full menu? These bars are the perfect sweet ending after a meal of refreshing pool cocktails and light summer salads.
Frequently Asked Questions
Yes, you can bake them a day in advance. Store at room temperature to keep the marshmallow soft; the fridge can make the crust too hard.
Yes, you can use mini marshmallows, but fluff provides a much gooier, bakery-style ‘pull’ that stays soft longer than whole marshmallows.
Grease a sharp knife with a little oil or dip it in hot water and wipe it clean between every single cut for perfect, clean squares.
The secret is using the oven’s broiler for 60-90 seconds at the very end. Keep a close eye on it, as it browns very quickly!
A crumbly crust usually means the crumbs weren’t pressed down hard enough or there wasn’t enough butter. Use the bottom of a glass to pack it tightly.
The Ultimate s’more bars Recipe
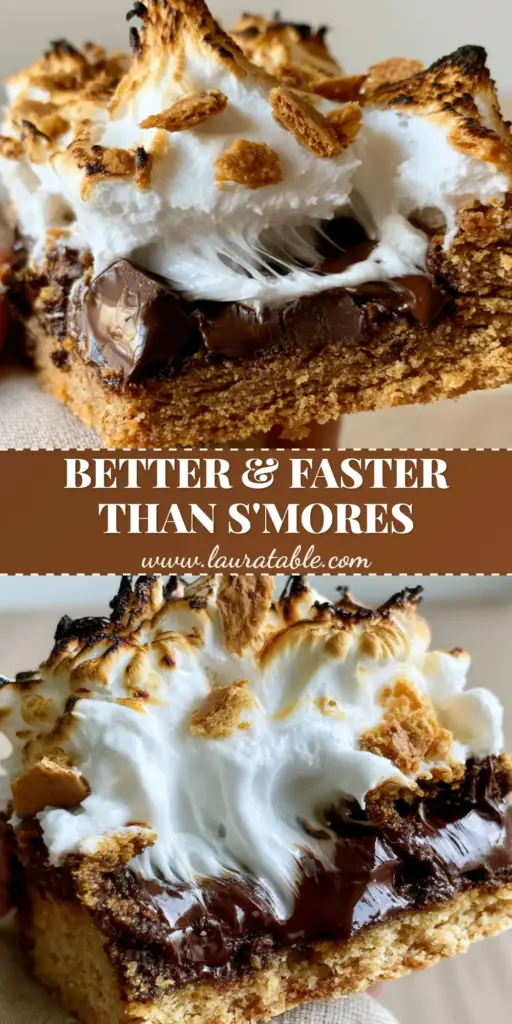
s'more bars with Gooey Marshmallow and Dark Chocolate Chunks
Ingredients
Equipment
Method
- Preheat your oven to 350°F (175°C) and line an 8x8 inch pan with parchment paper.
- Mix graham cracker crumbs, melted butter, and salt. Press firmly into the prepared pan.
- Bake for 8-10 minutes until the crust is golden and set. Remove from oven.
- Immediately sprinkle chocolate chunks over the hot crust.
- Dollop marshmallow fluff over the chocolate. Use a wet spatula to spread, creating billowy peaks. Top with graham cracker shards.
- Place under the broiler for 1-2 minutes, watching constantly, until the marshmallow peaks are charred and golden brown.
Notes
Substitute milk chocolate chips if you prefer a sweeter, more traditional s'mores flavor.
Share the Gooey Goodness!
We hope you love these s’more bars as much as we do! There is nothing quite like that stretchy marshmallow pull and the crunch of a buttery graham cracker crust. If you make this recipe, please come back and leave a 5-star rating!
Be sure to save this recipe to your Pinterest Dessert Board so you always have it handy. Follow stacy_bites for more decadent treats and easy weeknight wins. Tag us in your photos—we love seeing those charred golden peaks in your kitchen!