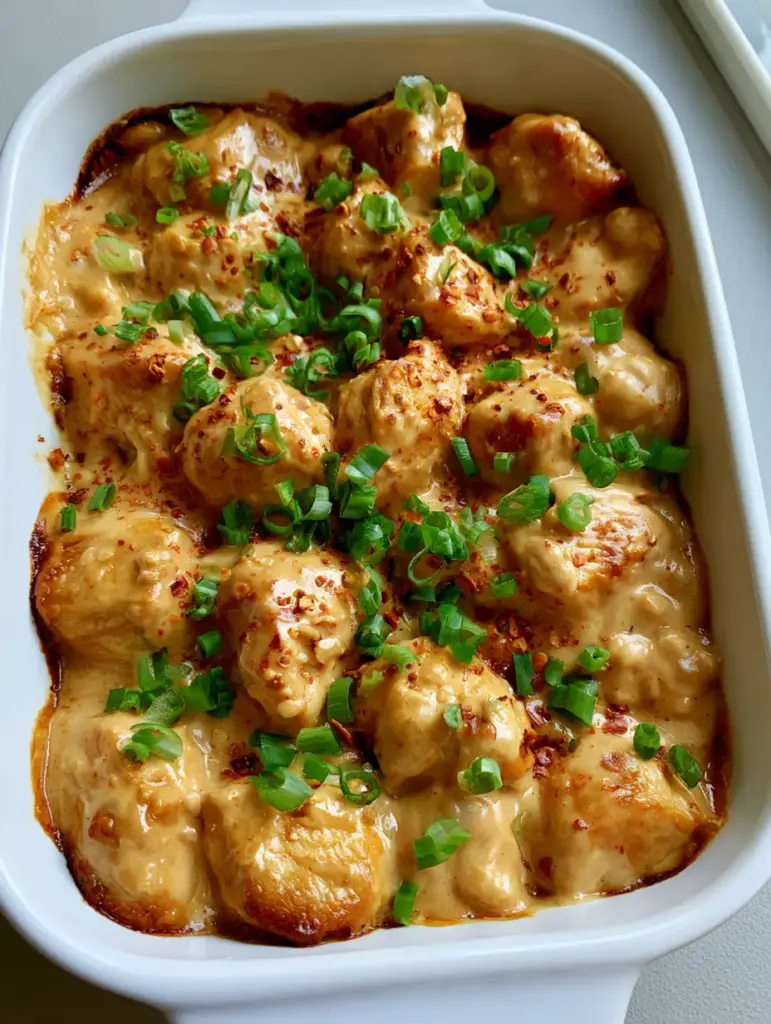
This Creamy Peanut Chicken is the recipe your weeknight rotation has been missing. Imagine tender, juicy chunks of chicken breast submerged in a thick, glossy, light tan peanut sauce that boasts a perfectly velvety texture. As it bakes, the sauce develops those signature small bubbles and beautiful caramelization at the edges of the dish, creating a flavor profile that is both savory and subtly sweet.
Whether you are a seasoned home cook or looking for a reliable Pinterest-inspired meal, this dish delivers on every front. The combination of aromatic ginger, garlic, and rich peanut butter creates a soul-warming experience that looks as good as it tastes. You won’t believe how easily this comes together in one white rectangular ceramic baking dish for a rustic, home-cooked feel.
Why You Will Crave This Baked Peanut Chicken
- Sensory Texture: The sauce is engineered to be ultra-glossy and velvety, coating every single piece of chicken without being oily.
- Visual Appeal: The contrast of the bright green scallions and red chili flakes against the light tan sauce makes it a showstopper.
- Perfect Caramelization: Baking this dish ensures those slightly darkened, caramelized edges that concentrate the peanut flavor.
- Effortless Prep: This recipe transitions perfectly from a quick stovetop sear to a hands-off bake.
If you love rich, comforting chicken dishes, you might also enjoy my creamy garlic chicken thighs or this hearty easy chicken casserole.
Essential Ingredients for the Best Creamy Peanut Sauce
To achieve that specific Midjourney-perfect glow, we use high-quality fats and aromatics. Each ingredient serves a distinct purpose in building the layers of flavor found in this Creamy Peanut Chicken.
The Protein Foundation
Chicken Breast: 1.5 lbs (680g) of boneless, skinless chicken breast. Cut these into 1-inch (2.5cm) chunks. We use breast meat here because the thick peanut sauce keeps the lean meat incredibly juicy during the baking process.
The Velvety Peanut Base
Creamy Peanut Butter: 1/2 cup (125g). Use a smooth, creamy variety rather than crunchy to ensure that velvety texture described in our visual blueprint. This provides the “light tan” color and the heart of the flavor.
Full-Fat Coconut Milk: 1 cup (240ml). This is the secret to the small bubbles that form during baking. The fat content emulsifies with the peanut butter to create a glossy finish.
Aromatics and Seasoning
Soy Sauce: 2 tbsp (30ml). Provides the essential salt and deep umami notes. If you are gluten-free, Tamari works perfectly as a substitute.
Honey: 1 tbsp (15ml). This aids in the caramelization at the edges of the ceramic dish. It balances the heat from the chili flakes.
Fresh Ginger & Garlic: 1 tbsp (15g) each, finely minced. These aromatics cut through the richness of the peanut butter, providing a bright, zesty top note.
Rice Vinegar: 1 tbsp (15ml). A touch of acidity is required to “lift” the heavy sauce and prevent it from feeling too dense on the palate.
How to Make Creamy Peanut Chicken Step-by-Step
1. Prepare the Aromatic Peanut Slurry
In a medium mixing bowl, whisk together the peanut butter, coconut milk, soy sauce, honey, rice vinegar, minced ginger, and garlic. Continue whisking until the mixture is completely smooth and light tan in color.
Culinary Tip: If your peanut butter is cold from the fridge, microwave it for 15 seconds to make it easier to incorporate into the coconut milk.
2. Sear for Flavor and Moisture
Heat 1 tbsp (15ml) of neutral oil in a large skillet over medium-high heat. Add the chicken chunks in a single layer. Season lightly with salt, but remember the soy sauce in the peanut mixture is already salty.
Sear the chicken for 2-3 minutes per side until just golden. It doesn’t need to be cooked through yet; the baking dish will finish the job. This step is vital for the rustic, home-cooked plating look.
3. The Baking Process
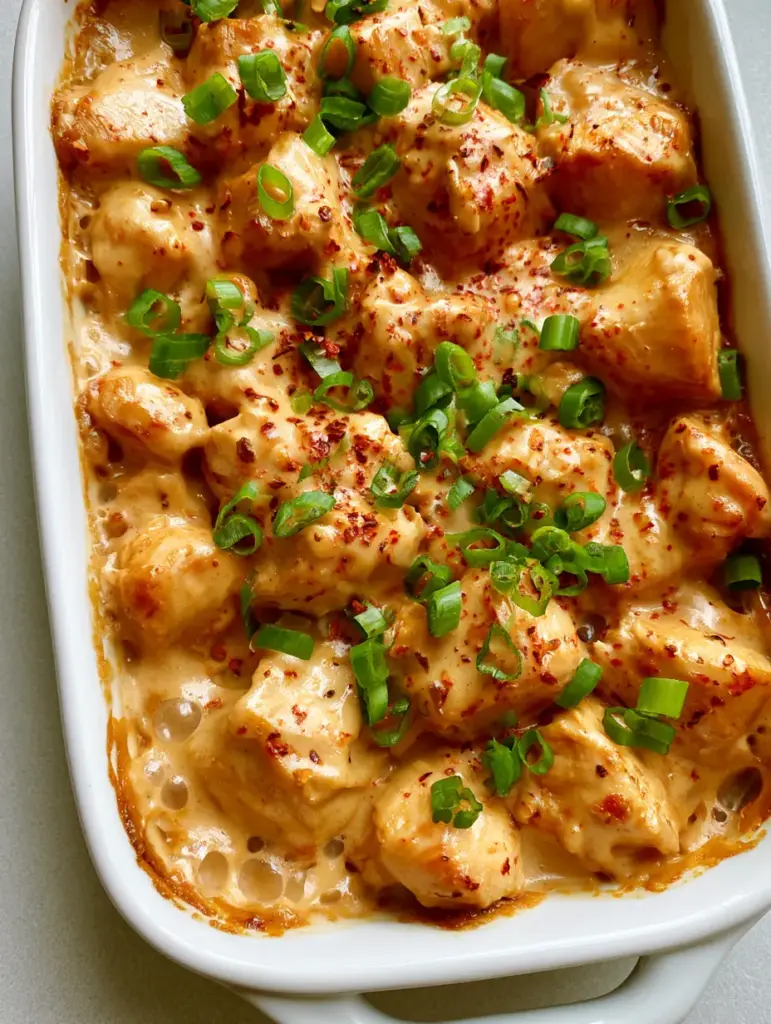
Transfer the seared chicken into a white rectangular ceramic baking dish. Pour the creamy peanut sauce over the top, ensuring every piece of chicken is fully coated. Use a spatula to smooth the top so it is even.
Place the dish in an oven preheated to 375°F (190°C). Bake for 20-25 minutes. Watch for the occasional small bubbles popping on the surface and the sauce darkening slightly at the edges.
For more baked inspiration, check out my stuffed chicken breast recipe or the unique buffalo chicken lasagna.
4. The Signature Garnish
Remove the dish from the oven. The sauce should be thick and glossy. While still hot, generously scatter a handful of finely sliced bright green scallions over the top.
Finish with a light dusting of red chili flakes. The heat from the dish will slightly soften the scallions, releasing their aroma without losing their vibrant green color.
Expert Tips for a Viral-Worthy Peanut Chicken
- The Sauce Thickness: If your sauce seems too thick before baking, add a tablespoon of water or chicken broth. It should be the consistency of heavy cream.
- Don’t Over-Bake: Once you see the caramelization at the edges and the bubbles, pull it out. Over-baking can cause the peanut oil to separate.
- Use Fresh Aromatics: While powdered ginger works in a pinch, fresh ginger provides the velvety texture and bite that makes this dish elite.
- Resting Time: Let the dish sit for 5 minutes after coming out of the oven. This allows the sauce to set into that glossy, tan coating.
If you enjoy these textures, you will love my creamy mushroom rice as a side dish.
Storage, Reheating & Freezing
Storage: Place leftovers in an airtight container in the refrigerator for up to 3 days. The sauce will thicken significantly when cold.
Reheating: To maintain the velvety texture, reheat in a skillet over low heat with a splash of coconut milk or water to loosen the sauce. Avoid high-power microwaving, which can cause the sauce to break.
Freezing: This dish freezes well for up to 2 months. Thaw overnight in the fridge before reheating according to the instructions above.
What to Serve With Creamy Peanut Chicken
To soak up every drop of that thick peanut sauce, serve this over a bed of jasmine rice or rice noodles. The neutral background of the rice highlights the richness of the chicken.
For a lower-carb option, cauliflower rice or steamed bok choy provides a refreshing crunch that balances the velvety mouthfeel of the dish. You could even pair it with a side of stir-fried vegetables.
Frequently Asked Questions
You can prep the sauce and sear the chicken a day in advance. Store them separately, then combine and bake when you are ready for dinner.
Yes! Chicken thighs work beautifully in this recipe and will remain even juicier. Increase the baking time by about 5 minutes to ensure they are cooked through.
The combination of full-fat coconut milk and a small amount of honey ensures the sauce bubbles and the edges darken. Using a ceramic dish also helps distribute heat evenly for that effect.
The heat is very mild and primarily comes from the red chili flake garnish. You can omit the flakes for a kid-friendly version or add Sriracha to the sauce for an extra kick.
A standard creamy peanut butter (like Jif or Skippy) provides the most velvety texture. Natural peanut butters can sometimes separate or feel gritty in this specific baked application.
The Official Creamy Peanut Chicken Recipe Card
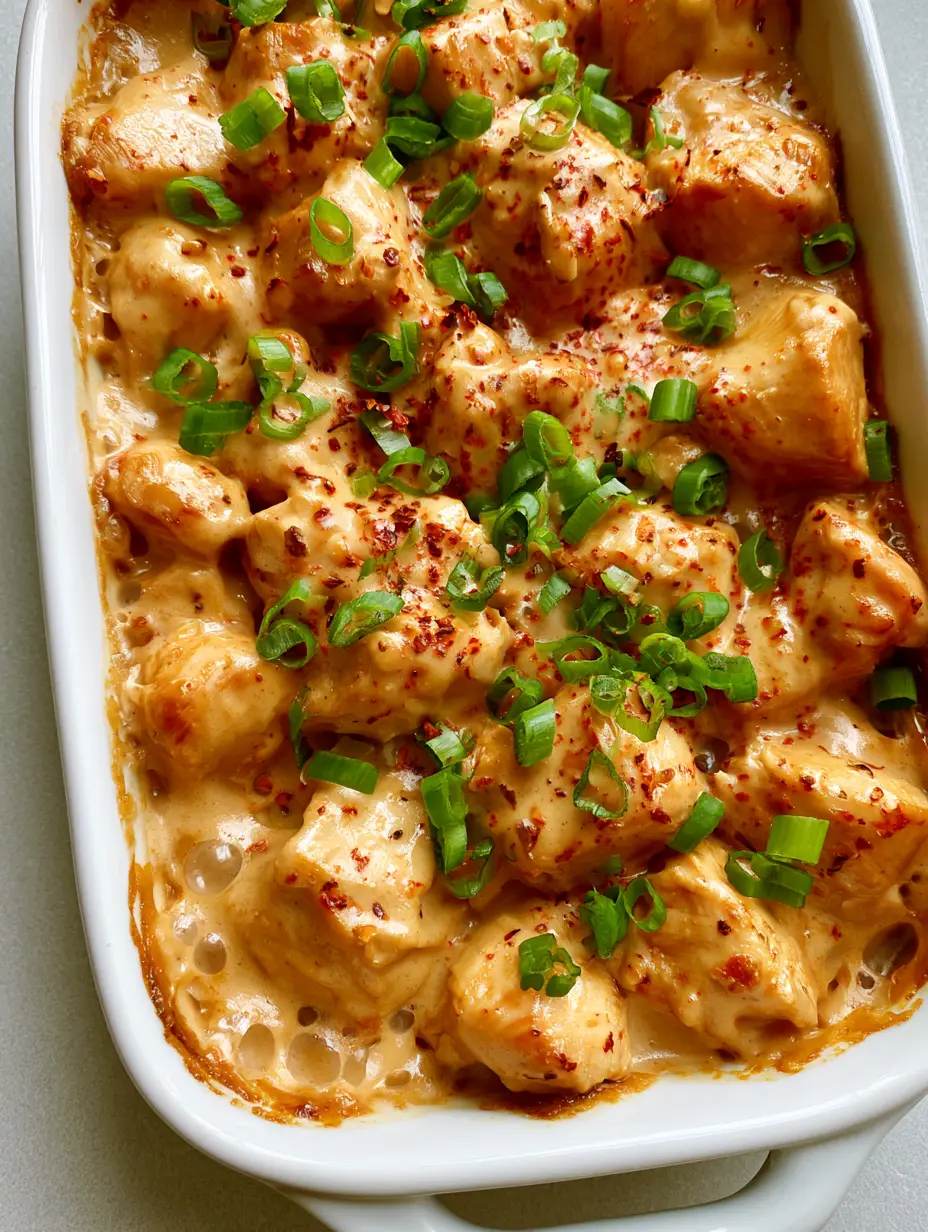
Creamy Peanut Chicken: The Ultimate Velvety Baked Dinner
Ingredients
Equipment
Method
- In a mixing bowl, whisk peanut butter, coconut milk, soy sauce, honey, vinegar, ginger, and garlic until smooth and light tan.
- Sear chicken chunks in a skillet with oil for 2-3 minutes per side until golden but not cooked through.
- Transfer chicken to a white ceramic baking dish, cover with sauce, and bake at 375°F (190°C) for 20-25 minutes until bubbly.
- Top with sliced scallions and red chili flakes. Let rest for 5 minutes before serving.
Notes
Resting the dish allows the glossy sauce to thicken perfectly.

Join the Community!
Did you make this Creamy Peanut Chicken? I would love to see how your caramelized edges and glossy sauce turned out! Please save this recipe to your favorite Pinterest board so you never lose it. Follow evay_eats for more high-protein, aesthetic dinner ideas.
Leave a 5-star rating in the recipe card below and upload a photo of your creation in the comments. Your feedback helps other home cooks find the best recipes!