Red Velvet Cookie Bars are the ultimate dessert for anyone who craves the striking visual of a classic cake but desires the dense, chewy satisfaction of a gourmet cookie. These bars feature a vibrant, cocoa-infused base that is incredibly soft and moist, perfectly mimicking the fine-crumb texture of traditional velvet recipes. When topped with a generous, opaque layer of smooth cream cheese frosting, they become a show-stopping treat that performs exceptionally well on Pinterest and at every gathering. Whether you are a fan of our Blackberry Velvet Gothic Cake or you just love a reliable handheld dessert, these bars are a guaranteed win for your kitchen.
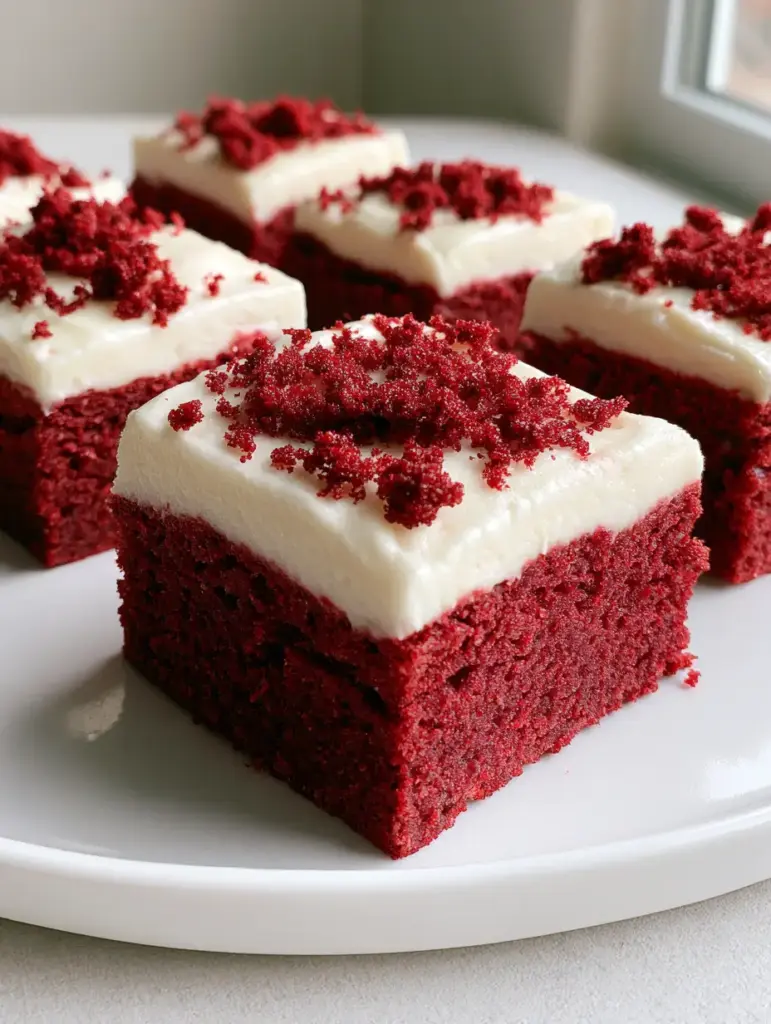
Why These Vibrant Red Velvet Cookie Bars Are a Must-Make
- Textural Perfection: A thick, dense foundation that balances a soft bite with a slightly moist, fine-crumb interior.
- Visual Appeal: The deep, vibrant red base contrasted against the snowy white frosting creates a stunning aesthetic that stops the scroll.
- Effortless Elegance: You get all the flavor of a layer cake with half the effort, cut into uniform, easy-to-serve squares.
- Pinterest-Ready Garnish: A final dusting of fine red velvet cookie crumbs adds a professional, bakery-style finish.
If you enjoy the convenience of bar desserts like our No-Bake Oreo Peanut Butter Bars, you will appreciate how quickly these come together without the fuss of rolling individual cookie dough balls. The secret lies in the balance of high-quality cocoa and the tang of the cream cheese.
Essential Ingredients for the Perfect Red Velvet Base
To achieve that specific Red Velvet Cookie Bars texture, every ingredient serves a scientific purpose. We aren’t just making a red brownie; we are creating a “velvet” crumb.
- Unsalted Butter (225g / 1 cup): Melted and slightly cooled to provide a dense, fudgy structure rather than a cakey one.
- Granulated Sugar (200g / 1 cup): Provides sweetness and helps create those slightly crisp edges.
- Large Egg + 1 Egg Yolk: The extra yolk is the secret to the “moist and fine-crumb texture” mentioned in our visual blueprint.
- Vanilla Extract (10ml / 2 tsp): Essential for rounding out the cocoa notes.
- Red Food Coloring (1-2 tbsp): Use a high-quality gel or liquid to achieve that vibrant, iconic hue.
- All-Purpose Flour (315g / 2.5 cups): The structural foundation of the bar.
- Unsweetened Cocoa Powder (25g / 0.25 cup): Provides the mild chocolate undertone characteristic of red velvet.
- Salt (3g / 0.5 tsp): To balance the sweetness of the frosting.
For those who love fruit-infused desserts, you might also enjoy the bright flavors of our Italian Lemon Custard Cake or the tropical notes in Pineapple Bread.
Tangy Cream Cheese Frosting Components
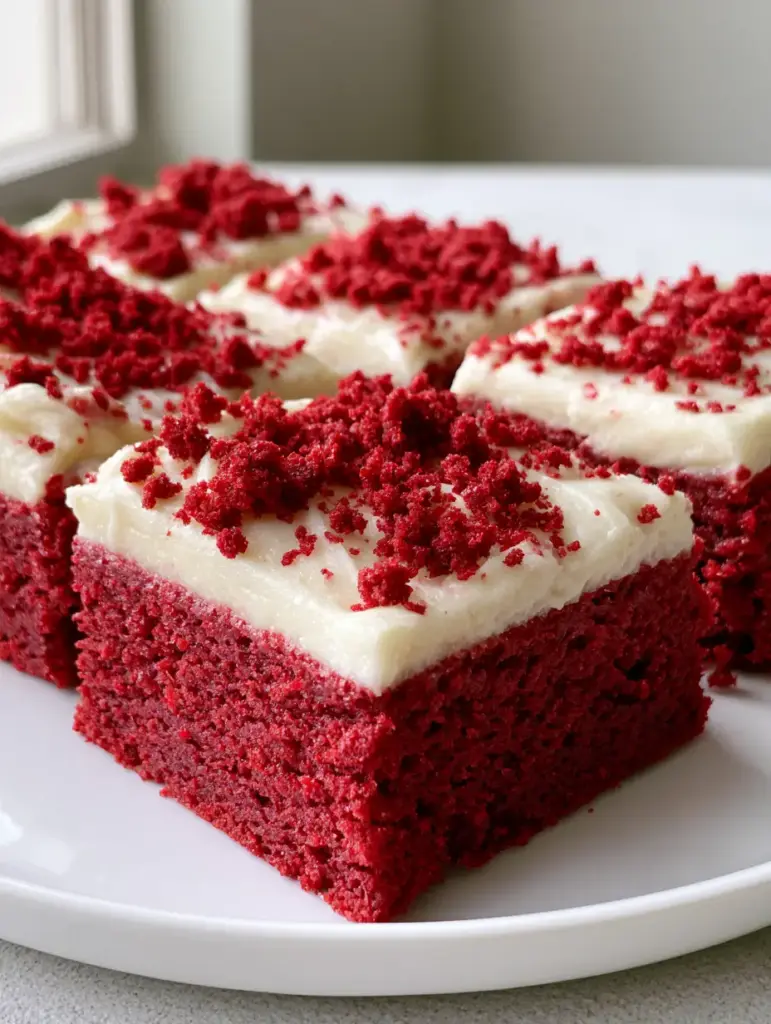
The frosting on these Red Velvet Cookie Bars must be thick and opaque to match the visual blueprint. We aren’t looking for a glaze; we want a generous, pillowy layer.
- Full-Fat Cream Cheese (225g / 8oz): Must be at room temperature to ensure a smooth, lump-free finish.
- Unsalted Butter (115g / 0.5 cup): Softened to provide stability to the frosting.
- Powdered Sugar (480g / 4 cups): Sifted to maintain that “smooth white cream cheese frosting” look.
- Heavy Cream (15ml / 1 tbsp): Just enough to achieve the perfect spreadable consistency.
Step-by-Step: Crafting the Ultimate Red Velvet Bars
1. Preparing the Vibrant Cookie Base
Start by preheating your oven to 350°F (175°C). Line a 9×9 inch (23x23cm) baking pan with parchment paper, leaving an overhang on the sides for easy removal. In a large bowl, whisk your melted butter and granulated sugar until well combined. Pro Tip: Do not over-beat, as we want to avoid incorporating too much air, which leads to a cakey texture rather than a dense cookie bar.
2. Achieving the Iconic Red Hue
Add the egg, the extra egg yolk, vanilla, and the red food coloring. Stir until the mixture is a uniform, bright red. Gradually fold in the flour, cocoa powder, and salt. The dough should be thick, soft, and vibrant. Reserve about 2 tablespoons of this dough to bake as a “tester” or mini-cookie; this will be crumbled later for the garnish.
3. The Baking Process
Press the dough evenly into your prepared pan. Bake for 20-25 minutes. The key sensory cue here is the “fine-crumb texture.” The edges should be set, but the center should remain slightly soft to the touch. Do not overbake, or you will lose the “moist” quality defined in the visual blueprint. Let the bars cool completely in the pan.
4. Whipping the Opaque Frosting
While the bars cool, beat the cream cheese and softened butter together until pale and fluffy. Gradually add the powdered sugar one cup at a time. The result should be a thick, opaque layer of smooth white cream cheese frosting. If it feels too stiff, add the heavy cream sparingly.
5. The Final Garnish & Slice
Spread the frosting generously over the cooled red velvet layer. Take your reserved, baked, and cooled cookie dough piece and crumble it into fine red velvet cookie crumbs. Sprinkle these evenly across the frosting. For the cleanest uniform squares, refrigerate the bars for 30 minutes before slicing with a sharp, warm knife.
Expert Tips for Success
- Temperature Matters: Ensure your cream cheese and butter for the frosting are truly at room temperature. Cold cream cheese results in tiny lumps that ruin the “smooth” visual.
- The Crumb Garnish: If you forget to reserve dough, you can simply shave off a tiny bit from the corner of the baked bars once they are cool to create your crumbs.
- Don’t Overmix: When adding the dry ingredients to the red base, mix only until the flour streaks disappear to keep the bars soft and dense.
- Parchment Paper Slings: Always use parchment paper. It allows you to lift the entire block of bars out of the pan, ensuring you can cut them into perfect, uniform squares on a flat surface.
Storage, Reheating & Freezing
Because of the cream cheese frosting, these Red Velvet Cookie Bars should be stored in an airtight container in the refrigerator. they will stay fresh and moist for up to 5 days. If you prefer a softer frosting, let the bar sit at room temperature for 15 minutes before serving.
Freezing: These bars freeze beautifully! Wrap individual squares in plastic wrap and store them in a freezer-safe bag for up to 3 months. Thaw in the refrigerator overnight.
What to Serve With These Bars
These bars are rich and decadent, making them the perfect conclusion to a savory meal. Consider serving them after a comforting dinner of French Onion Chicken Orzo or a hearty Cheesy Meatloaf Casserole. The tang of the cream cheese also pairs wonderfully with the saltiness of Honey Garlic Sausage and Sweet Potato.
Frequently Asked Questions
Yes, natural cocoa powder is actually preferred for red velvet as its acidity reacts with other ingredients to enhance the red color, though the food coloring does the heavy lifting.
Yes, because the frosting contains cream cheese and butter, the bars should be kept in the refrigerator in an airtight container to stay fresh and safe to eat.
To get that opaque white look, beat your butter and cream cheese for several minutes before adding sugar to whiten it, and avoid using dark-colored vanilla extracts.
Cakey bars usually result from over-beating the butter and sugar, which incorporates too much air. Stick to whisking by hand or on a low setting, and ensure you don’t overbake them.
The Official Red Velvet Cookie Bars Recipe
Ready to bake? Follow the detailed recipe card below to create these Pinterest-famous treats in your own kitchen. Don’t forget to capture a photo of your uniform squares on a white plate to share with us!
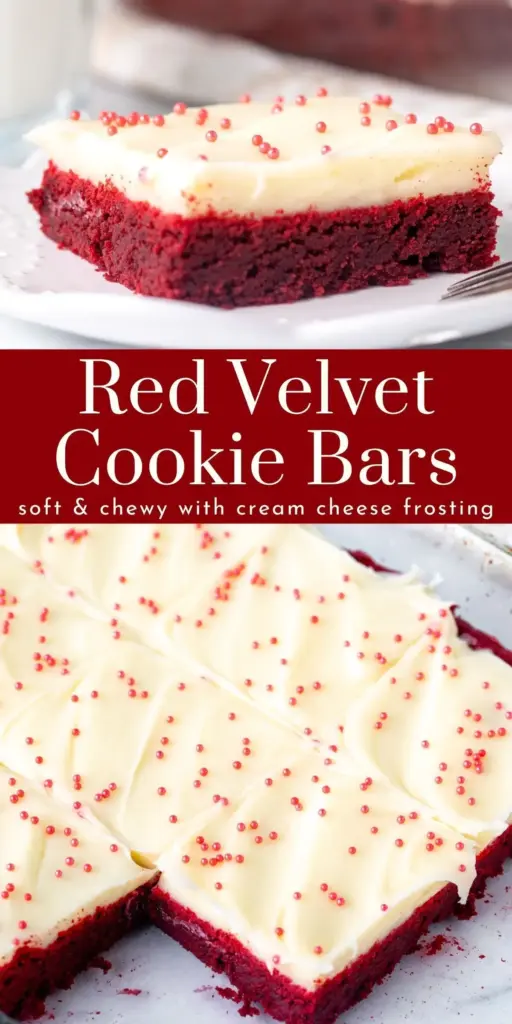
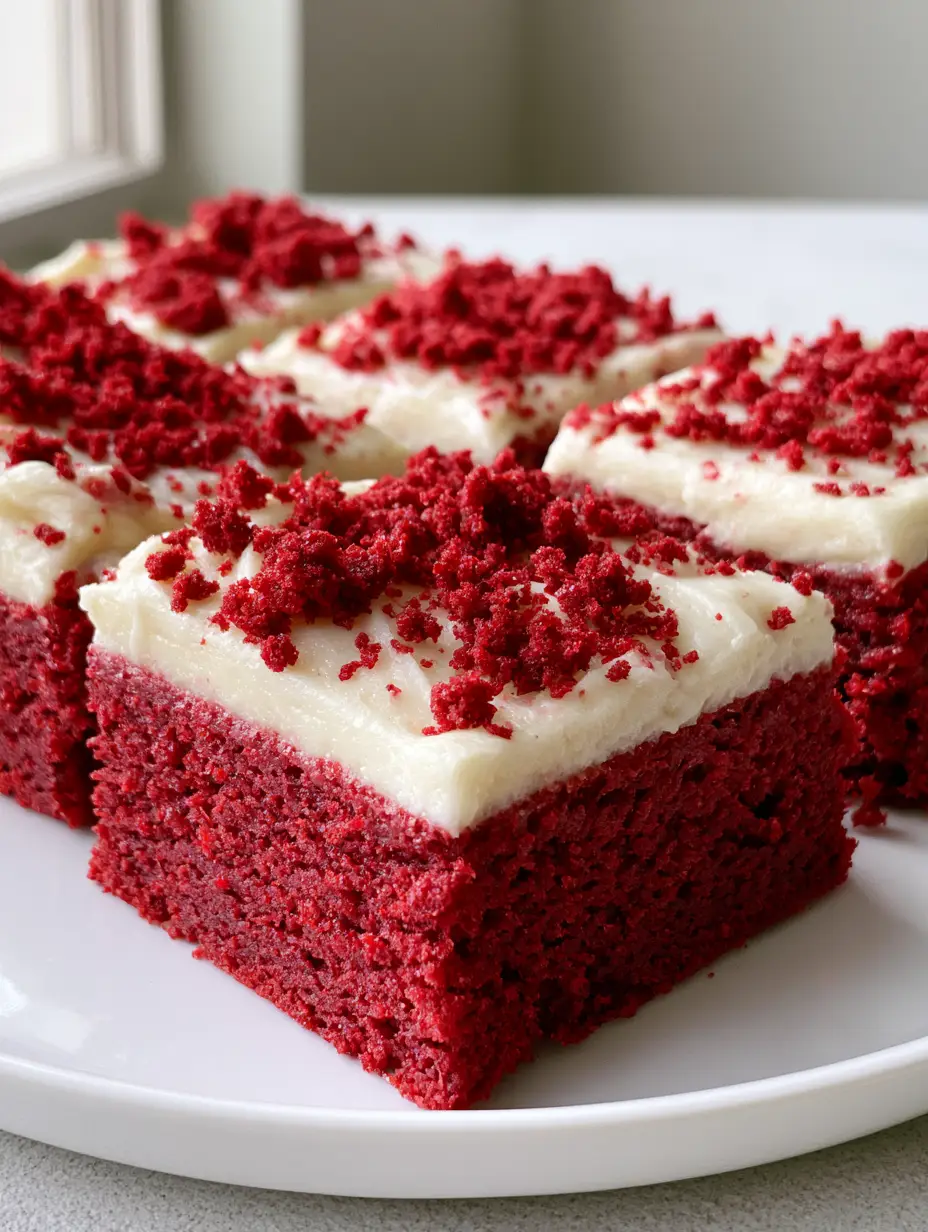
Red Velvet Cookie Bars with Thick Cream Cheese Frosting
Ingredients
Equipment
Method
- Preheat oven to 350°F (175°C) and line a 9x9 inch pan with parchment paper.
- Whisk melted butter and sugar. Add egg, yolk, vanilla, and food coloring. Stir in flour, cocoa, and salt.
- Press into pan and bake for 20-25 minutes. Cool completely.
- Beat cream cheese and butter, then add powdered sugar. Spread over cooled bars and top with crumbs.
Notes
Chill the bars before slicing for clean, uniform edges.
Join the Community & Share Your Bake!
We want to see your Red Velvet Cookie Bars! If you made this recipe, please save it to your favorite Pinterest board so others can find it. Follow evay_eats for more decadent dessert inspiration and savory weeknight wins like our One-Pot Garlic Butter Pasta.
Leave a 5-star rating in the comments below and upload a photo of your bars. Your feedback helps our community of home cooks grow!