If you are looking for the ultimate crowd-pleasing dessert, these No-Bake Oreo Peanut Butter Bars are the answer to your prayers. Combining a deep, dark chocolate foundation with a silky-smooth peanut butter fudge, this recipe is a visual and textural masterpiece that requires absolutely no oven time.
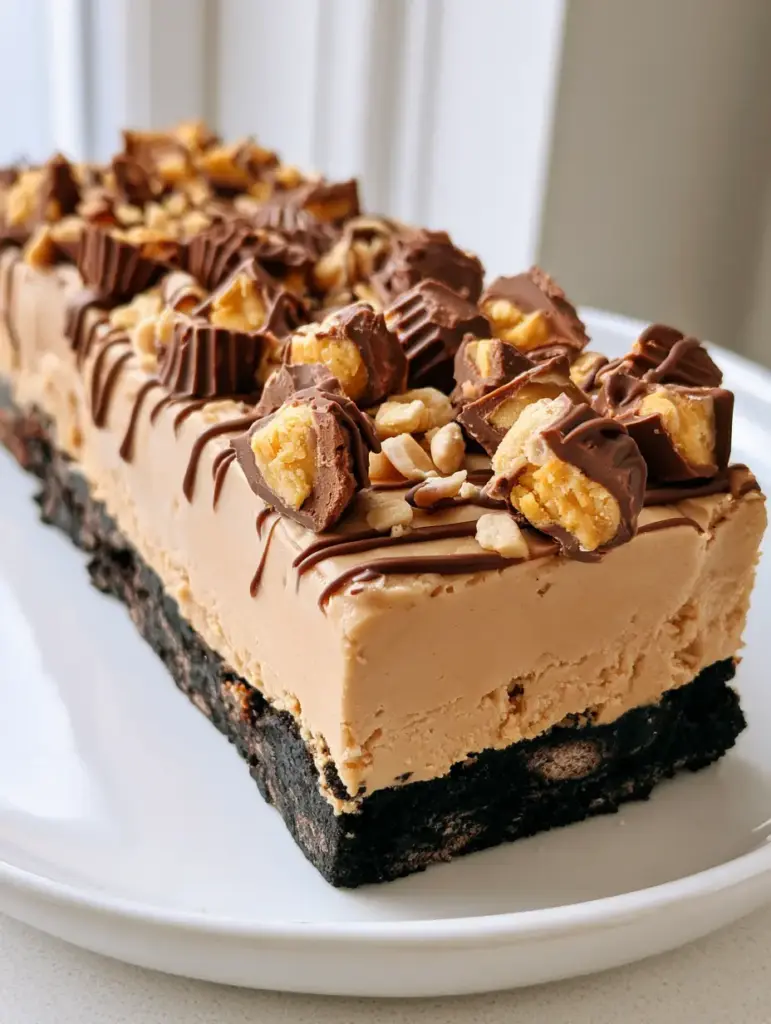
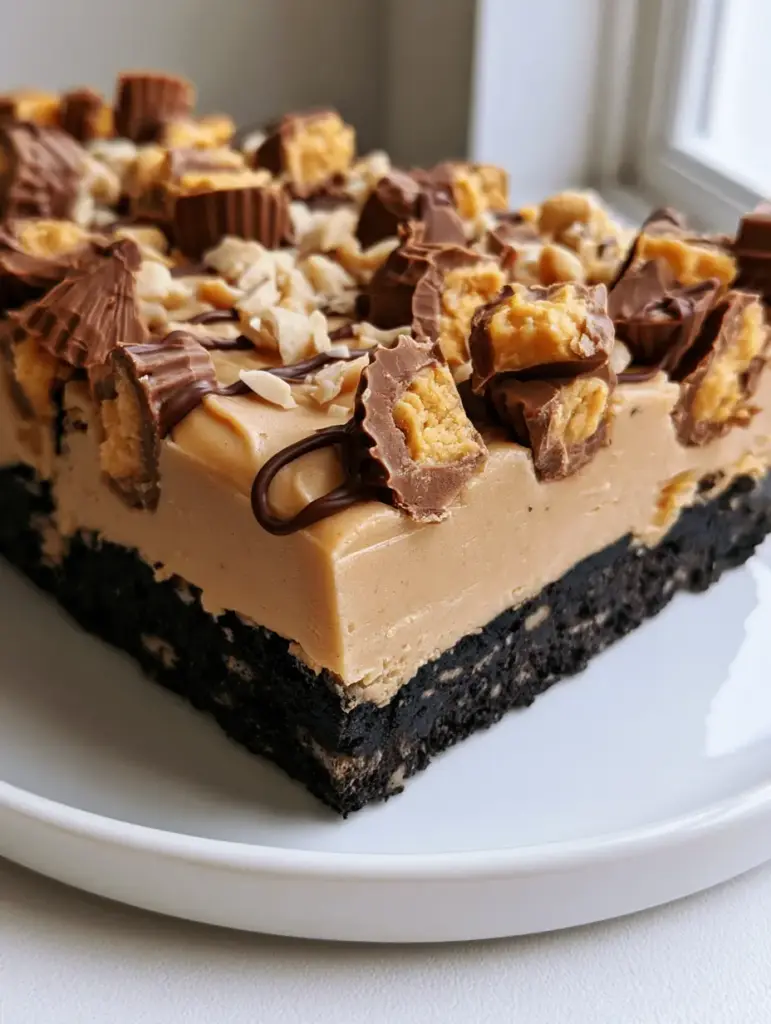
The beauty of these No-Bake Oreo Peanut Butter Bars lies in the contrast. You have a dense, crunchy black-brown base made from crushed chocolate sandwich cookies paired against a thick, matte light-tan peanut butter filling that melts in your mouth.
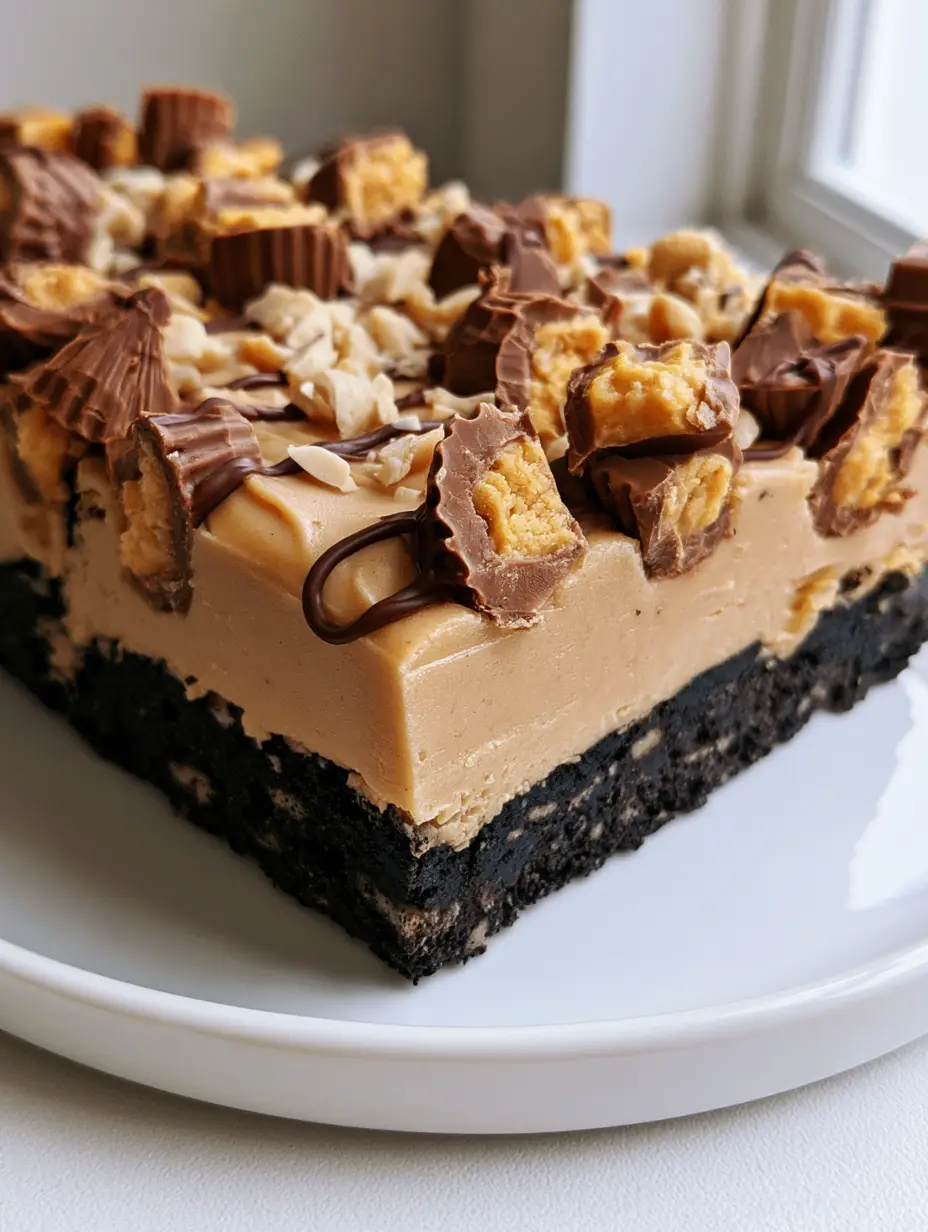
Every bite of these No-Bake Oreo Peanut Butter Bars is finished with a sophisticated garnish of chopped mini milk chocolate peanut butter cups, showing off that iconic yellow interior, and a fine, thin zigzag drizzle of dark chocolate syrup for a professional touch.
Why You Will Love These Decadent No-Bake Bars
- Textural Perfection: The contrast between the crunchy Oreo crust and the velvety peanut butter fudge is unmatched.
- Visual Showstopper: With halved and quartered mini peanut butter cups and a dark chocolate drizzle, these bars look like they came from a high-end bakery.
- Zero Baking Required: Perfect for hot summer days or when your oven is occupied by a chicken primavera pasta bake.
- Make-Ahead Friendly: These bars set perfectly in the fridge, making them the ideal stress-free dessert for parties.
The Essential Ingredients for Peanut Butter Perfection
Creating the perfect No-Bake Oreo Peanut Butter Bars requires high-quality staples. Here is what you will need to gather for your kitchen counter.
Chocolate Sandwich Cookies (Oreos): You will need 36 cookies to create that signature dense, dark black-brown foundation. The cream filling stays in to act as a binder.
Unsalted Butter: 1/2 cup (115g) for the crust and 1/2 cup (115g) for the filling. Using unsalted allows you to control the sodium levels perfectly.
Creamy Peanut Butter: 1.5 cups (375g) of standard creamy peanut butter. Avoid “natural” stir-style versions as they can be too oily for a matte fudge finish.
Powdered Sugar: 2 cups (240g) to provide structure and sweetness to the peanut butter layer, ensuring it holds its rectangular shape when sliced.
Mini Milk Chocolate Peanut Butter Cups: These are the star garnish. Halving and quartering them reveals the bright yellow interior for a pop of color.
Roasted Peanuts: A handful of pale, chopped roasted peanuts adds a salty crunch that cuts through the richness of the red velvet cookie bars style sweetness.
Dark Chocolate Syrup: A fine, thin zigzag drizzle provides the final “pro” aesthetic and a punch of cocoa flavor.
Mastering the Dark Oreo Foundation
Step 1: Crushing the Cookies
Place your chocolate sandwich cookies into a food processor. Pulse until you achieve fine, sandy crumbs. You don’t want large chunks here, as a fine crumb creates a more stable, dense base.
Step 2: Incorporating the Butter
Melt 1/2 cup (115g) of unsalted butter. Pour it over the cookie crumbs and pulse again until the mixture looks like wet sand. The dark black-brown color should be uniform and glossy.
Step 3: Pressing the Base
Line a 9×9 inch (23x23cm) pan with parchment paper. Transfer the crumbs to the pan and press down firmly using the bottom of a flat measuring cup. A hard press is the secret to a bar that doesn’t crumble when you pick it up.
Creating the Matte Peanut Butter Fudge Layer
Step 4: Melting the Filling
In a microwave-safe bowl, combine the remaining butter and the creamy peanut butter. Heat in 30-second bursts, stirring until the mixture is smooth and liquid gold.
Step 5: Thickening with Sugar
Gradually whisk in the powdered sugar. The mixture will transform from a glossy liquid to a thick, smooth, matte light-tan fudge. It should be thick enough to hold a soft peak but thin enough to spread evenly.
Step 6: The Pour and Smooth
Pour the peanut butter mixture over the chilled Oreo base. Use an offset spatula to smooth the surface until it is perfectly level. The matte finish of the peanut butter layer provides a beautiful canvas for your toppings.
The Art of the Garnish: Visual Finishing Touches
This is where your No-Bake Oreo Peanut Butter Bars go from “home-cooked” to “food blogger elite.” We want to mimic the visual recipe blueprint exactly for maximum Pinterest engagement.
Halving the Cups: Take your mini peanut butter cups and carefully slice some in half and others into quarters. Scatter them generously across the top while the peanut butter layer is still slightly tacky. Ensure the yellow peanut butter interior is facing upward or outward.
The Nutty Crunch: Sprinkle the small, pale chopped roasted peanuts into the gaps between the chocolate cups. This adds a rustic, artisanal feel to the dish.
The Final Drizzle: Use a spoon or a small piping bag to create a fine, thin zigzag drizzle of dark chocolate syrup across the entire pan. This ties the dark base and the light top together visually.
“The secret to the perfect drizzle is moving your hand quickly and confidently. Don’t overthink the lines; randomness looks more appetizing!”
Expert Tips for Success
- Chill Time is Non-Negotiable: Let the bars set in the refrigerator for at least 2 hours. If you try to slice them early, the peanut butter layer will be too soft.
- Clean Slices: For those perfect rectangular dessert bar edges, dip a sharp knife in hot water and wipe it dry between every single cut.
- Parchment Overhang: Always leave a “sling” of parchment paper over the sides of the pan so you can lift the entire block out before slicing.
- Salt Balance: If your peanut butter is unsalted, add a tiny pinch of fine sea salt to the fudge layer to enhance the chocolate flavors.
How to Store and Preserve Your Bars
These No-Bake Oreo Peanut Butter Bars store exceptionally well. Much like a no-bake samoa cookie, they thrive in cooler temperatures.
In the Fridge: Store in an airtight container for up to 7 days. The Oreo base will stay crunchy, and the peanut butter layer will remain fudgy.
In the Freezer: These bars are actually delicious eaten straight from the freezer! Wrap individual bars in plastic wrap and store in a freezer bag for up to 3 months.
What to Serve With These Bars
Since these bars are incredibly rich and decadent, they pair best with beverages that cleanse the palate. A cold glass of whole milk is the classic choice, but a bitter espresso or a dark roast coffee provides a wonderful contrast to the sweet No-Bake Oreo Peanut Butter Bars.
If you are serving these as part of a larger spread, they follow a savory meal like french onion chicken orzo or a light hawaiian chicken sheet pan dinner perfectly.
Frequently Asked Questions
Yes, simply swap the standard chocolate sandwich cookies for a gluten-free version. The rest of the ingredients are naturally gluten-free.
It is not recommended. Natural peanut butter tends to separate and can make the fudge layer too oily or soft. Standard creamy peanut butter provides the best matte finish and structural integrity.
No! The cream filling in the sandwich cookies acts as a binder and adds extra sweetness to the dark chocolate foundation.
The secret is to chill the bars thoroughly for at least 2 hours, then use a sharp knife dipped in hot water and wiped dry between every cut.
These bars stay fresh in an airtight container in the refrigerator for up to 7 days, or in the freezer for up to 3 months.
The Ultimate No-Bake Oreo Peanut Butter Bars Recipe
No-Bake Oreo Peanut Butter Bars with Mini PB Cup Garnish
Ingredients
Equipment
Method
- Pulse 36 chocolate sandwich cookies in a food processor until they reach a fine crumb consistency.
- Mix in 1/2 cup (115g) melted butter. Press the dark black-brown mixture firmly into a lined 9x9 pan. Chill for 10 minutes.
- Whisk 1.5 cups (375g) peanut butter and 1/2 cup (115g) melted butter until smooth.
- Stir in 2 cups (240g) powdered sugar until the mixture is a matte light-tan fudge. Spread evenly over the crust.
- Top with halved/quartered mini PB cups and chopped peanuts. Add a thin zigzag drizzle of chocolate syrup.
- Refrigerate for at least 2 hours until the bars are firm enough to slice into rectangles.
Notes
Natural peanut butter is not recommended for this specific recipe texture.
Save This Recipe for Later!
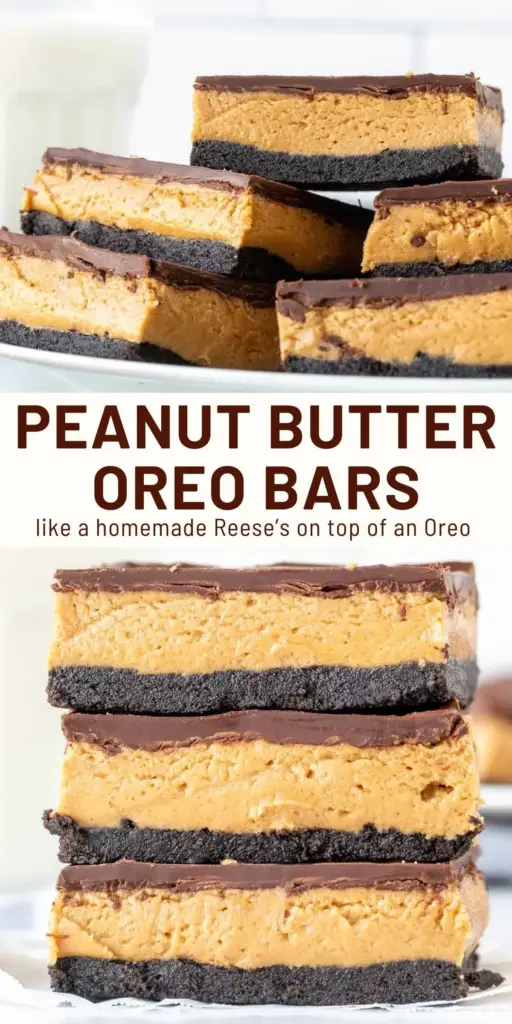
Did you make these No-Bake Oreo Peanut Butter Bars? I want to see your results! Pin this recipe to your Dessert Board on Pinterest and follow evay_eats for more viral treats. Leave a comment below with a photo of your bars and give this recipe a 5-star rating if it satisfied your sweet tooth!