No-Bake Salted Caramel Pretzel Bars are the ultimate solution for when you crave a sophisticated, multi-layered dessert without ever having to turn on your oven. This recipe combines a crunchy, buttery pretzel foundation with a thick, velvety layer of homemade amber caramel, all finished with a glossy snap of dark chocolate and a generous sprinkle of flaky sea salt. If you love the contrast of salt and sugar, these bars are about to become your new favorite obsession.
Every bite of these No-Bake Salted Caramel Pretzel Bars delivers a perfect textural symphony. You get the audible crunch of the golden-brown pretzel bits, the chewy pull of the creamy caramel, and the smooth melt of semi-sweet chocolate. It is a handheld masterpiece that looks like it came from a high-end patisserie but takes very little effort to assemble in your own kitchen.
Whether you are looking for a quick weekend project or a show-stopping addition to your next party platter, these bars deliver. Much like our popular no-bake treats, this recipe relies on simple pantry staples to create something extraordinary. The visual appeal of the stacked layers makes them incredibly “pinnable” and perfect for sharing on social media.
Why You Will Fall In Love With These Pretzel Bars
- No Oven Required: Keep your kitchen cool while whipping up a gourmet-style dessert that only requires a microwave or a small saucepan.
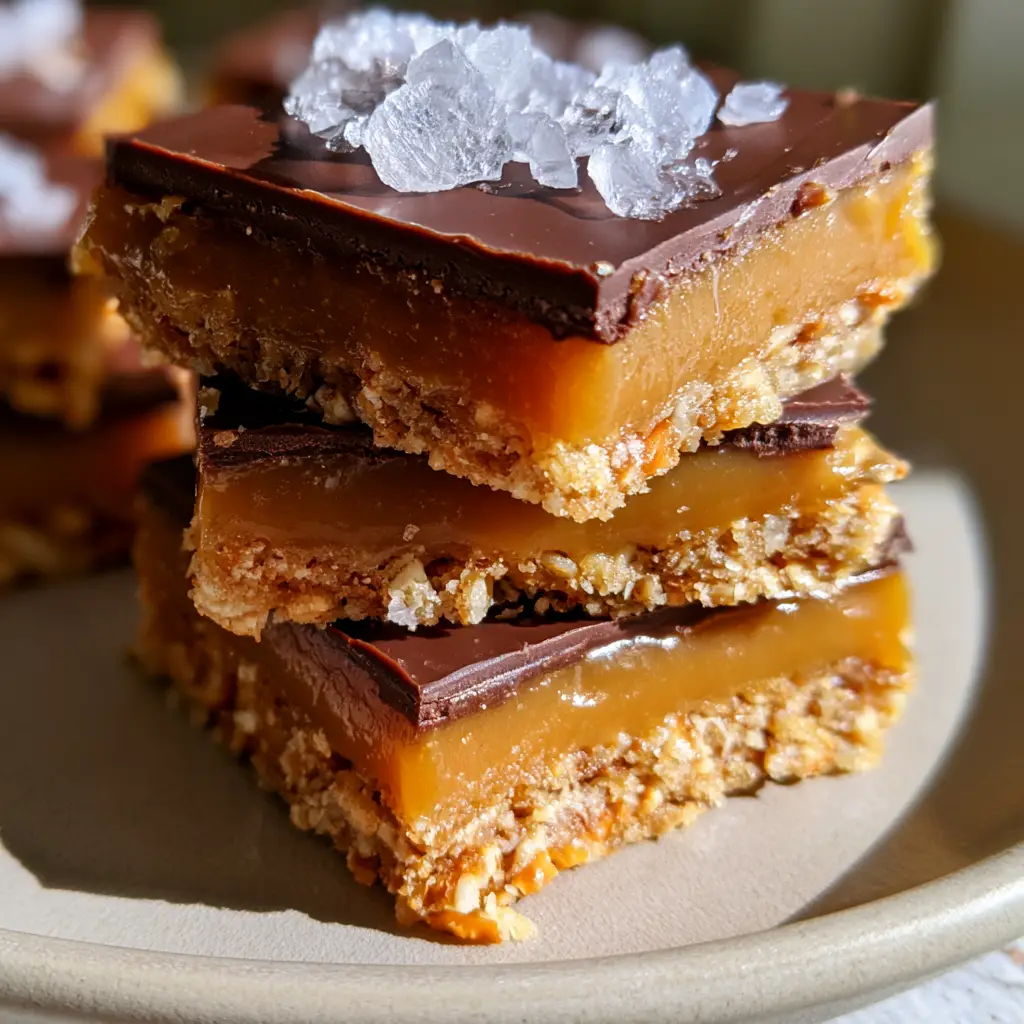
- The Perfect Visual Contrast: The opaque golden-amber caramel layer looks stunning against the dark, glossy chocolate top and the grainy, golden-brown pretzel base.
- Elite Texture Profile: From the large crystals of translucent flaky sea salt to the compacted pretzel crunch, every layer offers a different sensory experience.
- Make-Ahead Friendly: These bars set up beautifully in the fridge, making them ideal for busy hosting schedules.
The Secret Ingredients for Success
To achieve the specific look and taste of these No-Bake Salted Caramel Pretzel Bars, the quality and type of your ingredients matter. Here is what you will need and why each component is vital to the final result.
The Crunchy Pretzel Foundation
2 cups (160g) Hard Pretzels: You want traditional salted pretzels (twists or sticks). Use a food processor or a rolling pin to crush them into small bits—not a fine powder—to maintain that signature grainy texture.
1/2 cup (115g) Unsalted Butter, Melted: This acts as the glue. The butter binds the pretzel crumbs into a thick, compacted foundation that won’t crumble when you take a bite.
2 tablespoons (25g) Granulated Sugar: A tiny bit of sugar helps the base set firmly and provides a subtle sweet bridge to the salty pretzels.
The Smooth Opaque Caramel Layer
1/2 cup (115g) Unsalted Butter: Using real butter is non-negotiable for that rich, creamy mouthfeel and the opaque golden-amber color.
1/2 cup (100g) Light Brown Sugar, Packed: This provides the deep molasses notes essential for a true caramel flavor profile.
1/2 cup (120ml) Sweetened Condensed Milk: This is the secret to a “no-fail” caramel that stays soft and chewy even after refrigeration, avoiding the rock-hard texture of traditional candy-making.
The Glossy Dark Chocolate Top
1.5 cups (255g) Semi-Sweet Chocolate Chips: Dark semi-sweet chocolate provides the necessary bitterness to balance the sweet caramel and salty base.
1 tablespoon (15ml) Coconut Oil: Stirring a little oil into the melted chocolate creates that thin, glossy sheet and prevents the chocolate from cracking when you slice the bars.
1 tablespoon Flaky Sea Salt: Use large, translucent crystals like Maldon. This is the finishing touch that highlights the “Salted Caramel” in the recipe title.
Step-by-Step Instructions for Perfect Layers
Creating the perfect stack of No-Bake Salted Caramel Pretzel Bars is all about patience and temperature control. Follow these steps to ensure your layers are distinct and beautiful.
Step 1: Construct the Pretzel Foundation
Start by lining an 8×8 inch (20x20cm) square baking pan with parchment paper, leaving an overhang on the sides. This makes it easy to lift the entire block of bars out later for clean slicing.
In a medium bowl, combine your crushed pretzels, melted butter, and sugar. Stir until the pretzels look like wet sand. Transfer the mixture to your prepared pan. Use the bottom of a flat measuring cup to press the mixture down firmly. You want a thick, compacted foundation that is level across the pan. Pop this into the freezer for 10 minutes to set while you prepare the caramel.
Step 2: Simmer the Golden-Amber Caramel
In a small heavy-bottomed saucepan over medium heat, combine the butter, brown sugar, and sweetened condensed milk. Bring the mixture to a gentle boil, stirring constantly with a whisk or silicone spatula.
Allow the caramel to simmer for 3-5 minutes. You are looking for a smooth, opaque golden-amber appearance. The mixture should thicken slightly and pull away from the sides of the pan. Be careful not to overcook it, or the caramel will become too hard to chew once cooled.
Pour the warm caramel over the chilled pretzel base. Use a spatula to smooth it into an even layer. Return the pan to the refrigerator for at least 30-45 minutes until the caramel is tacky and firm to the touch.
Step 3: Melt the Glossy Chocolate Sheet
Place the semi-sweet chocolate chips and coconut oil in a microwave-safe bowl. Microwave in 30-second intervals, stirring well between each, until the chocolate is completely smooth and liquid. The oil will give it a thin, glossy shine that looks professional.
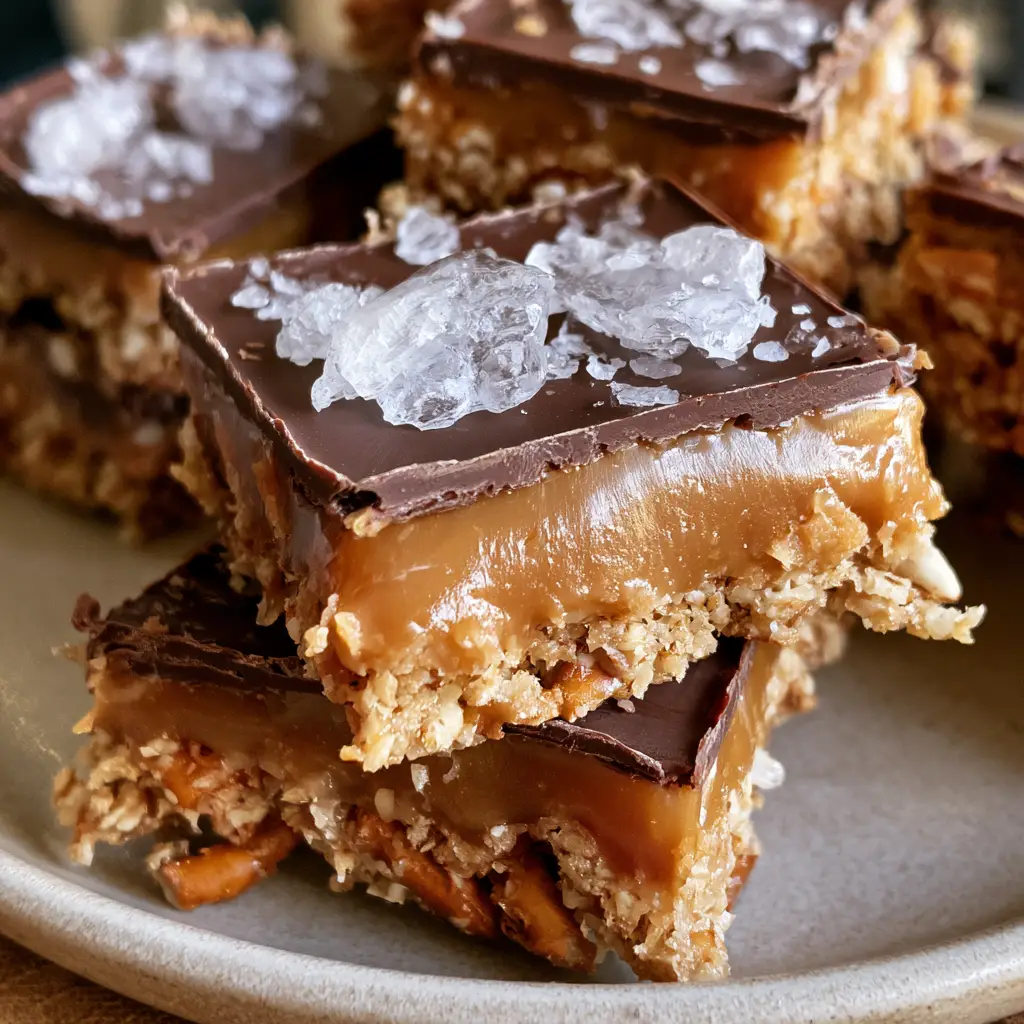
Pour the chocolate over the set caramel layer. Tilt the pan gently to spread the chocolate to the edges, creating a perfectly flat top. While the chocolate is still wet, generously sprinkle the large crystals of translucent flaky sea salt across the surface.
Step 4: The Final Chill and Slicing
Place the pan back in the refrigerator for at least 2 hours, or until the chocolate and caramel are fully set. To get those clean, sharp edges seen in our photos, run a sharp chef’s knife under hot water, wipe it dry, and slice the bars into even squares. The contrast of the dark chocolate, amber caramel, and golden pretzel base is a visual delight!
If you love the ease of this dessert, you might also enjoy our easy holiday cheesecake bites or even our chewy brownie cookies for more chocolatey goodness.
Expert Tips for Success
- Press Hard: When creating the pretzel base, press down with significant force. A loose base will crumble the moment you try to eat the bars.
- Temperature Matters: Ensure the caramel layer is completely cool before adding the chocolate. If the caramel is still warm, the chocolate will swirl into it rather than sitting on top as a distinct layer.
- The Hot Knife Trick: For the cleanest slices, clean your knife after every single cut. The residual heat from the blade will glide through the chocolate sheet without shattering it.
- Don’t Skip the Oil: The coconut oil in the chocolate is what gives it that handheld smartphone photo-ready shine. Without it, the chocolate can look dull and matte.
Storage and Freezing Instructions
To Store: Keep your No-Bake Salted Caramel Pretzel Bars in an airtight container in the refrigerator for up to 7 days. Because of the butter content in the caramel and base, they are best served slightly chilled or at room temperature.
To Freeze: Wrap individual bars in plastic wrap and place them in a freezer-safe bag. They will stay fresh for up to 3 months. Thaw in the refrigerator overnight before serving. The pretzels may lose a tiny bit of crunch after freezing, but the flavor remains incredible.
What to Serve With These Bars
These decadent bars are rich and salty, making them the perfect partner for a glass of cold milk or a strong espresso. If you are serving them as part of a larger dessert spread, they pair beautifully with fruit-based treats like our air fryer apple fries.
For a sweet-and-salty themed party, consider serving these alongside peanut butter treats to give your guests a variety of textures and flavors to choose from.
Frequently Asked Questions
Most store-bought sauces are too thin and won’t set firmly enough to hold the chocolate layer. We recommend following the simmered condensed milk method for the best results.
Yes, for the best texture and to prevent the caramel from becoming too soft, it is best to store these in the refrigerator, especially in warmer climates.
Adding a tablespoon of coconut oil or vegetable oil to the melted chocolate makes it slightly softer once set, and using a hot, clean knife ensures a perfect slice.
This usually happens if the pretzels aren’t crushed finely enough or if they weren’t pressed down firmly into the pan. Use the bottom of a heavy glass to really compact the layer.
The Ultimate No-Bake Salted Caramel Pretzel Bars Recipe
No-Bake Salted Caramel Pretzel Bars
Ingredients
Equipment
Method
- Combine crushed pretzels, melted butter, and sugar. Press firmly into a lined 8x8 pan and freeze for 10 minutes.
- In a saucepan, combine butter, brown sugar, and condensed milk. Bring to a boil for 3-5 minutes until golden-amber and smooth.
- Pour over the pretzel base and refrigerate for 45 minutes until set.
- Melt chocolate chips and coconut oil in the microwave until glossy. Pour over the caramel layer.
- Sprinkle with flaky sea salt. Refrigerate for 2 hours before slicing into squares.
Notes
Ensure the caramel is fully set before adding the chocolate topping.
Save This Recipe to Pinterest!
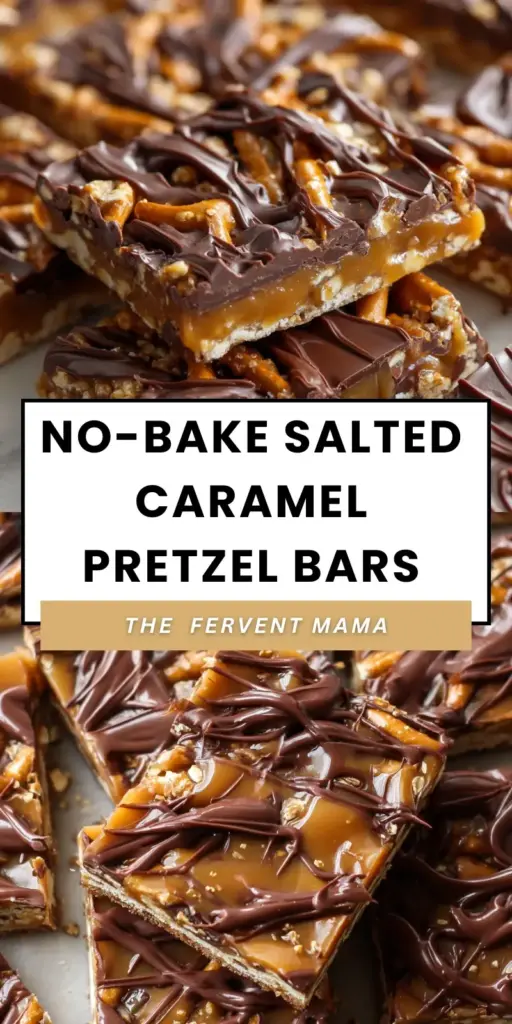
Don’t lose this recipe! Pin this to your favorite Dessert or No-Bake board so you can come back to it whenever the salty-sweet craving hits. If you make these No-Bake Salted Caramel Pretzel Bars, we want to see them! Tag @evay_eats on social media or leave a photo in the comments below.
Did you love the crunch? Please consider leaving a 5-star rating in the recipe card above. It helps other home cooks find our recipes and supports the blog!